Taiwanese model LINA large-scale body private photo set (2011-05-10) - Lina Photos | MissKon.Us Skip to main content

Taiwanese model LINA large-scale body private photo set (2011-05-10)

325 photos Views: 60 views April 21, 2026

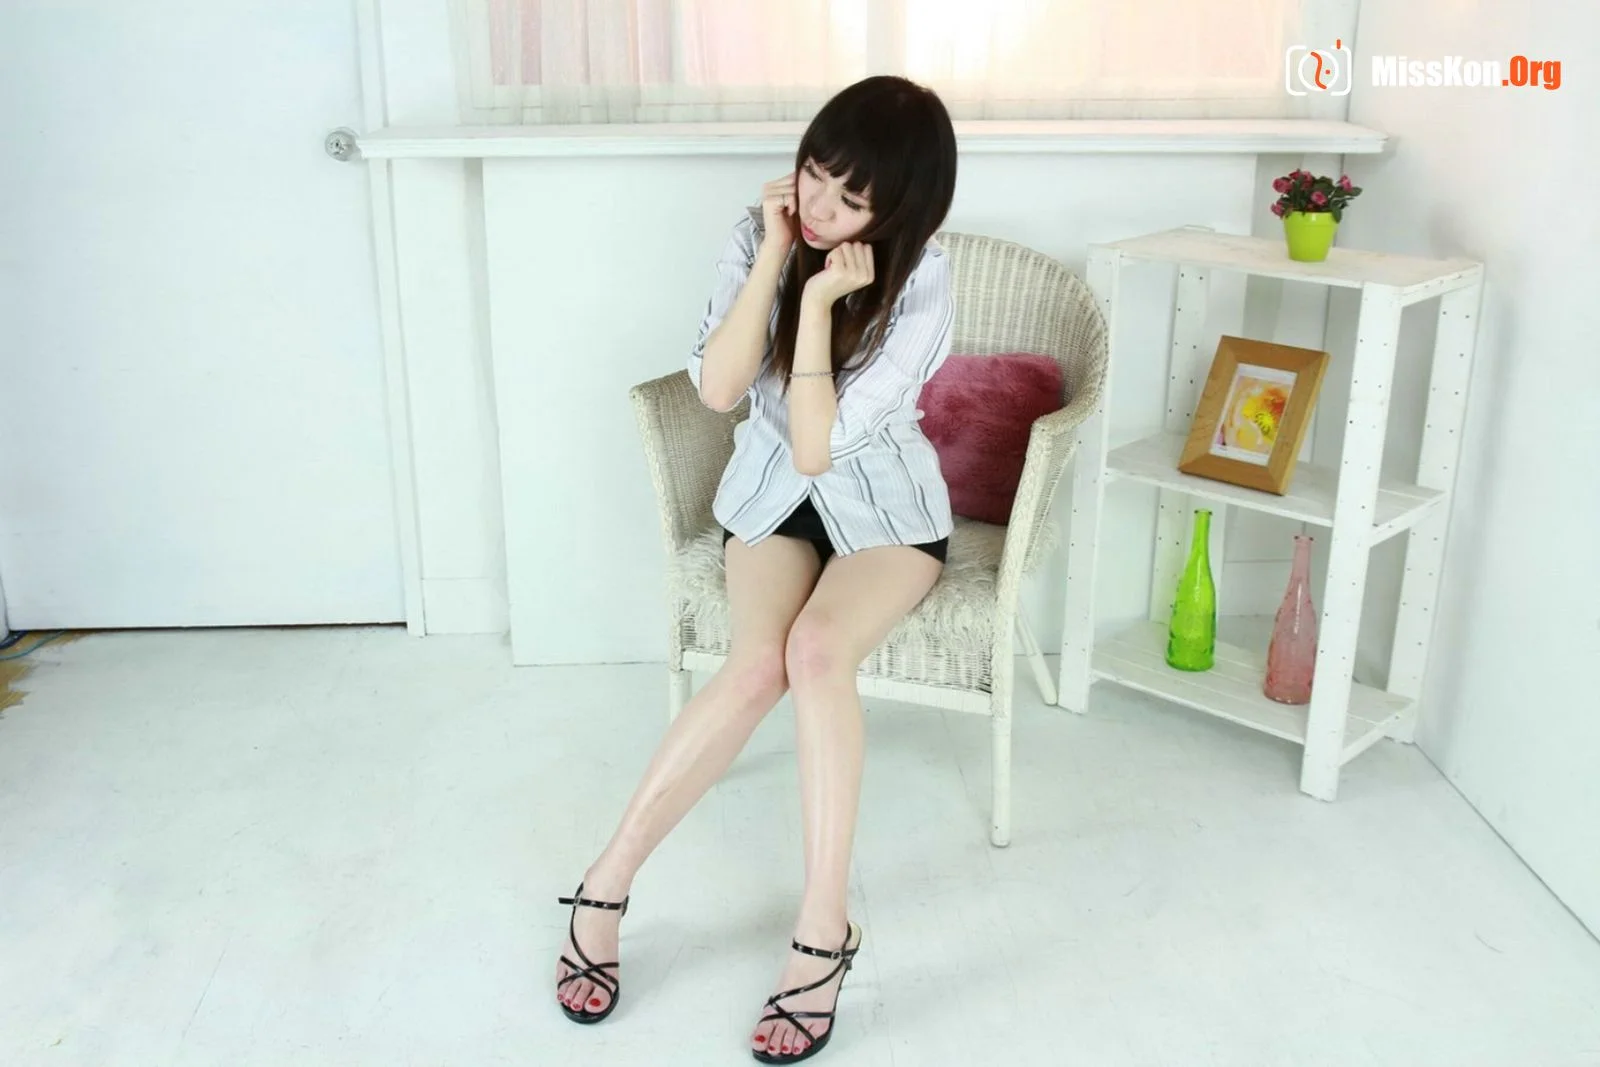
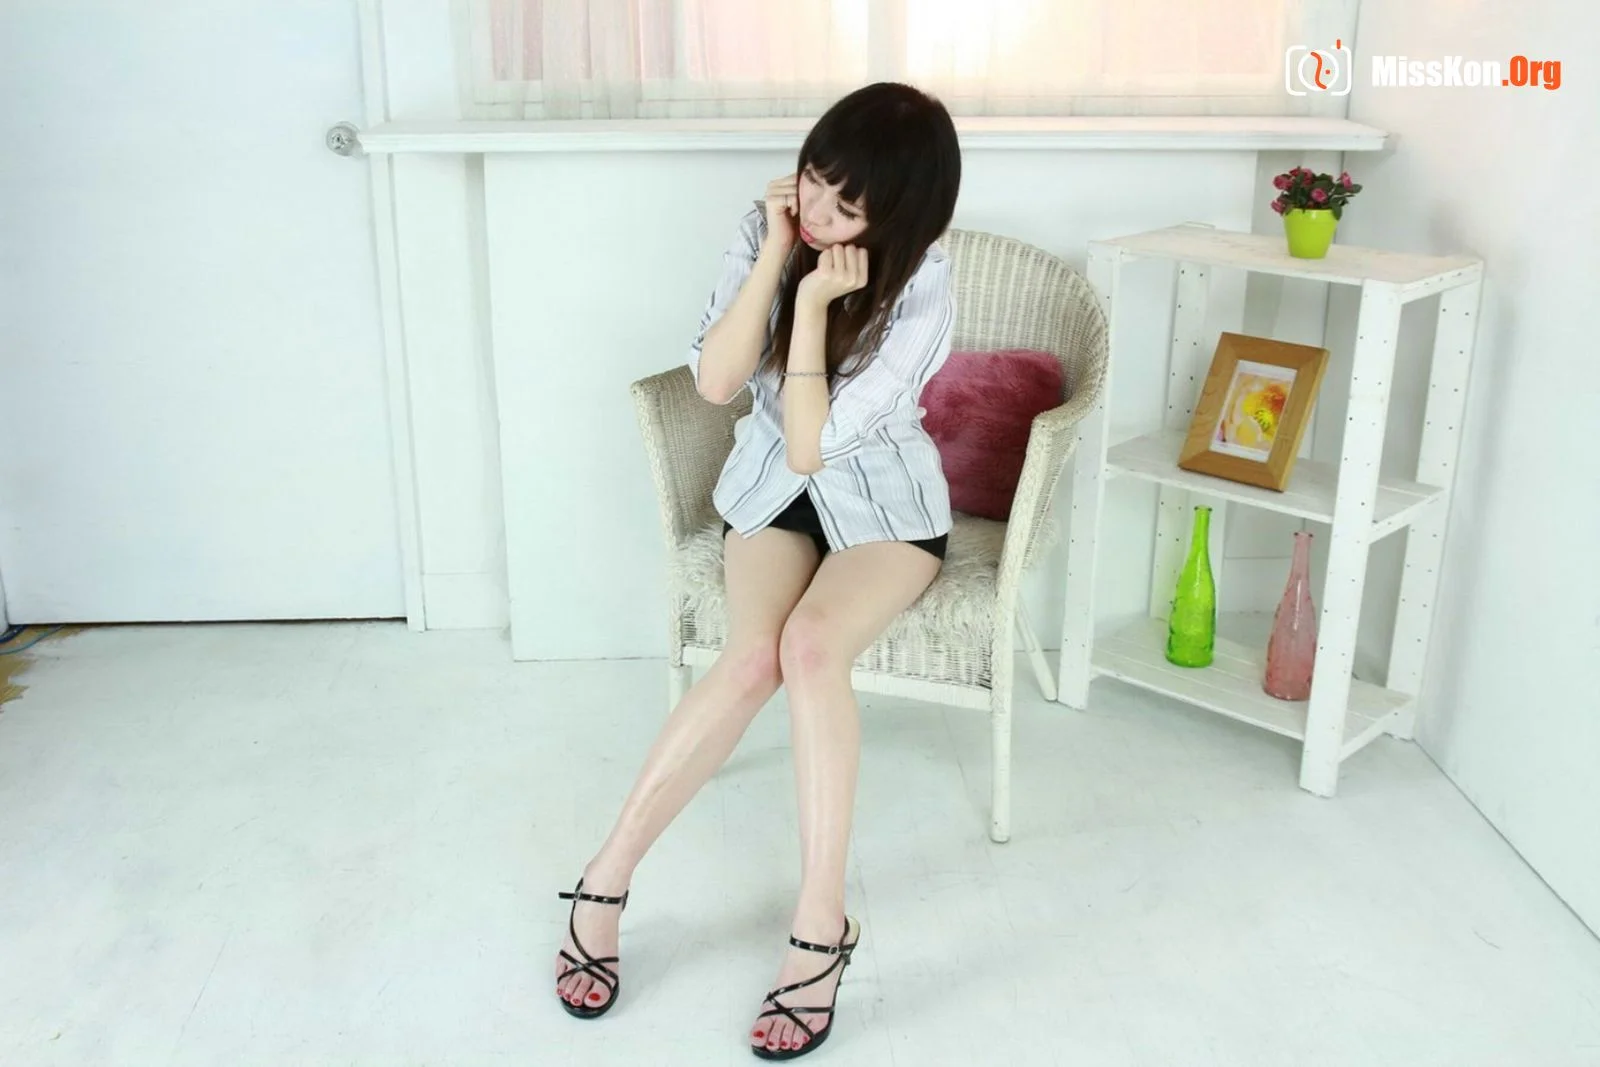
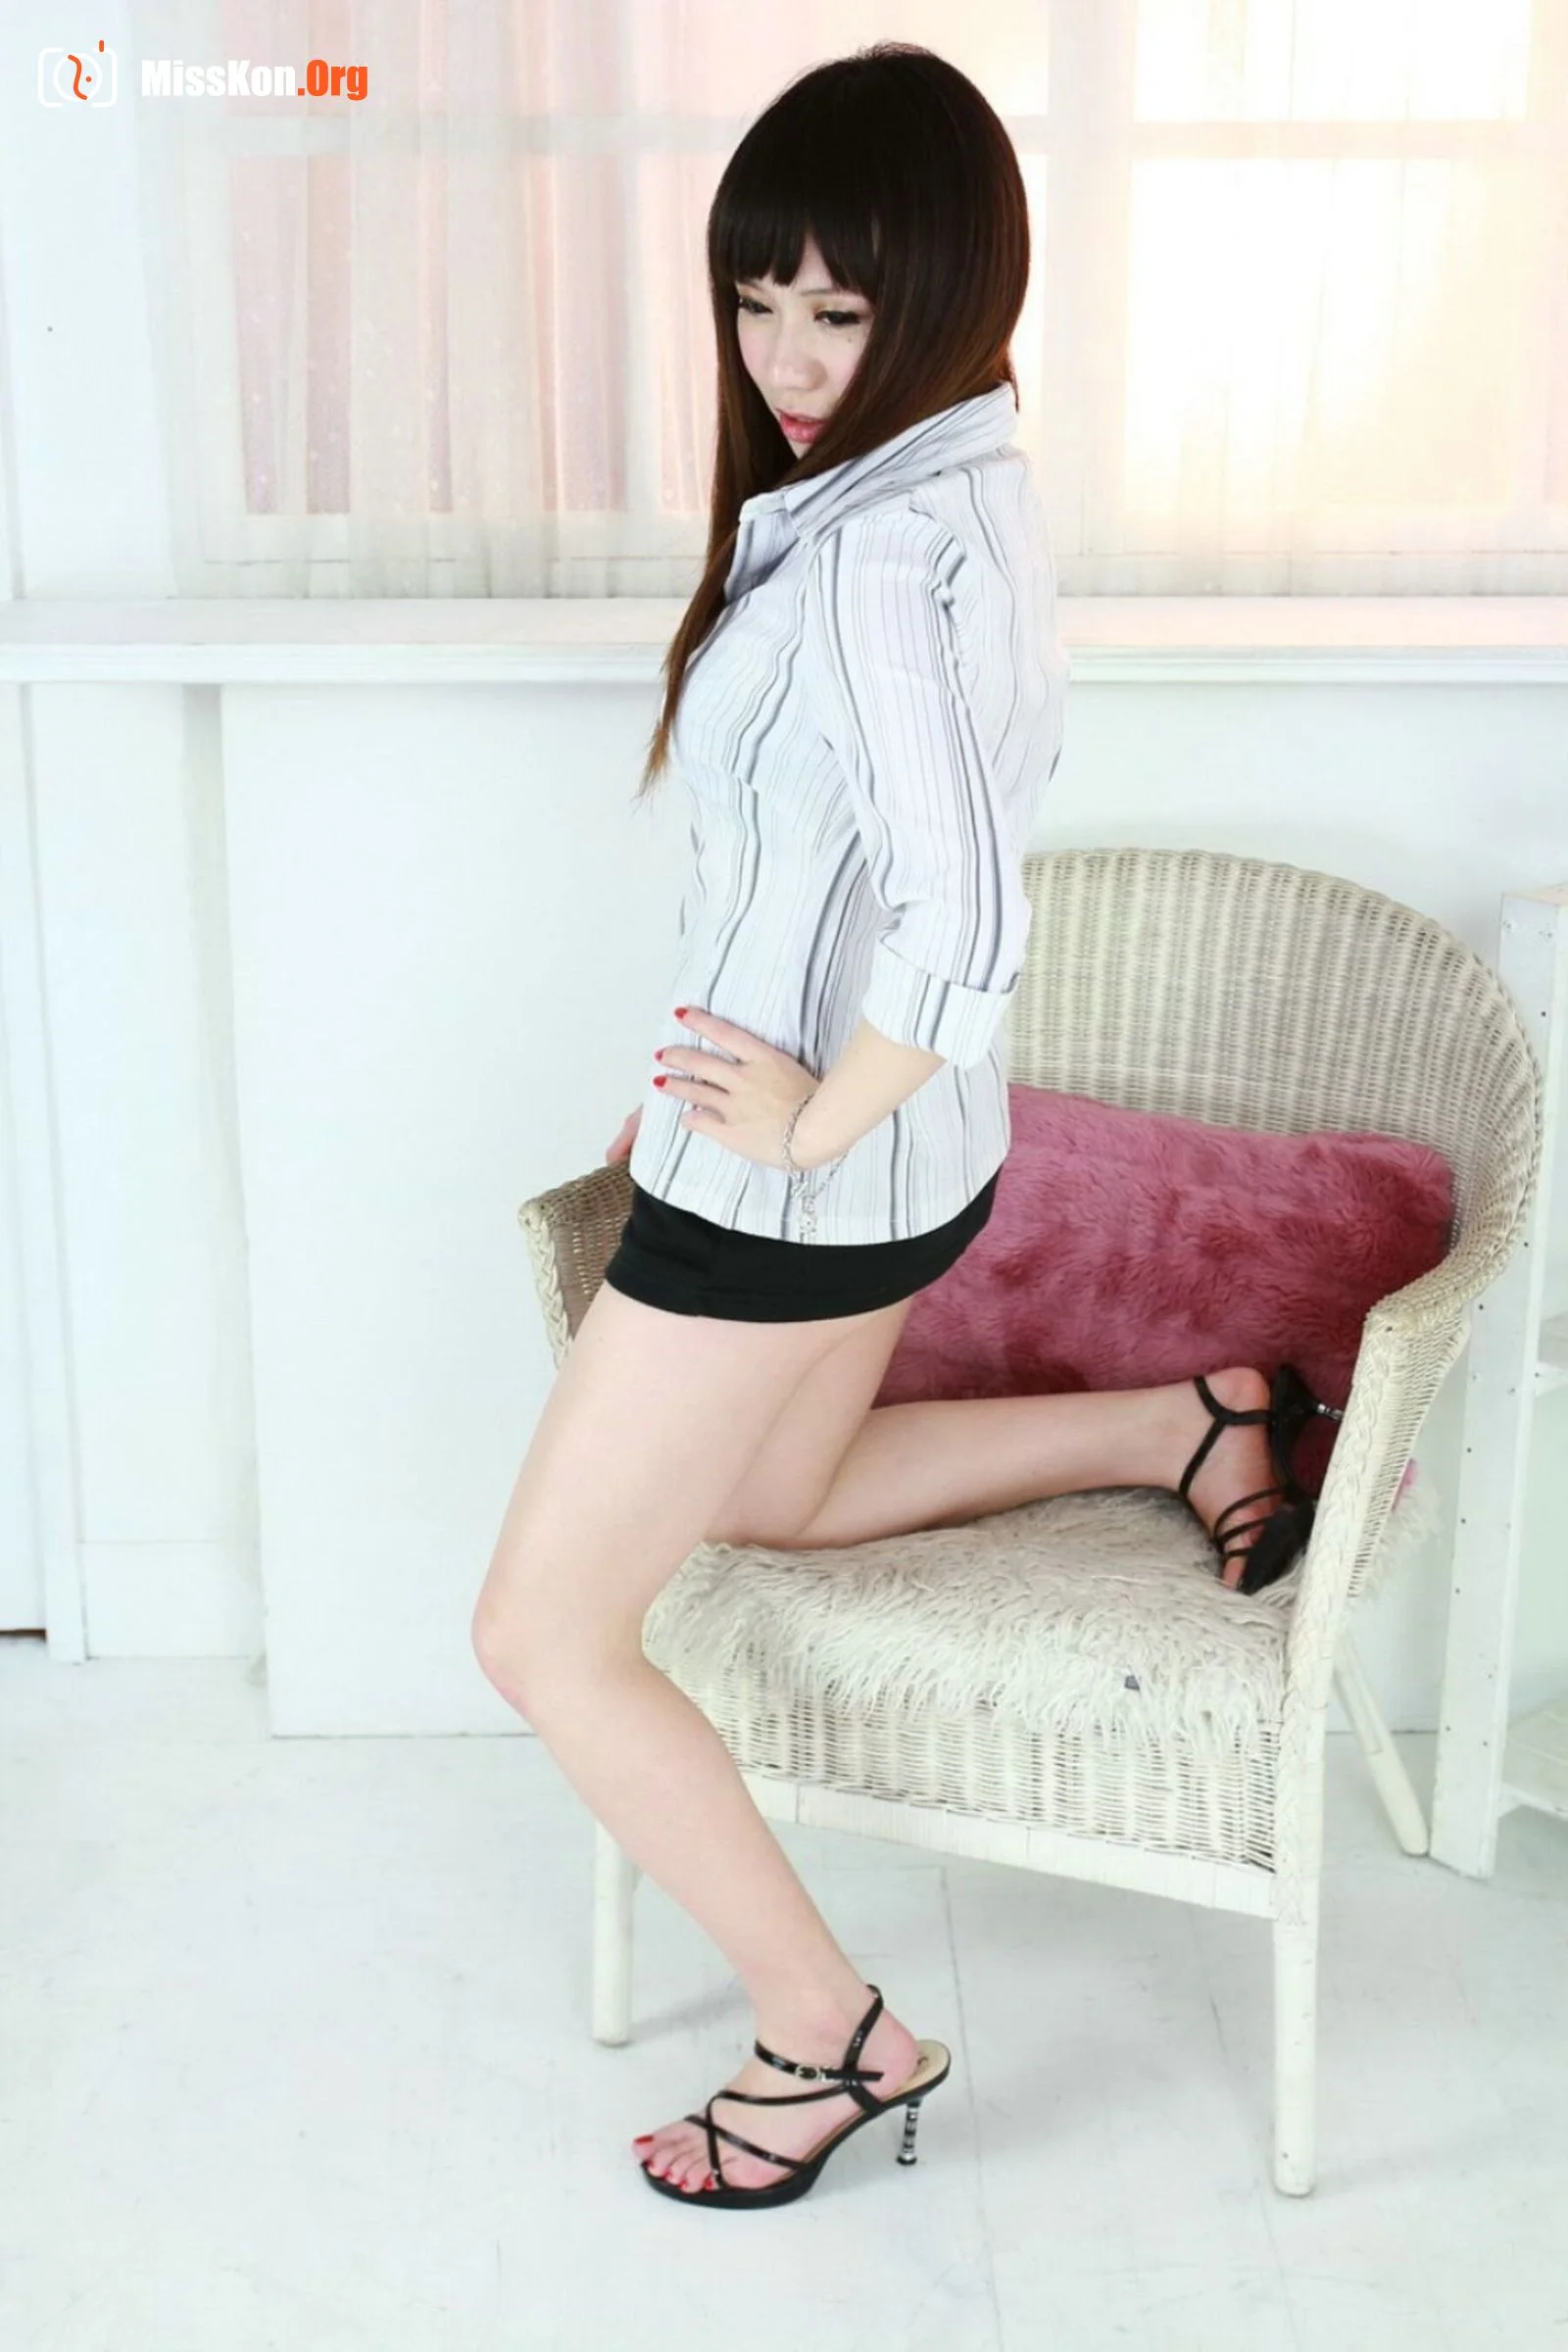
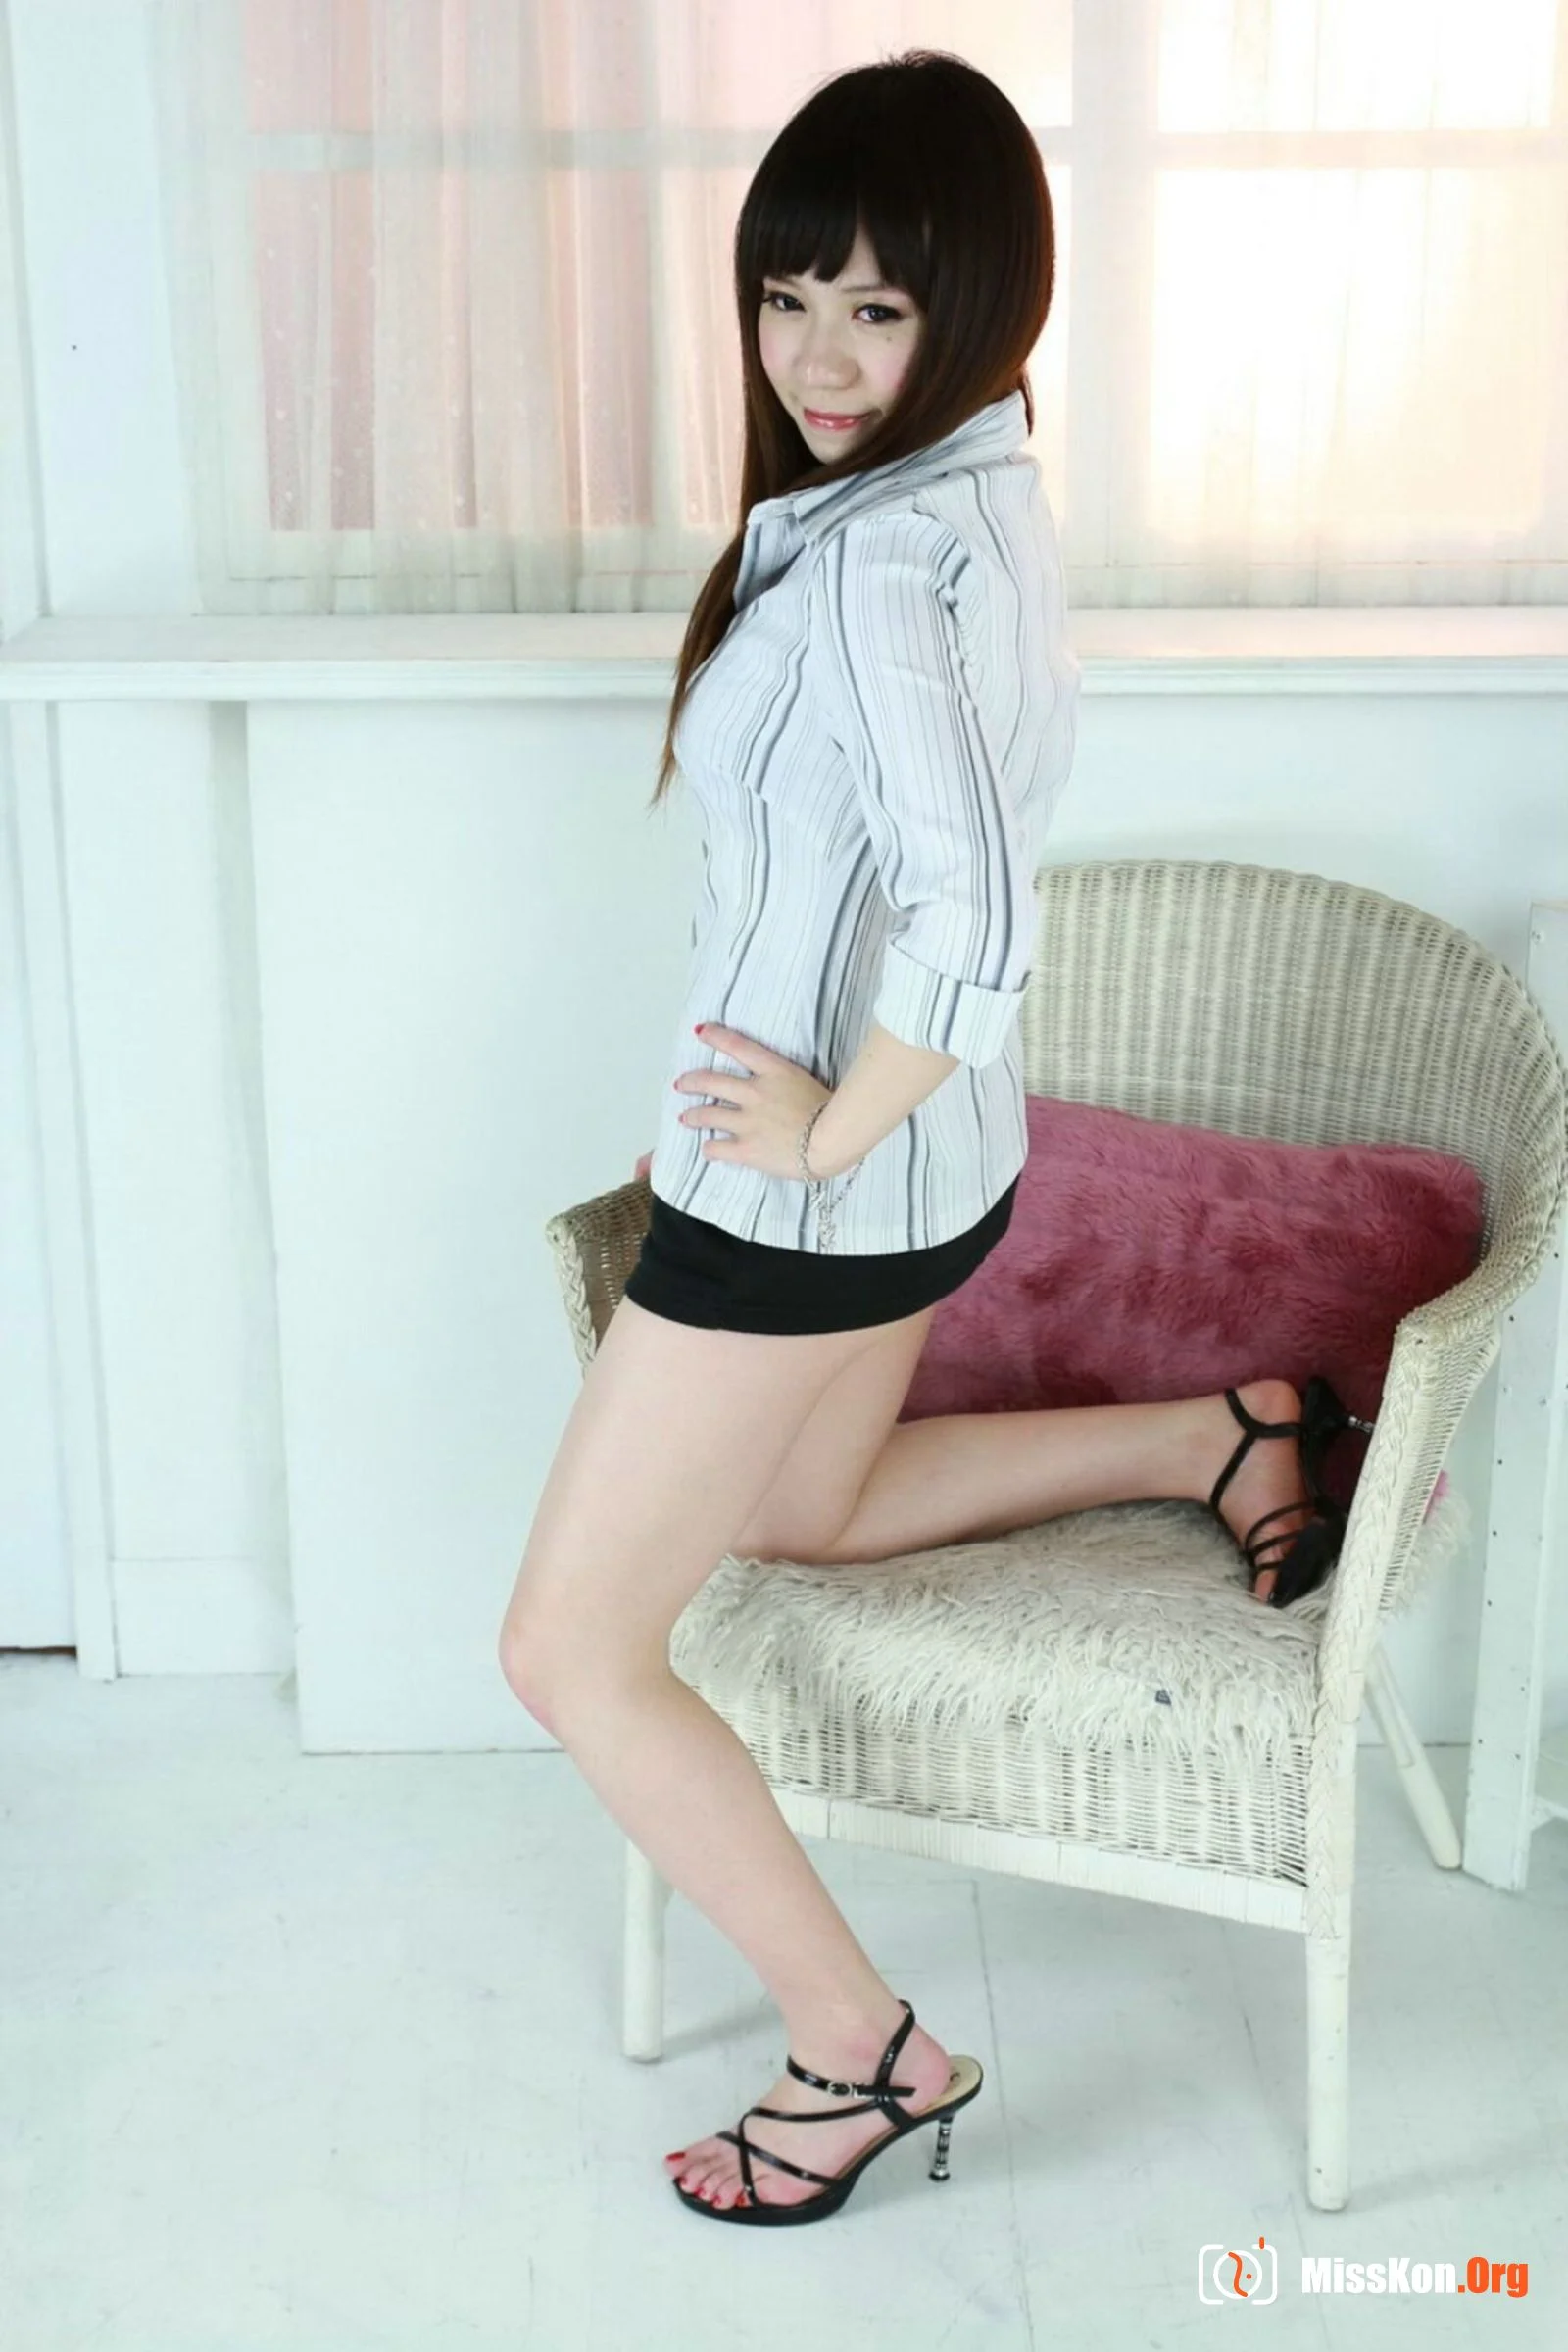
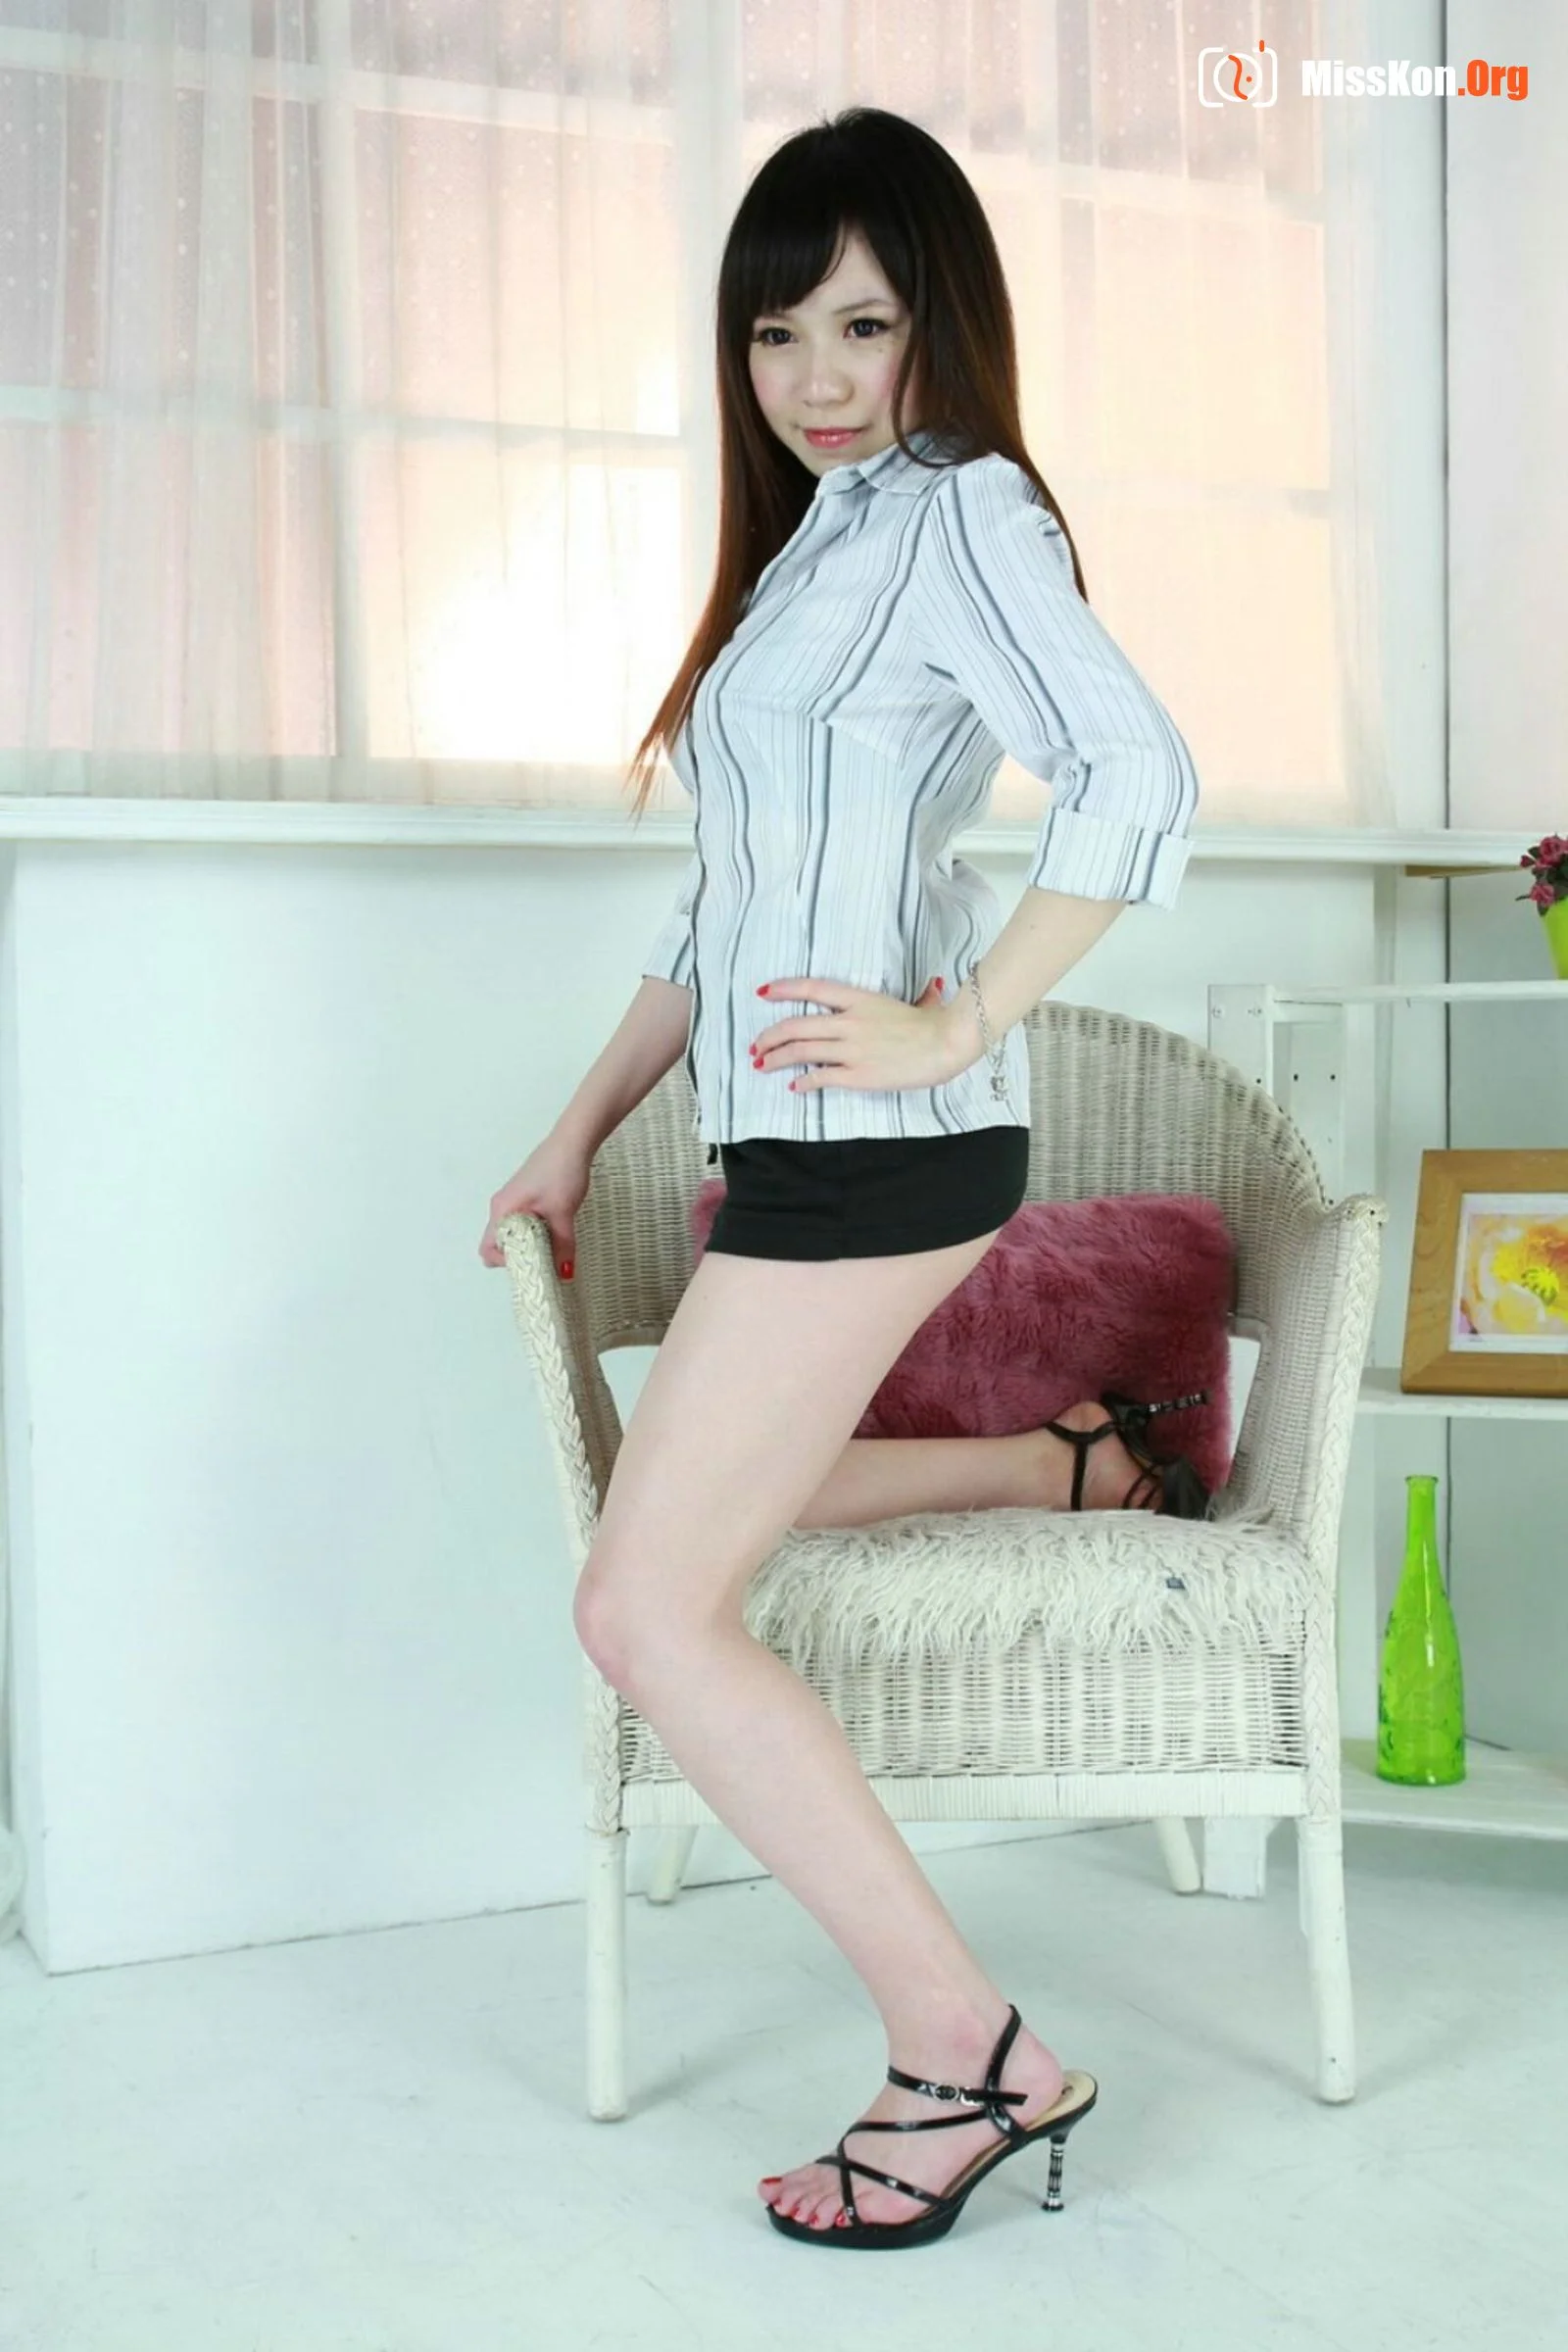
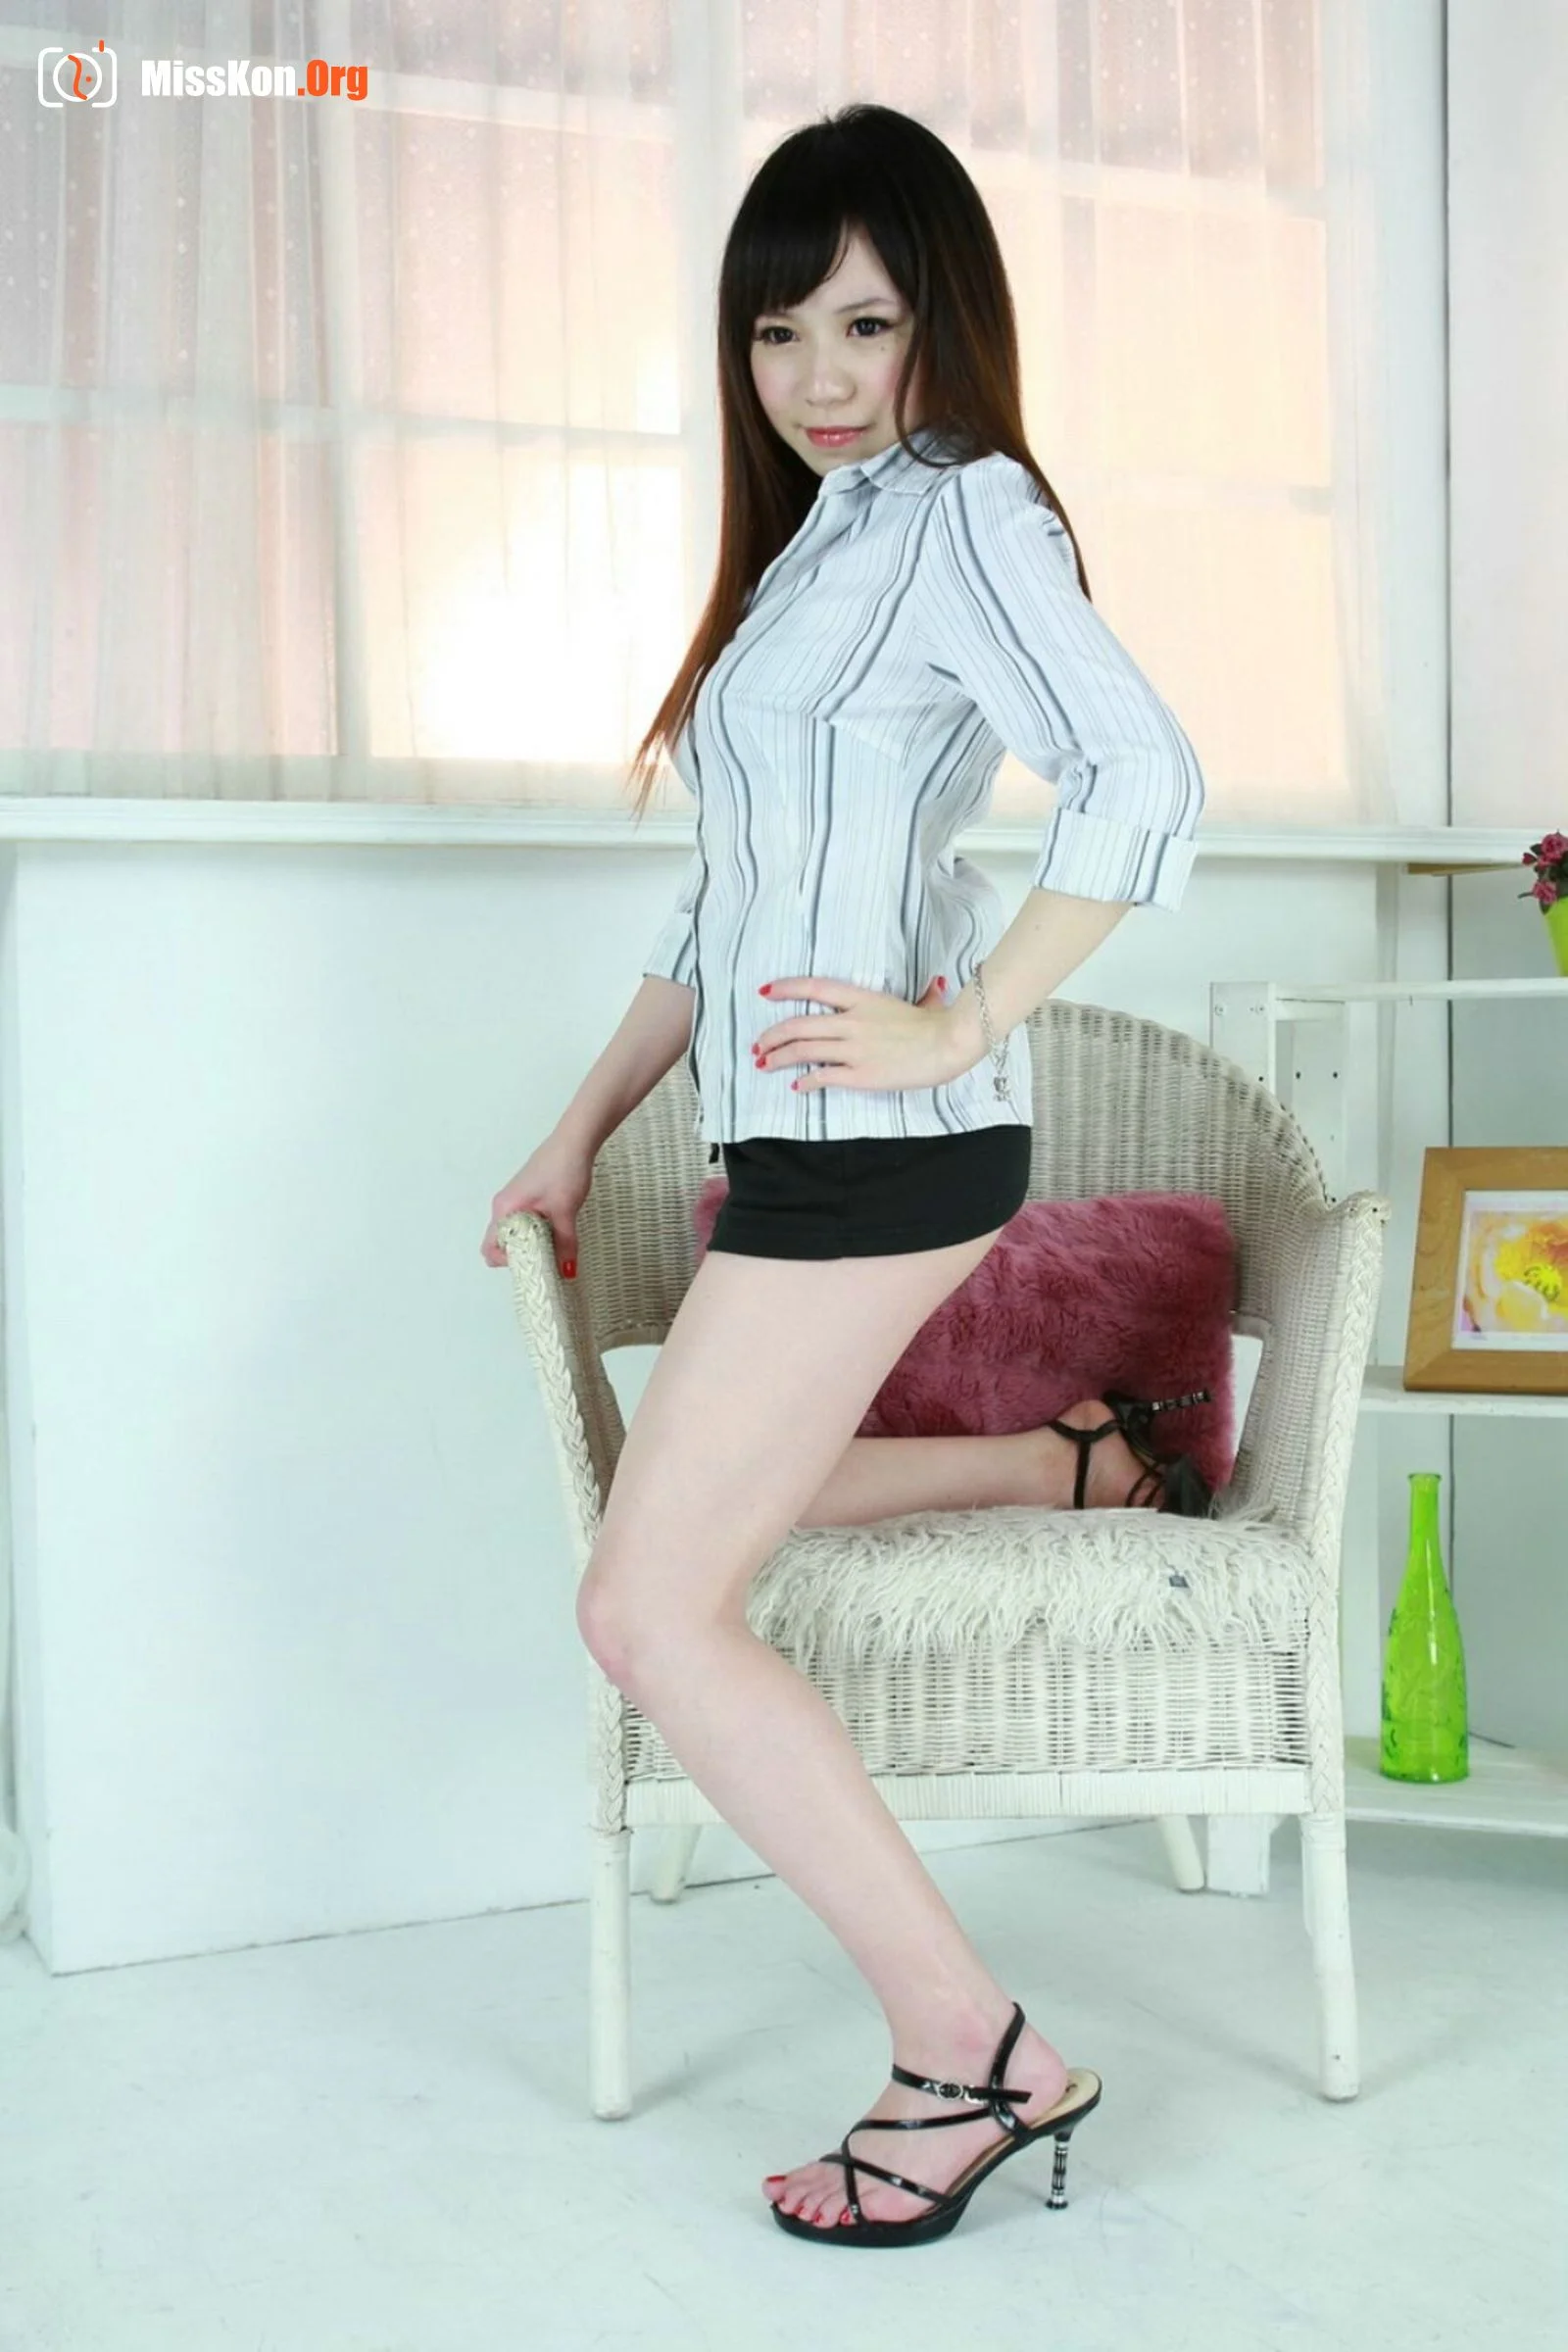
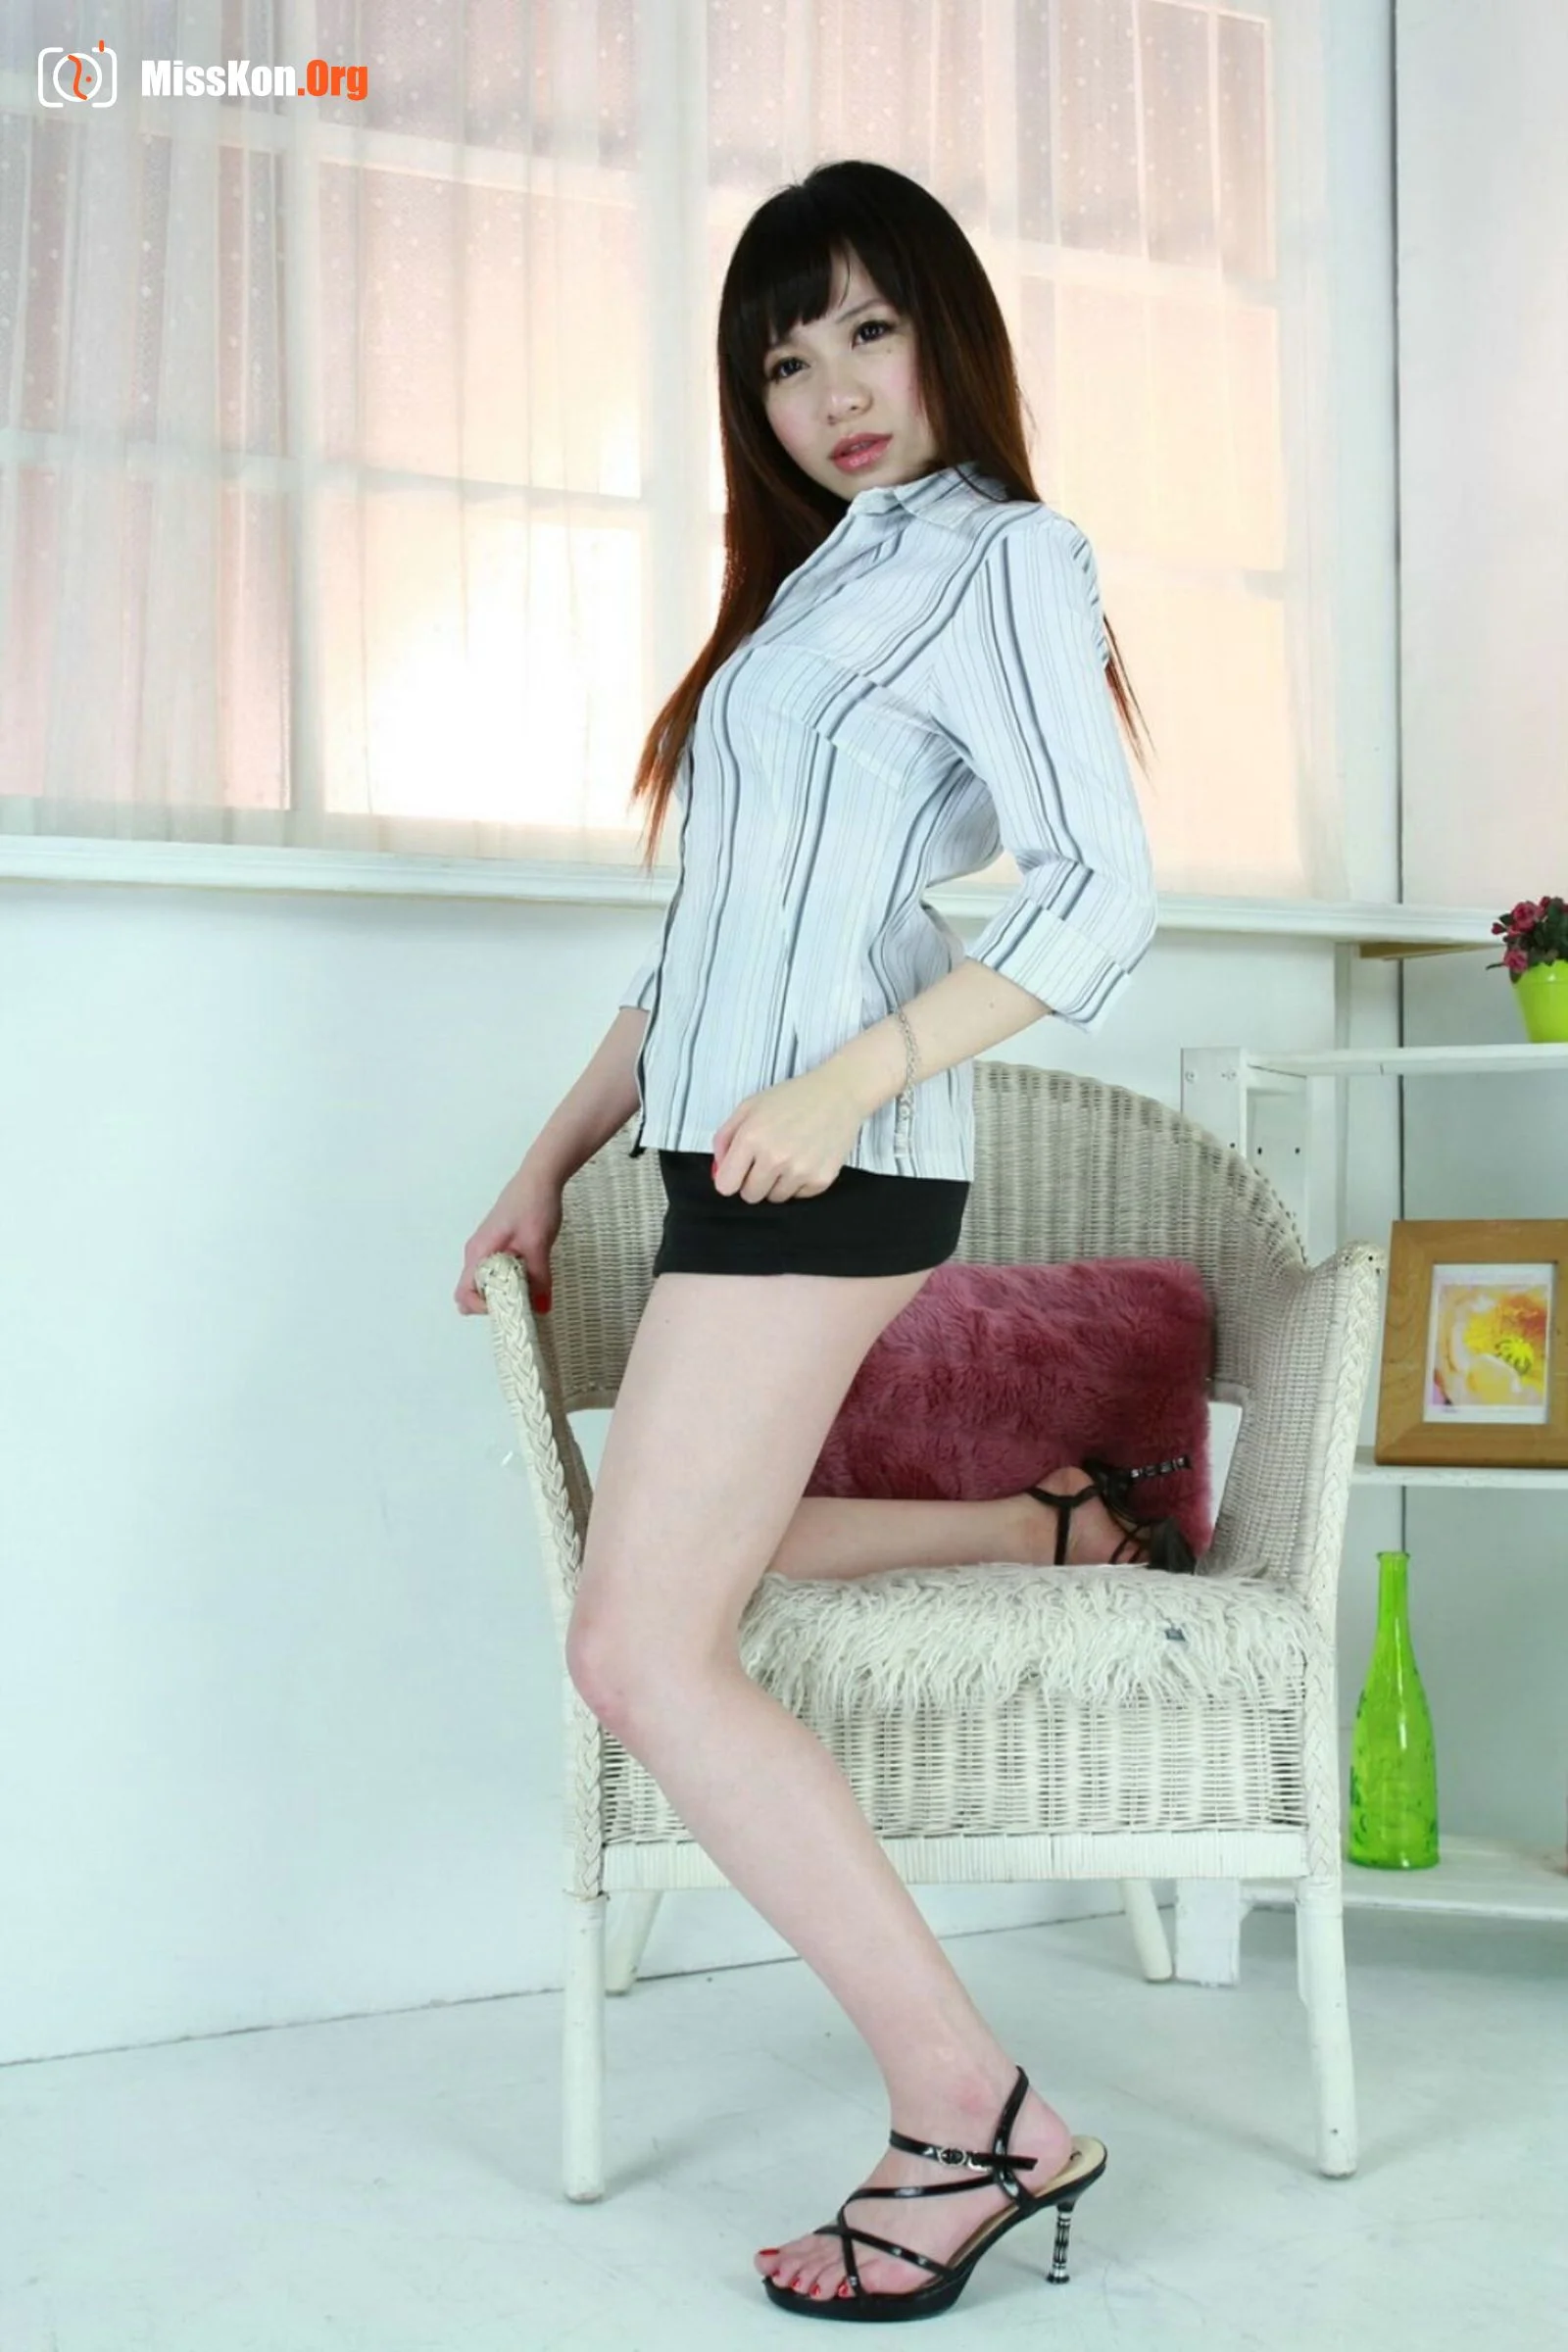
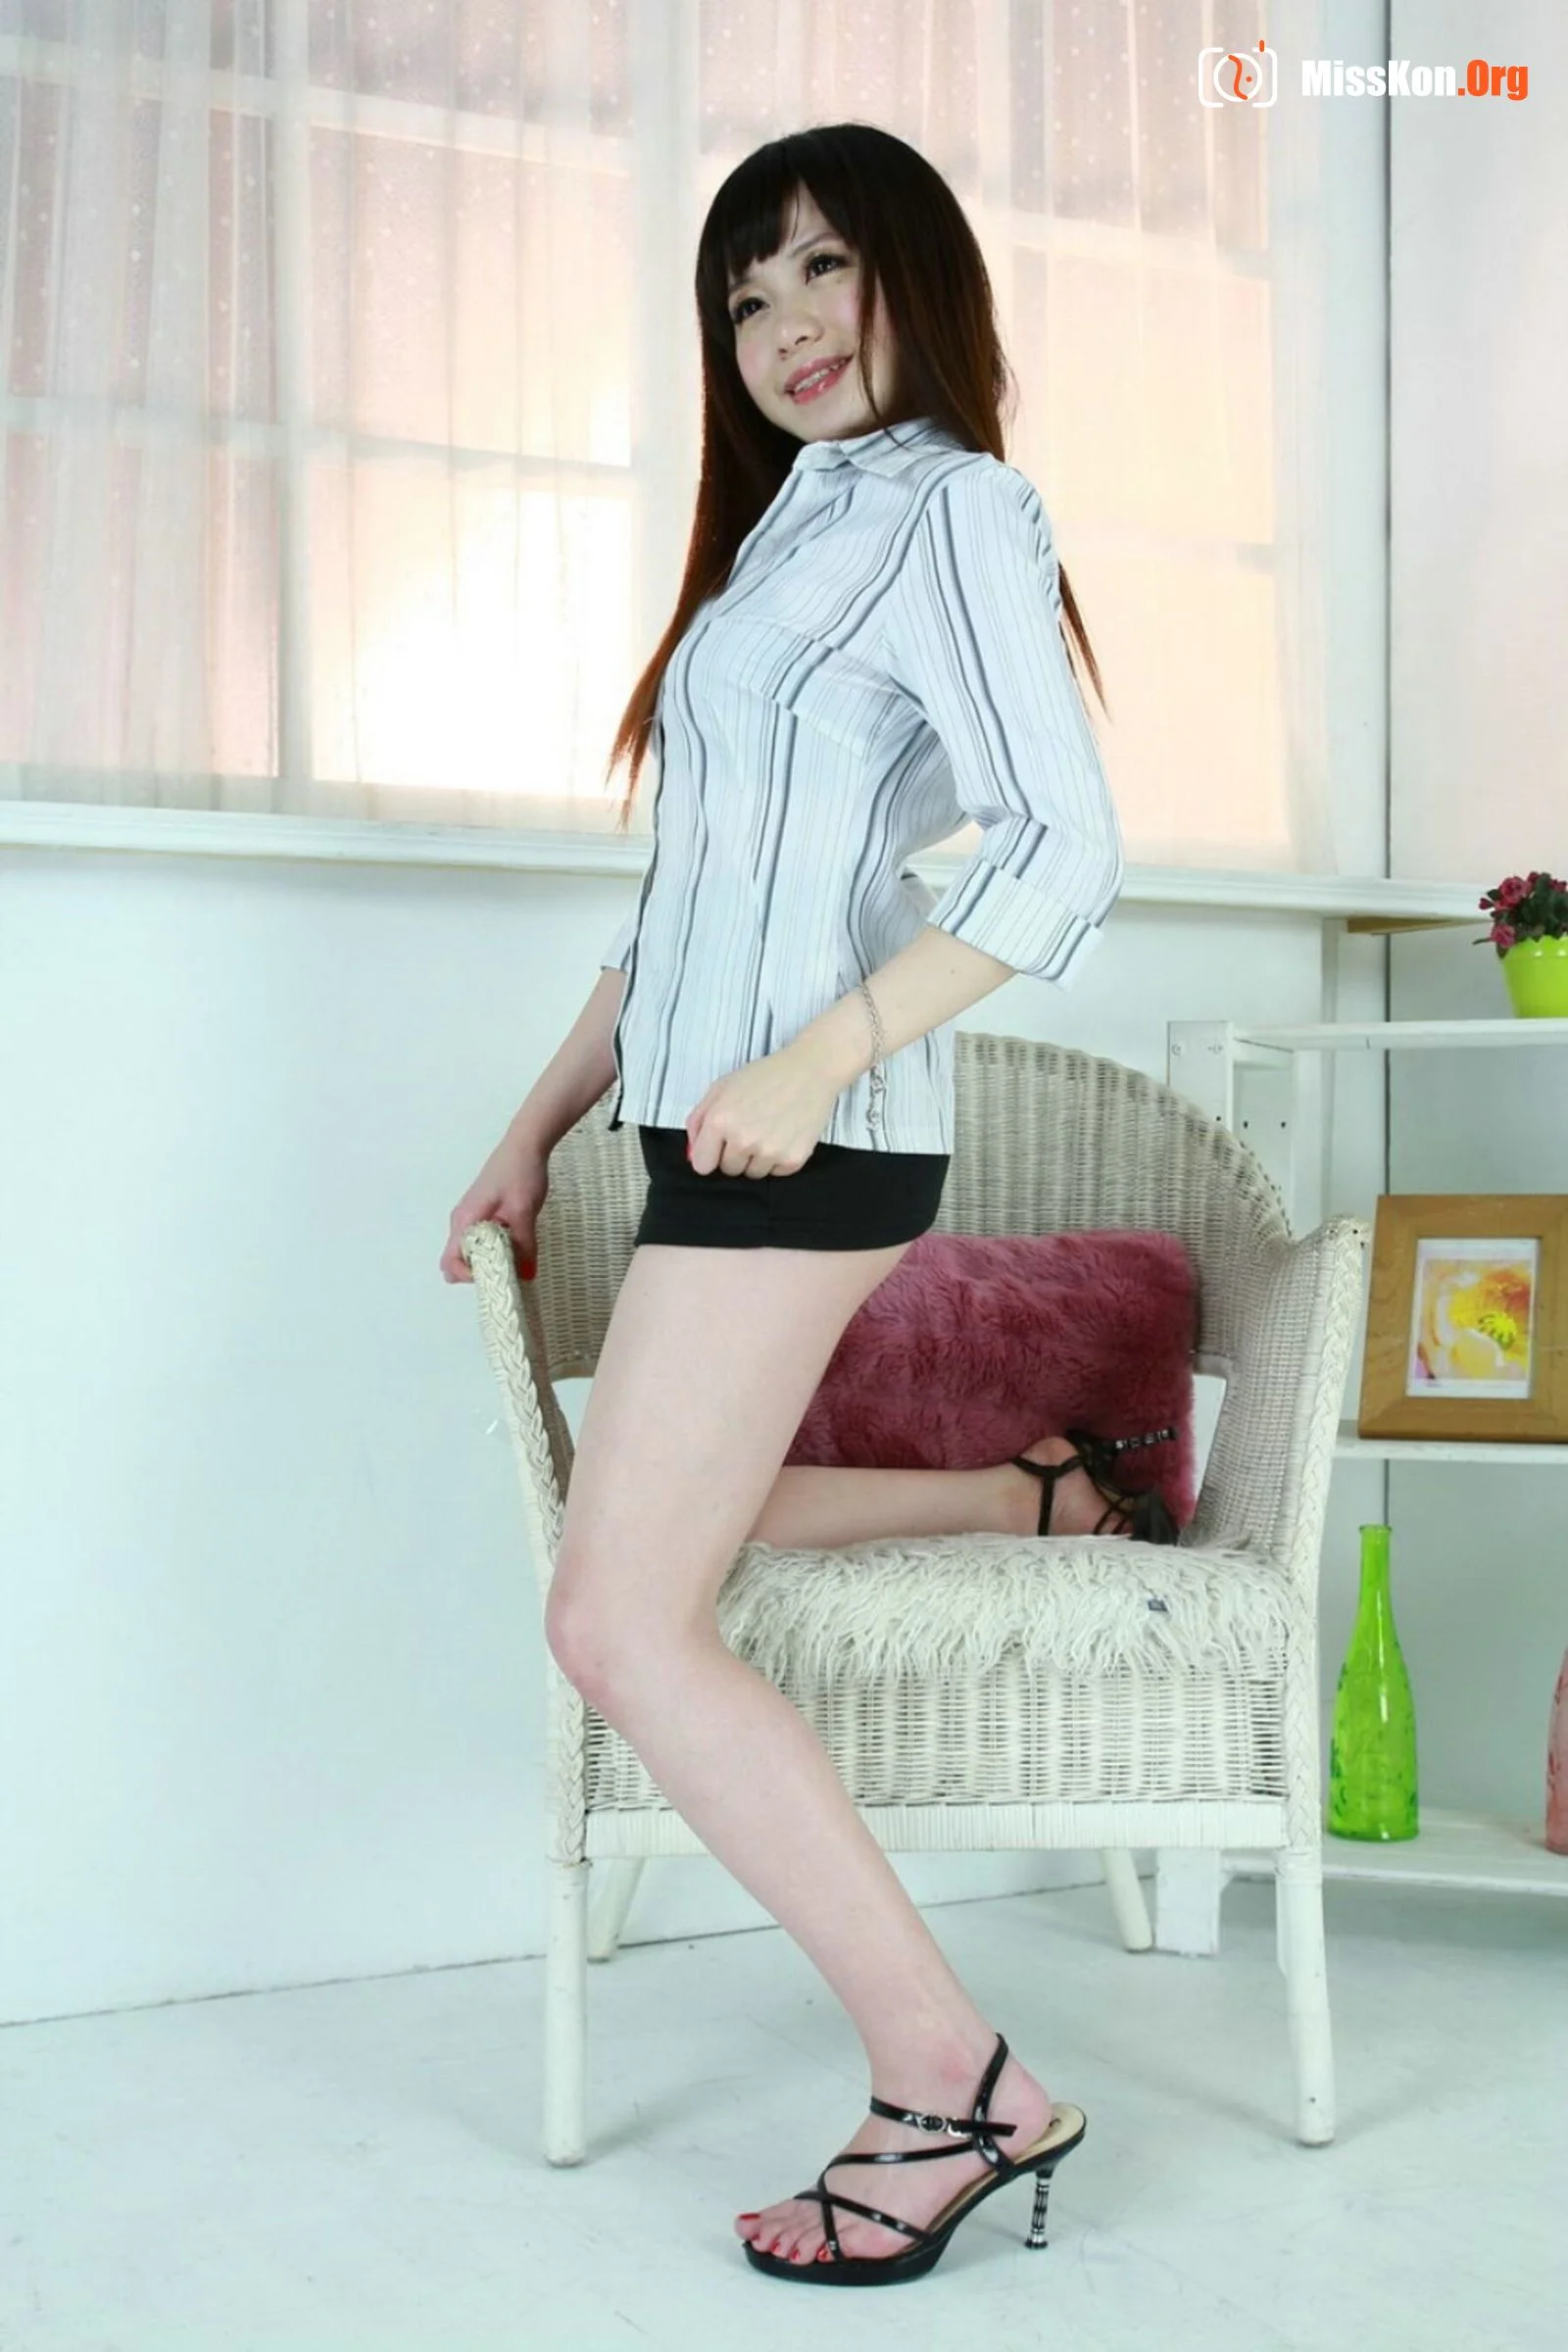
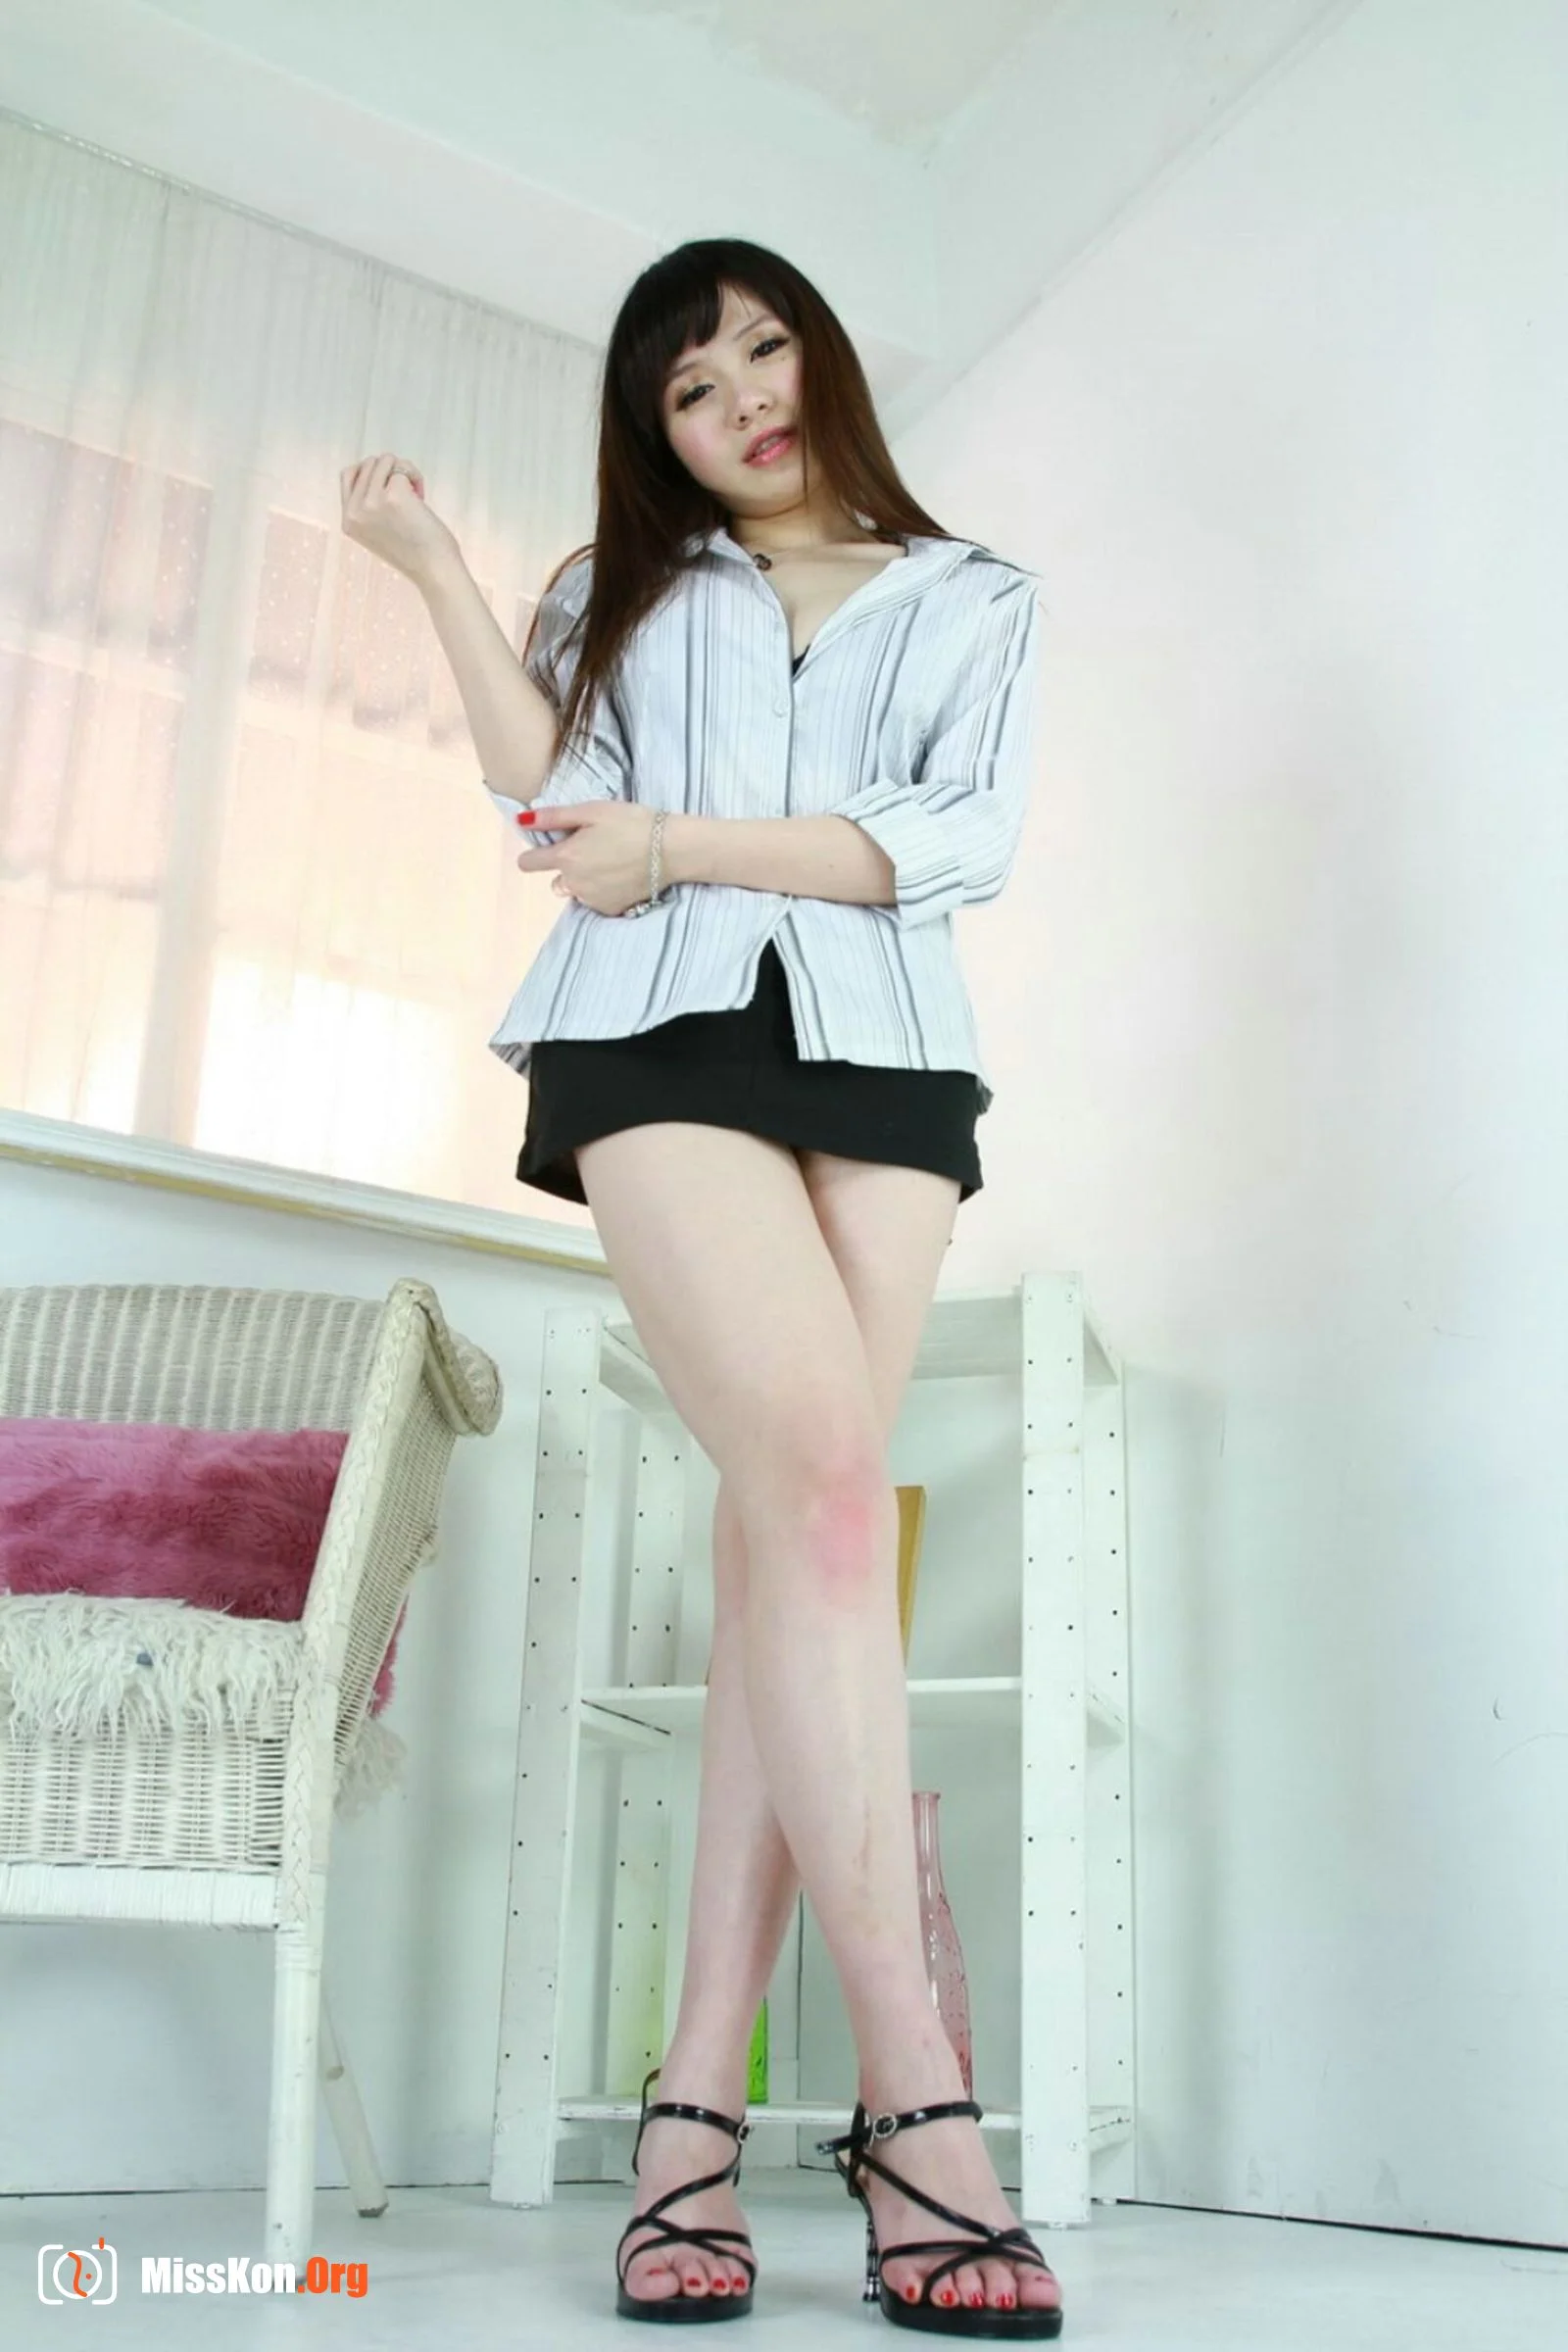
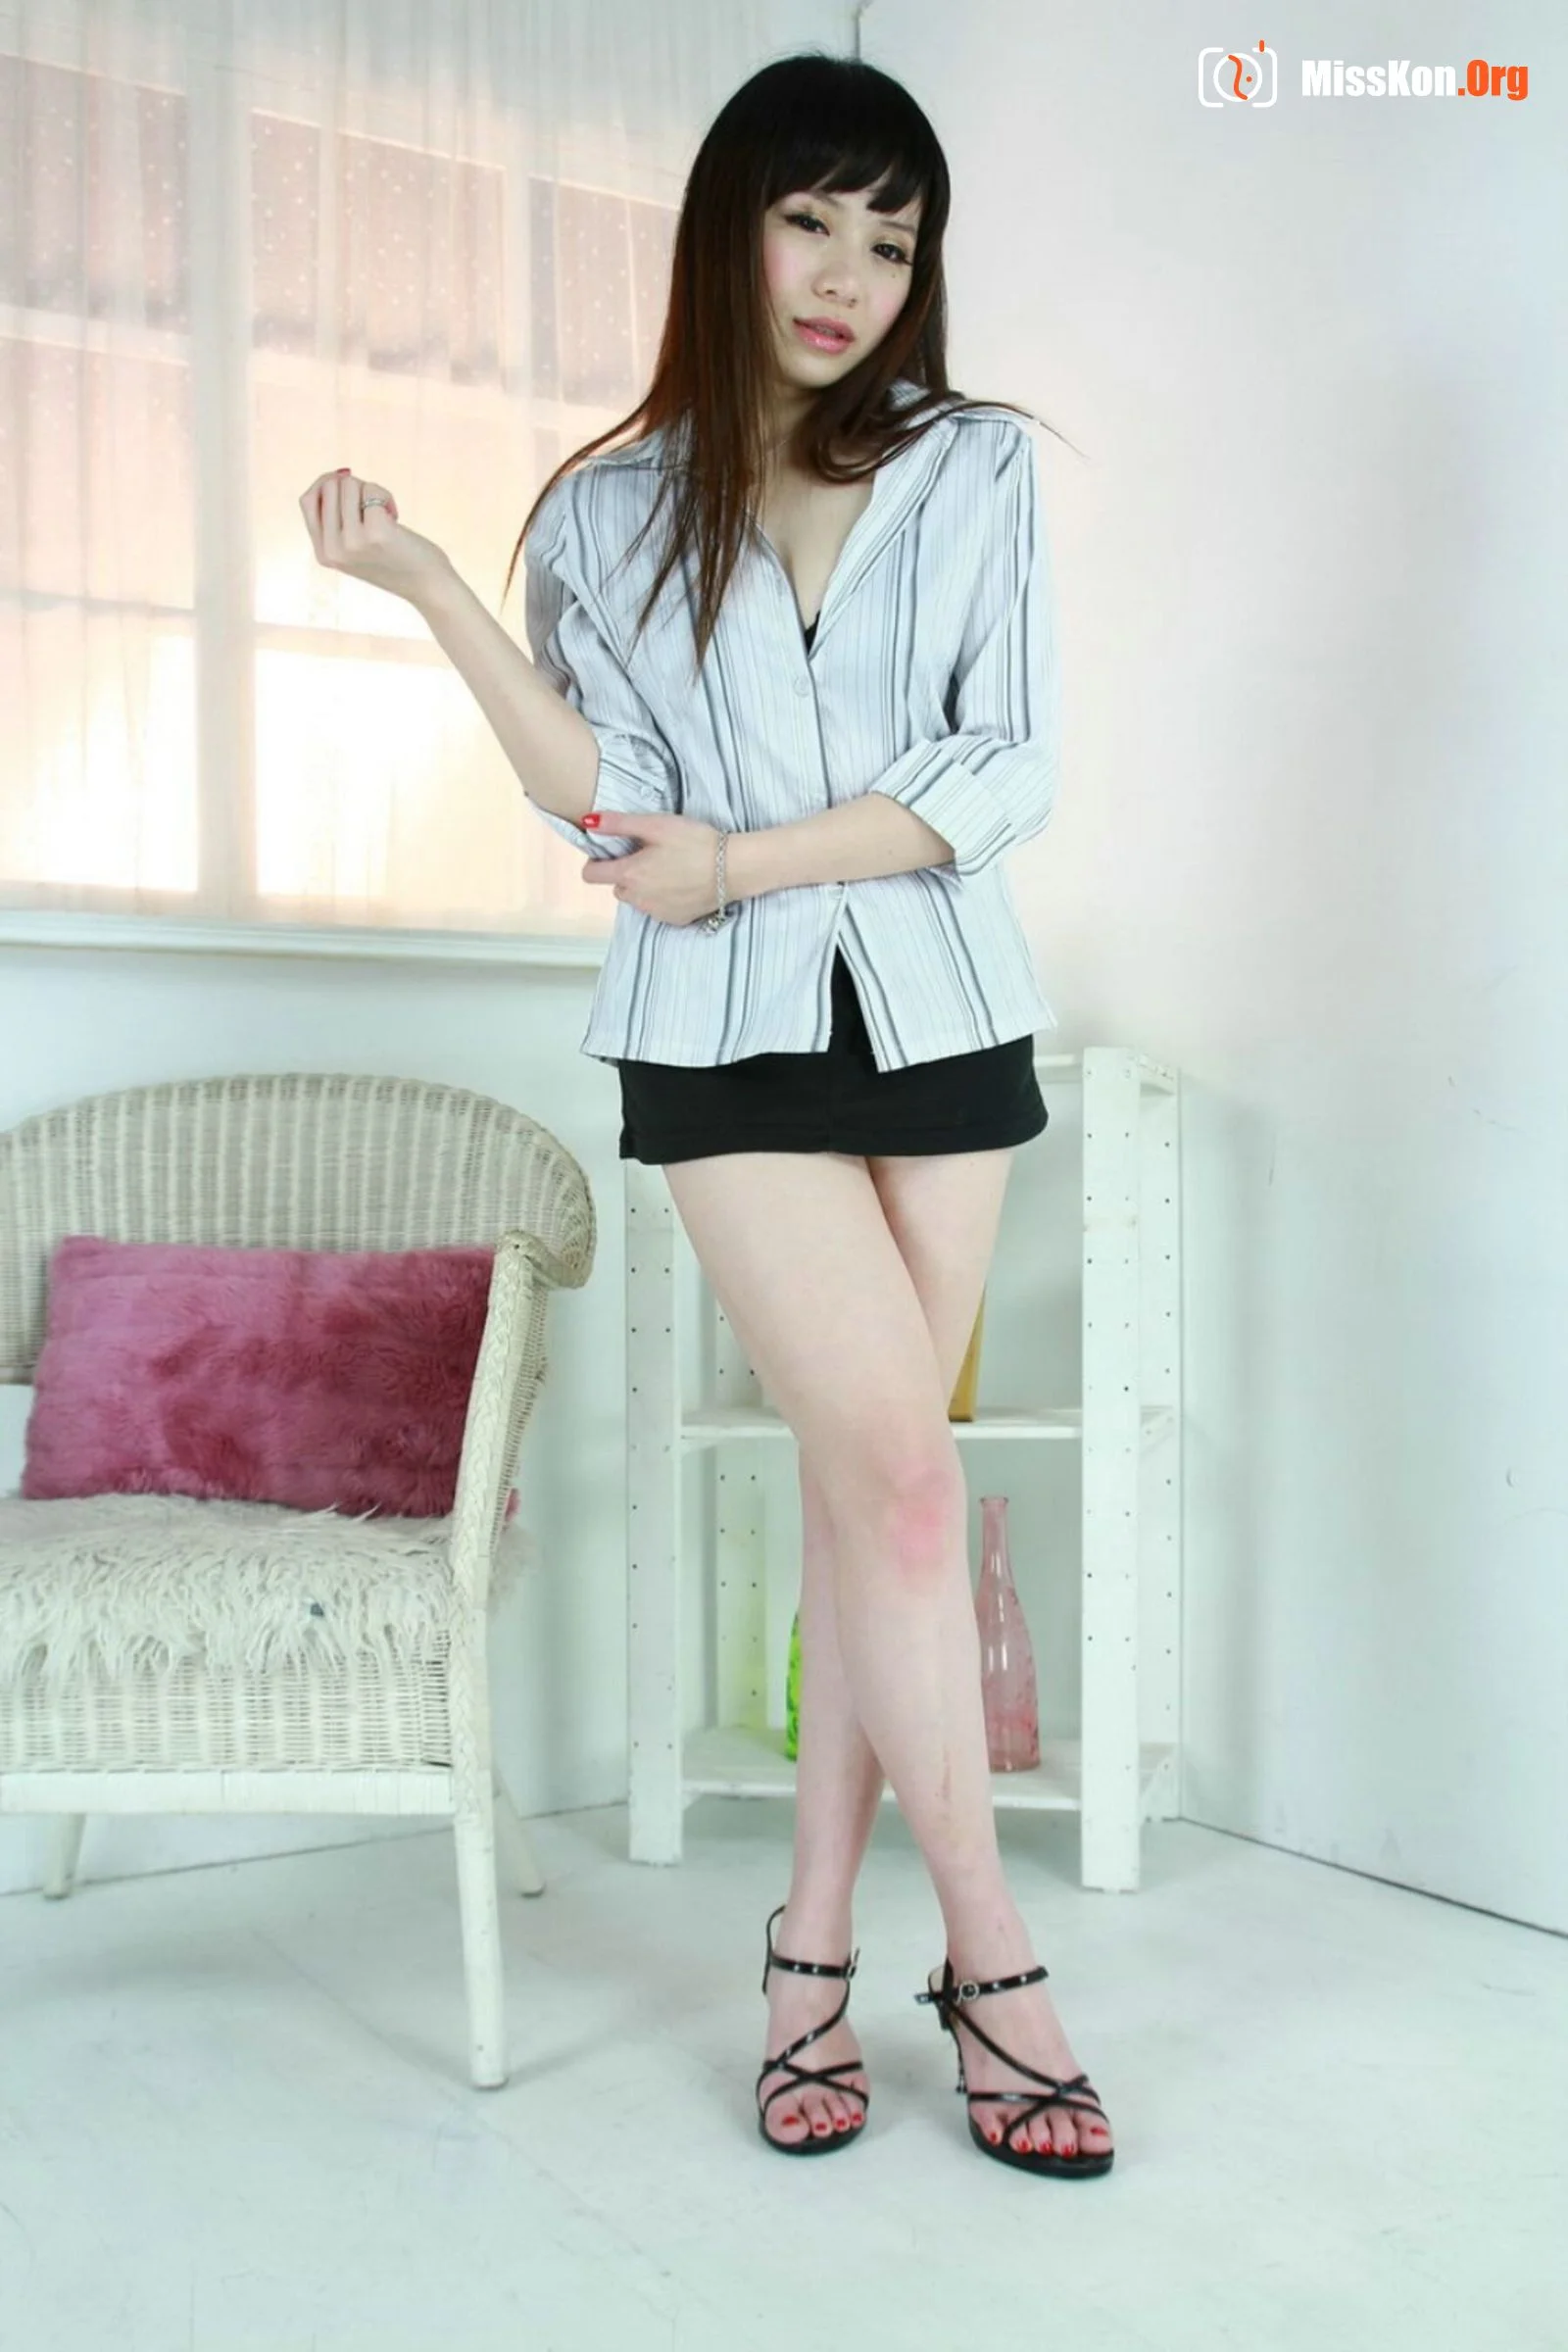
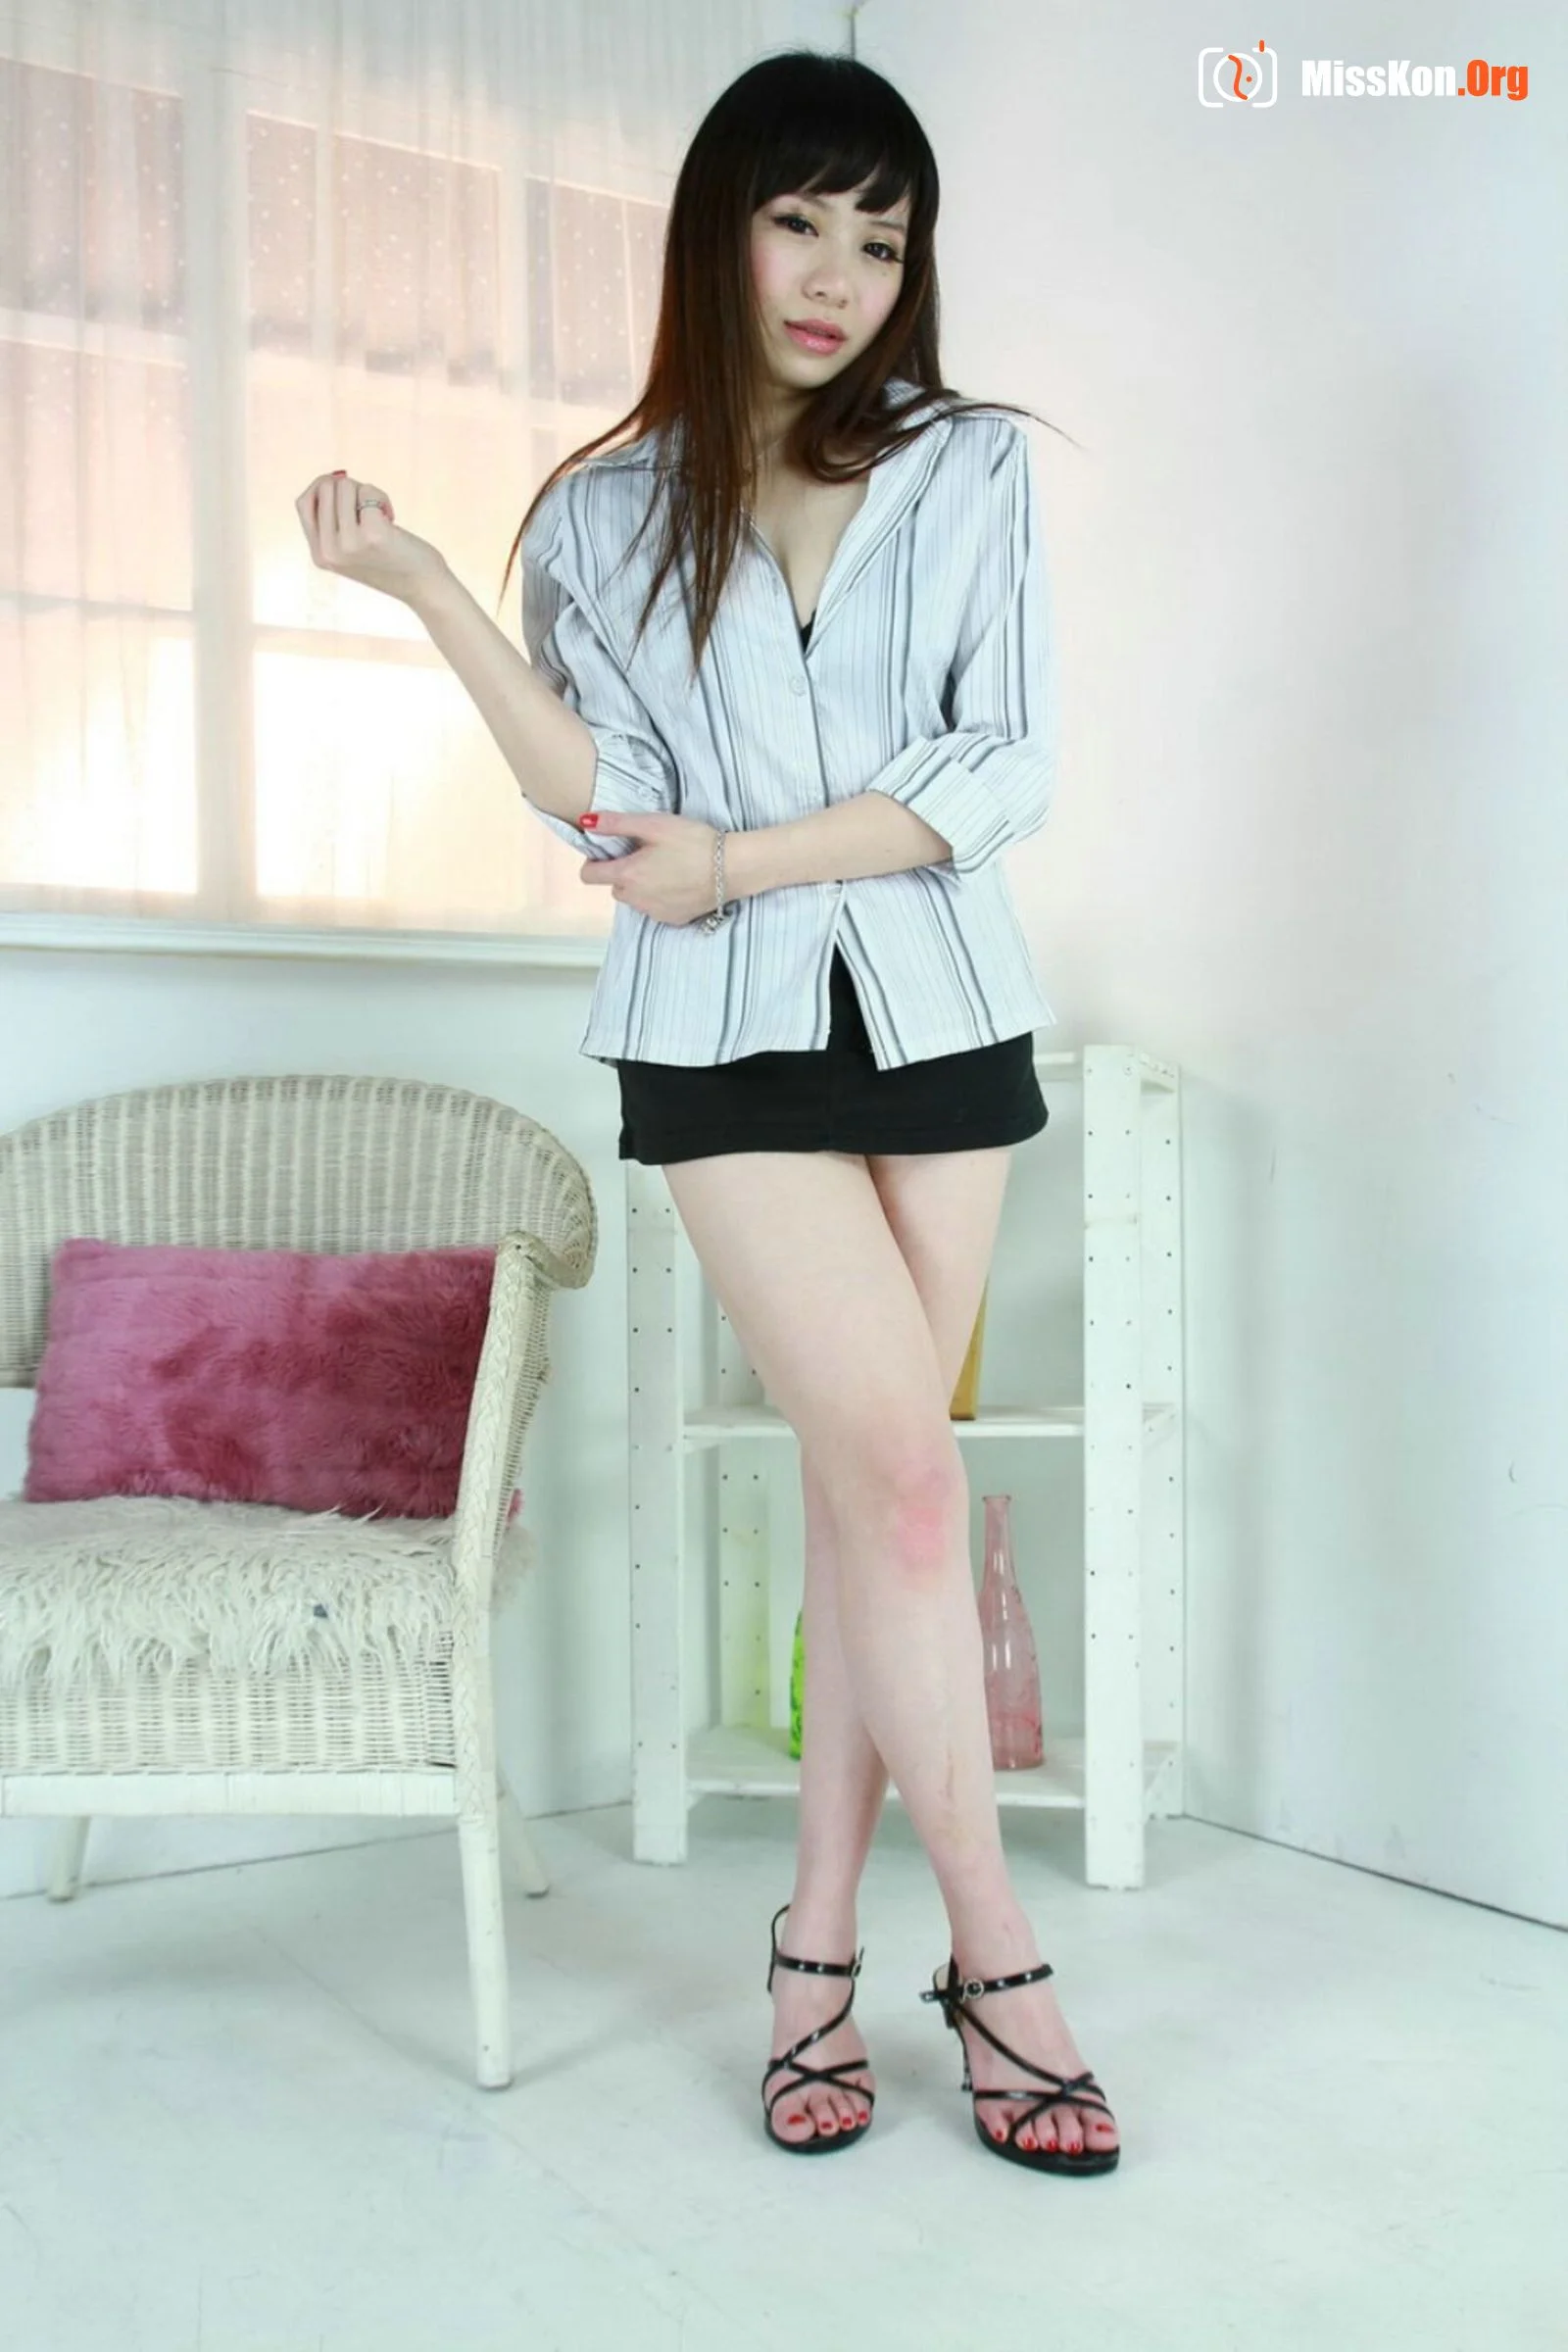
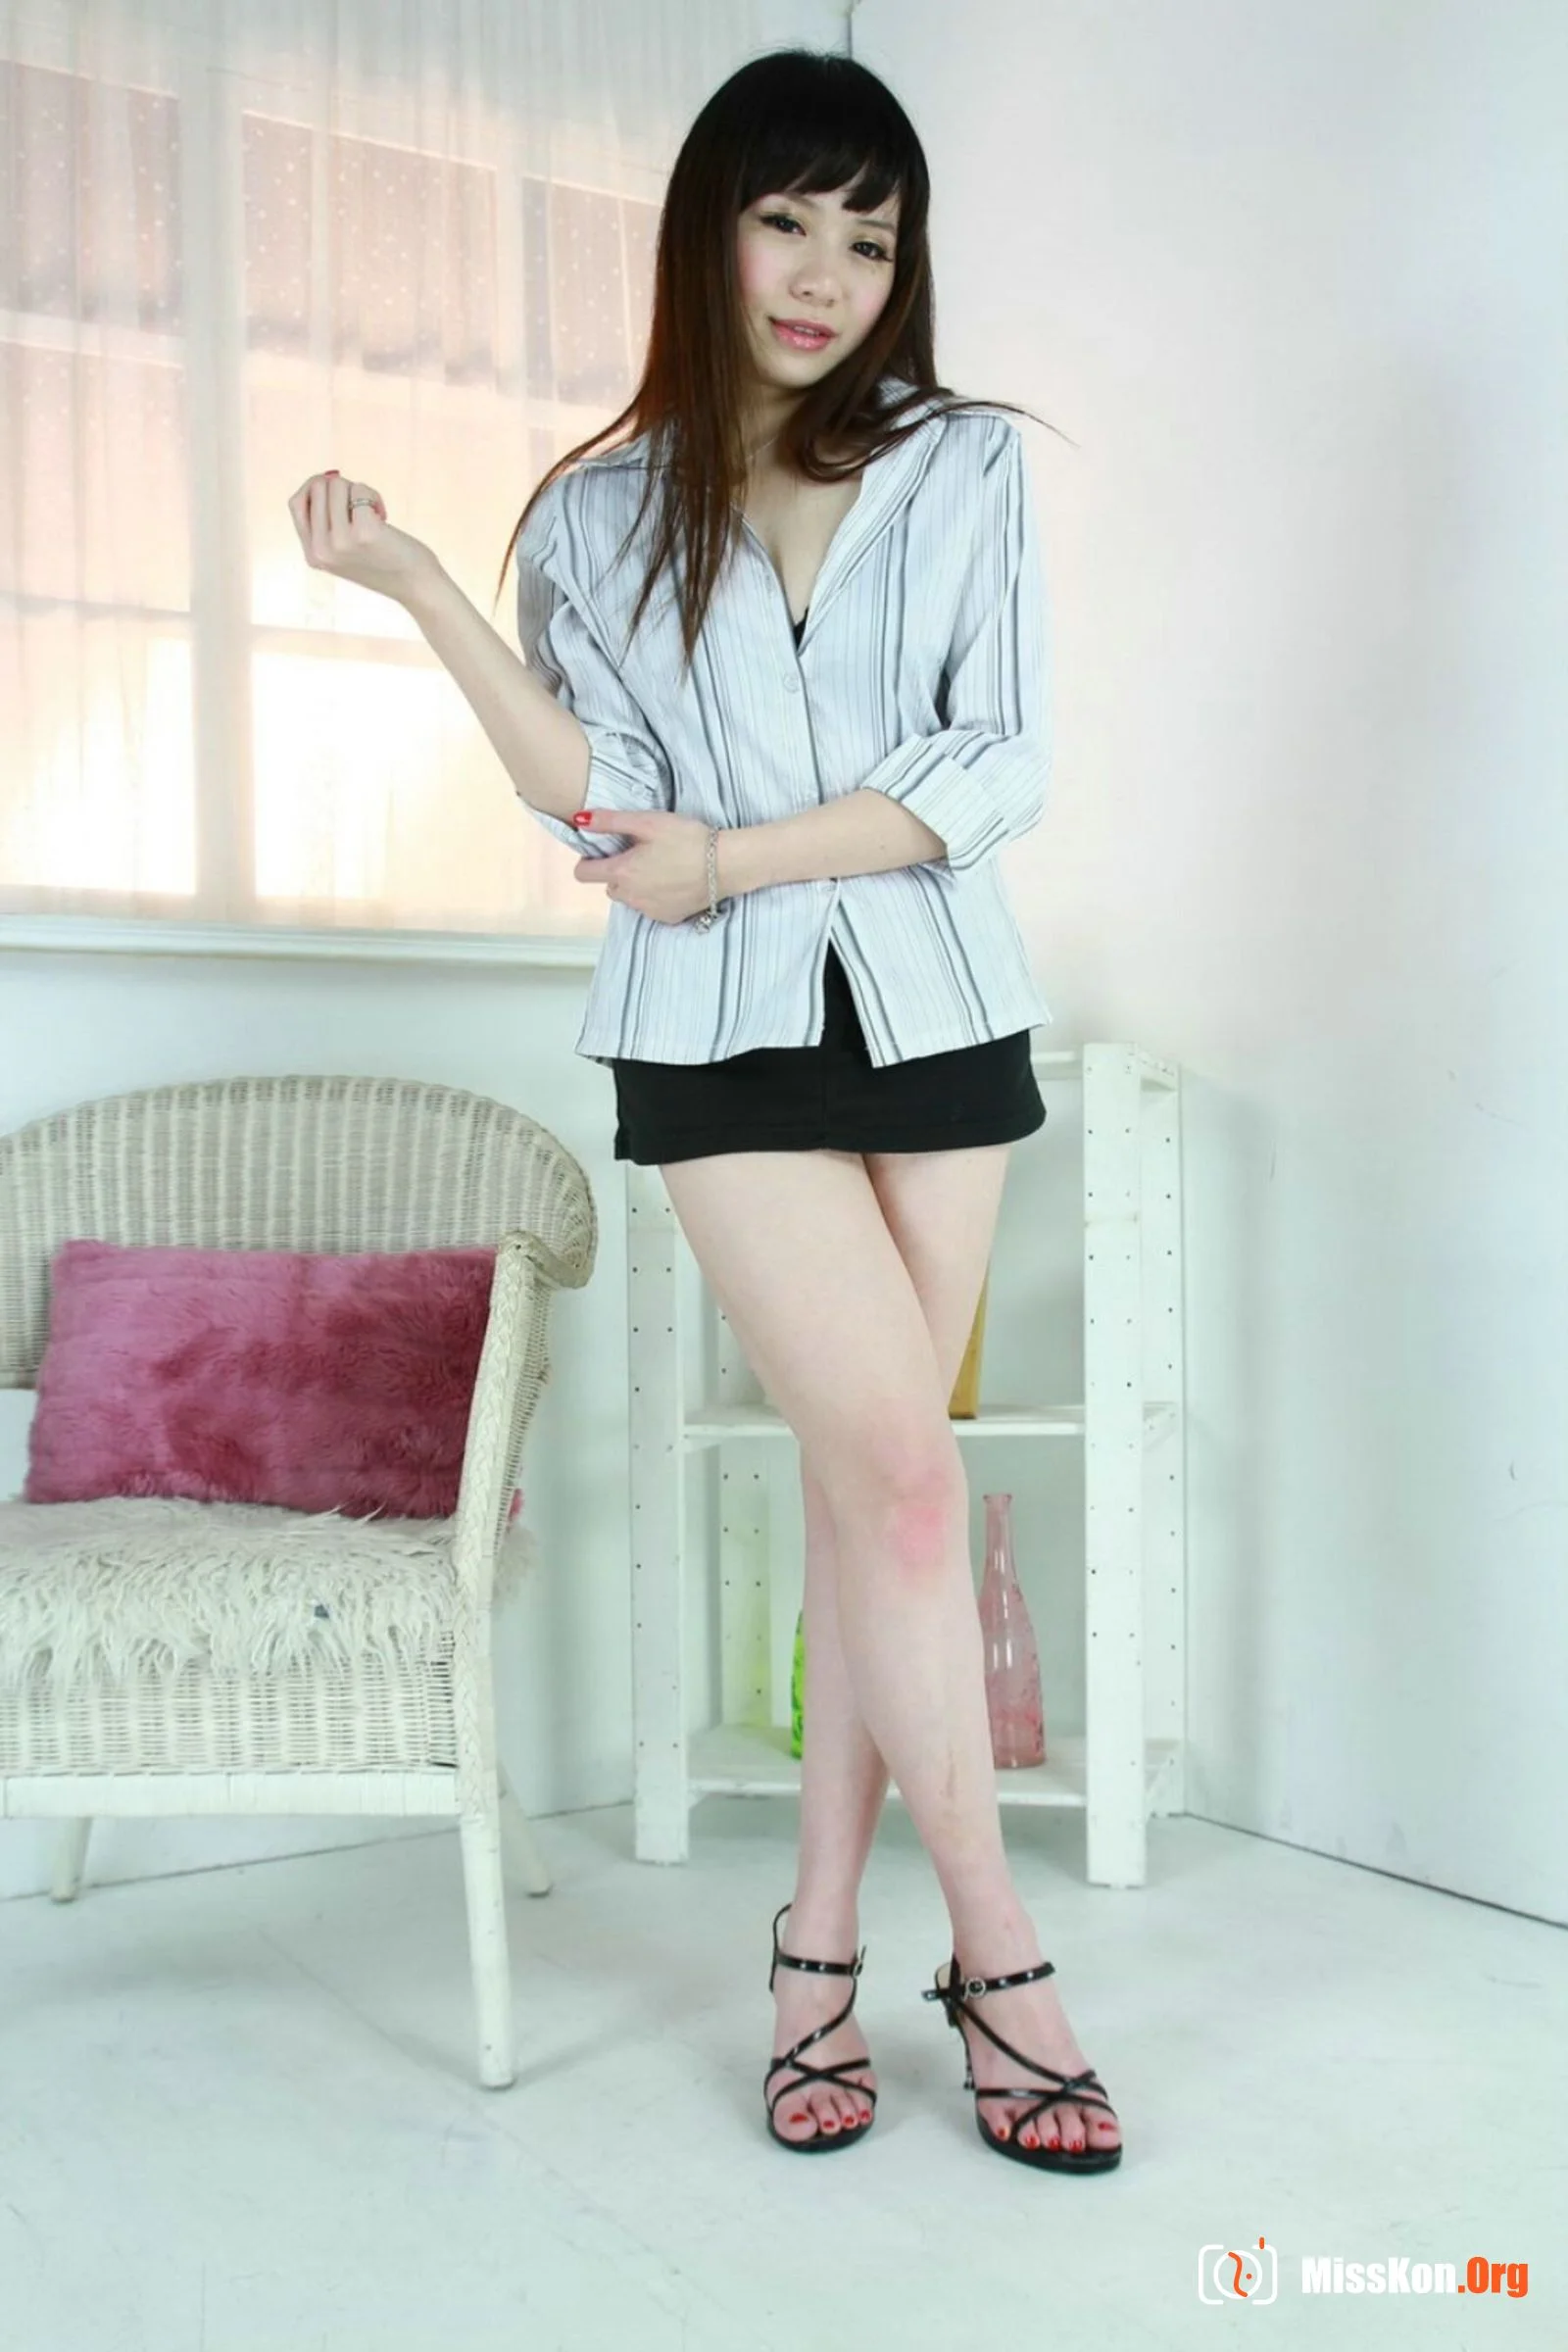
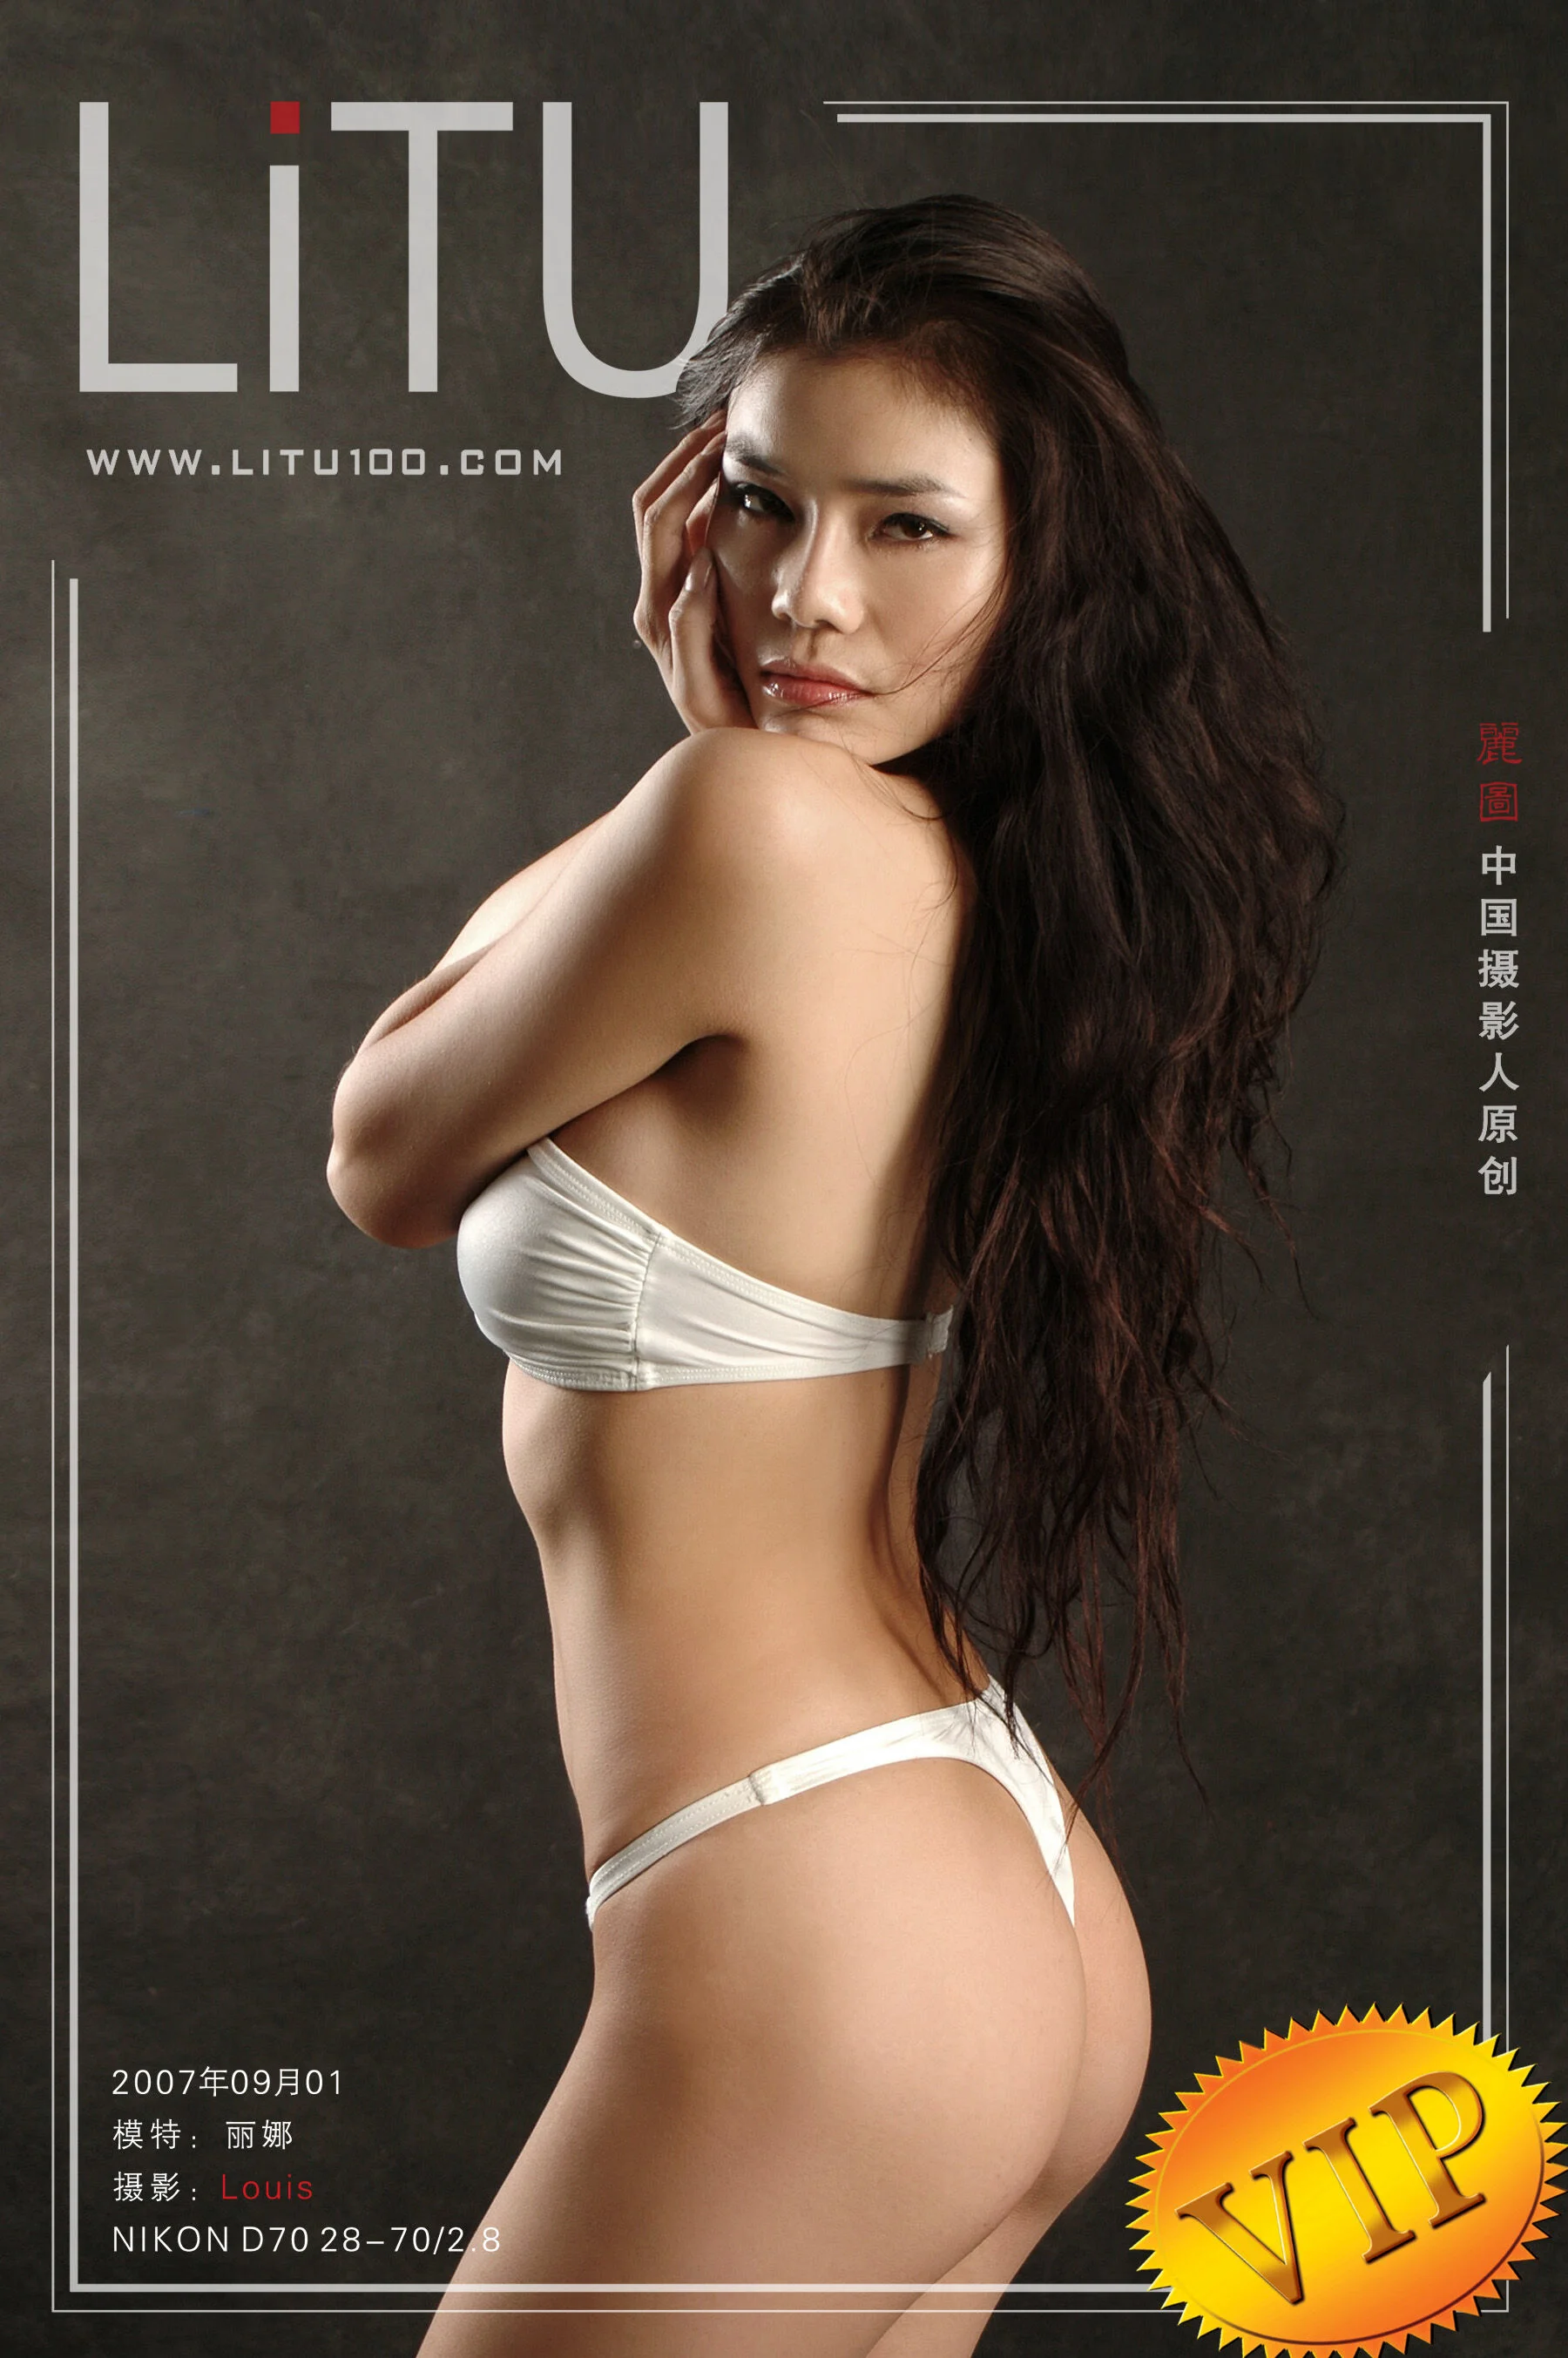
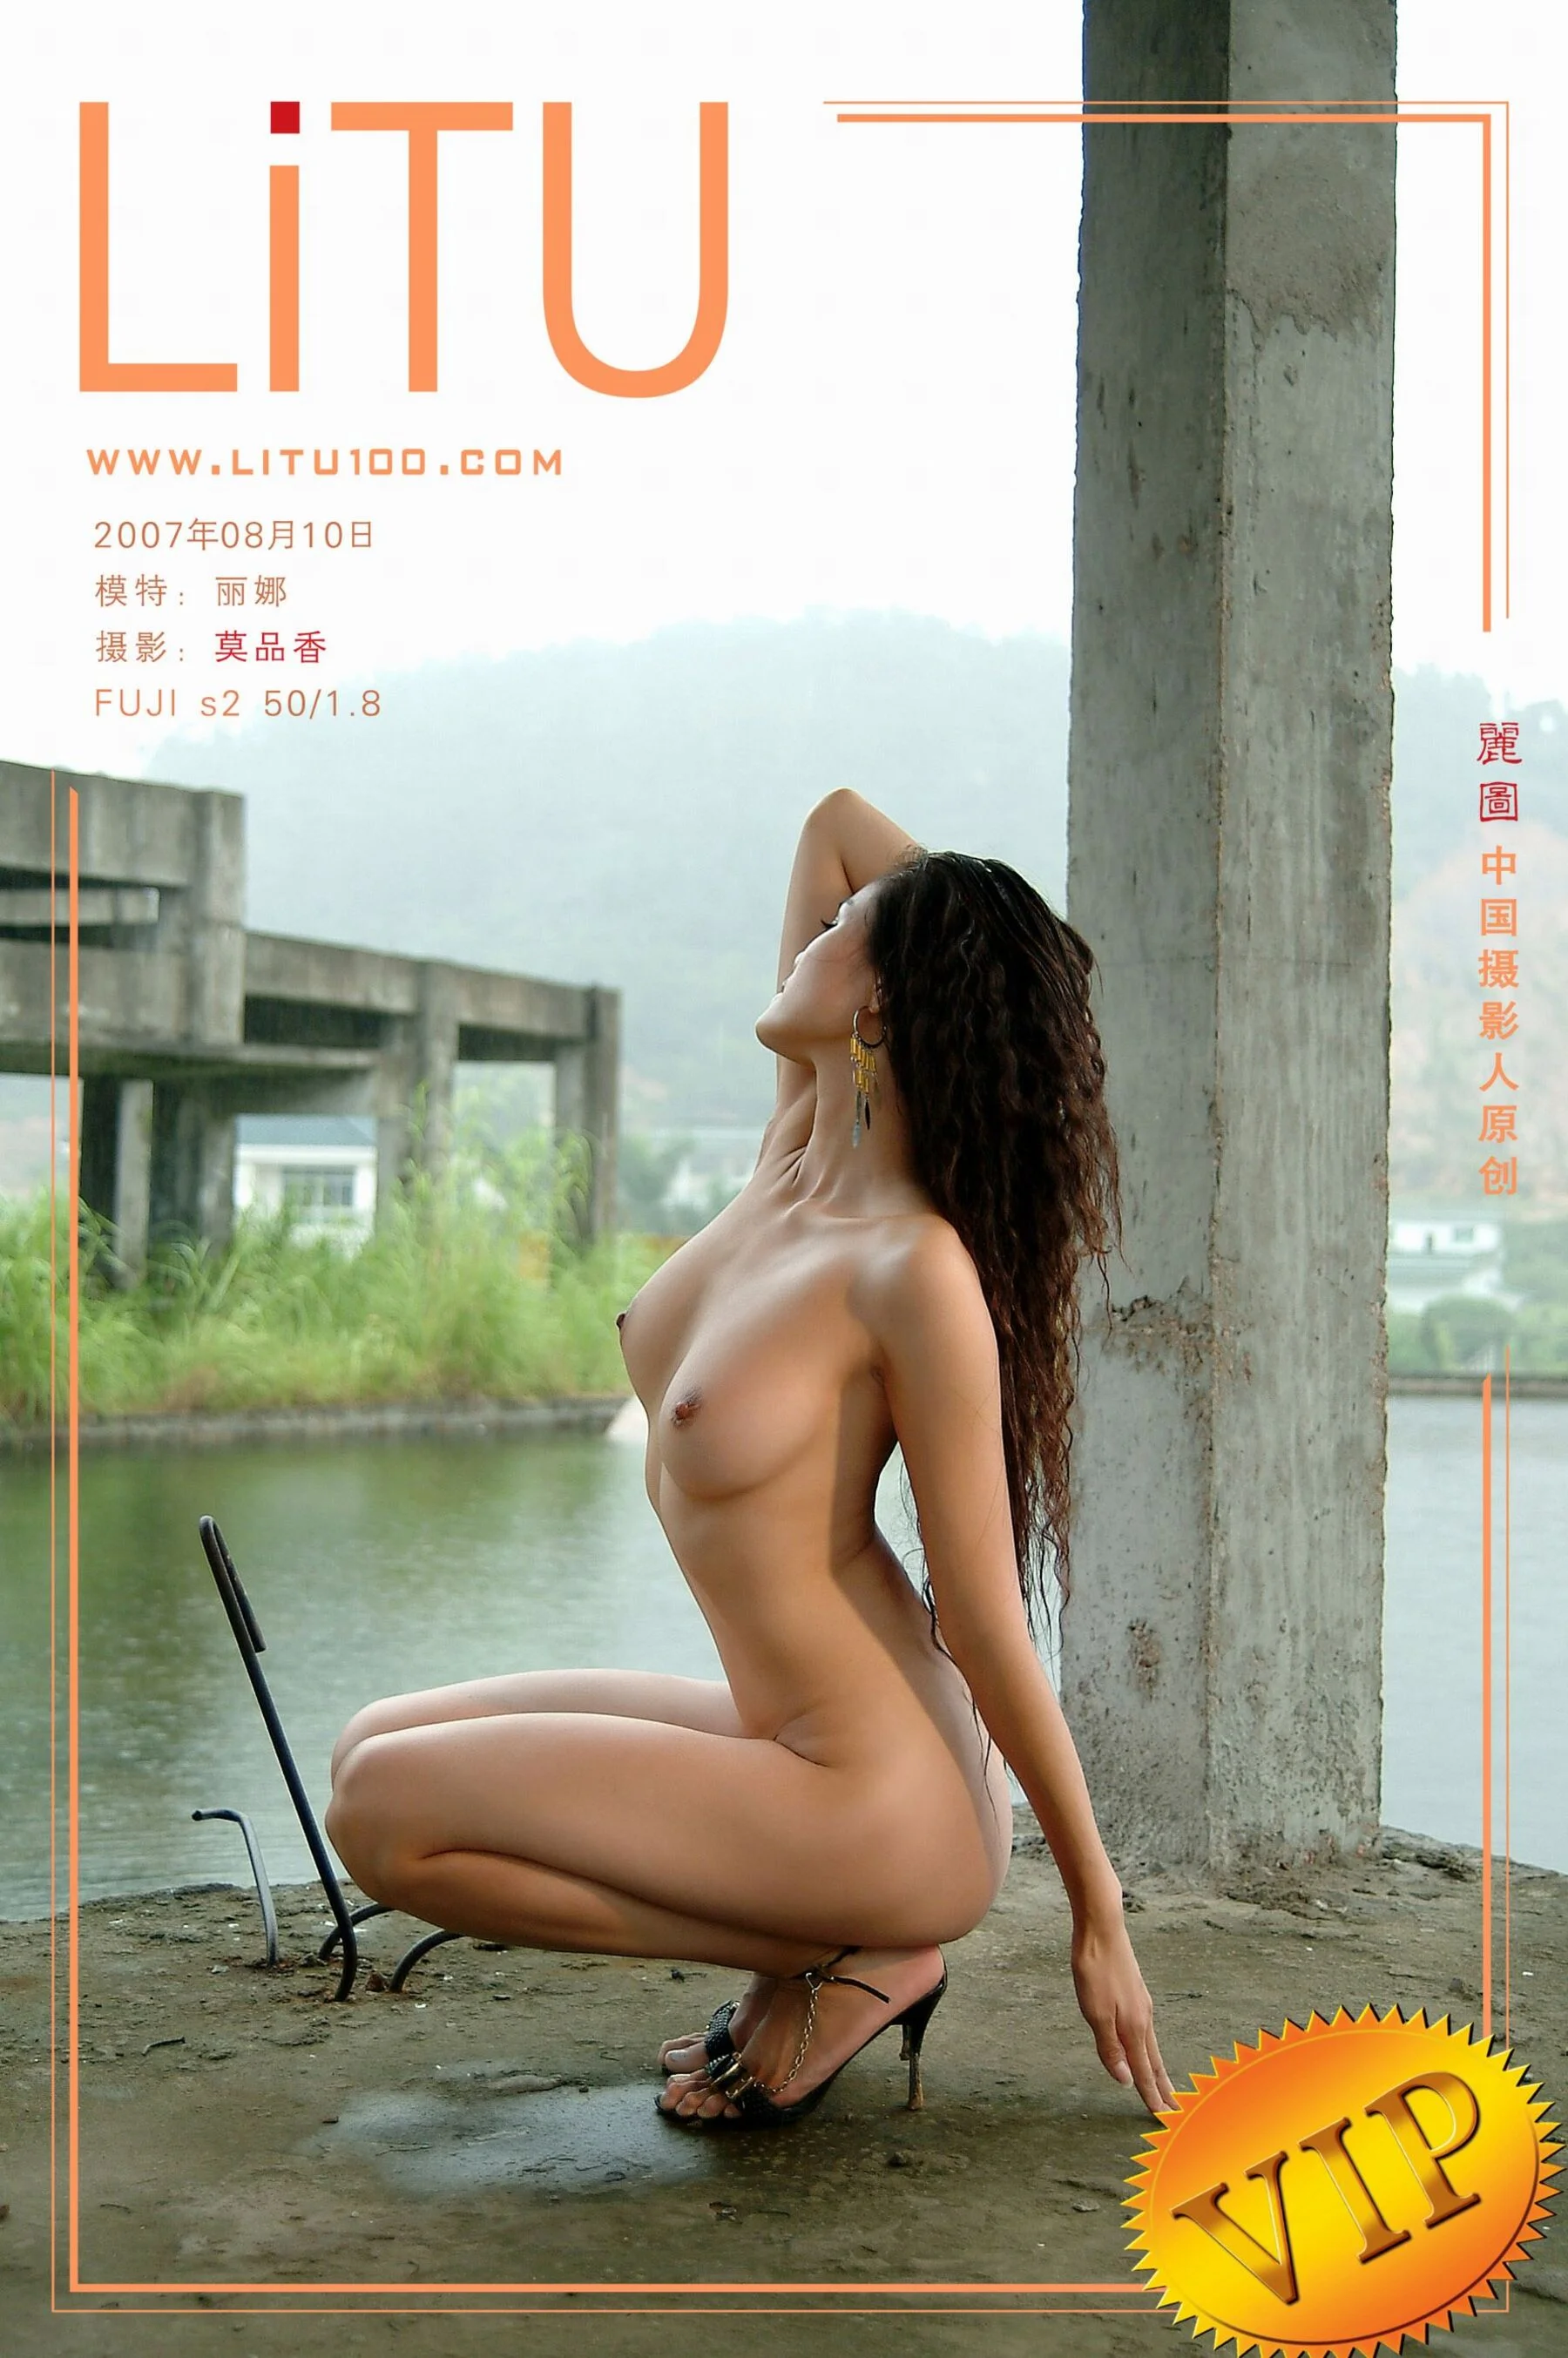
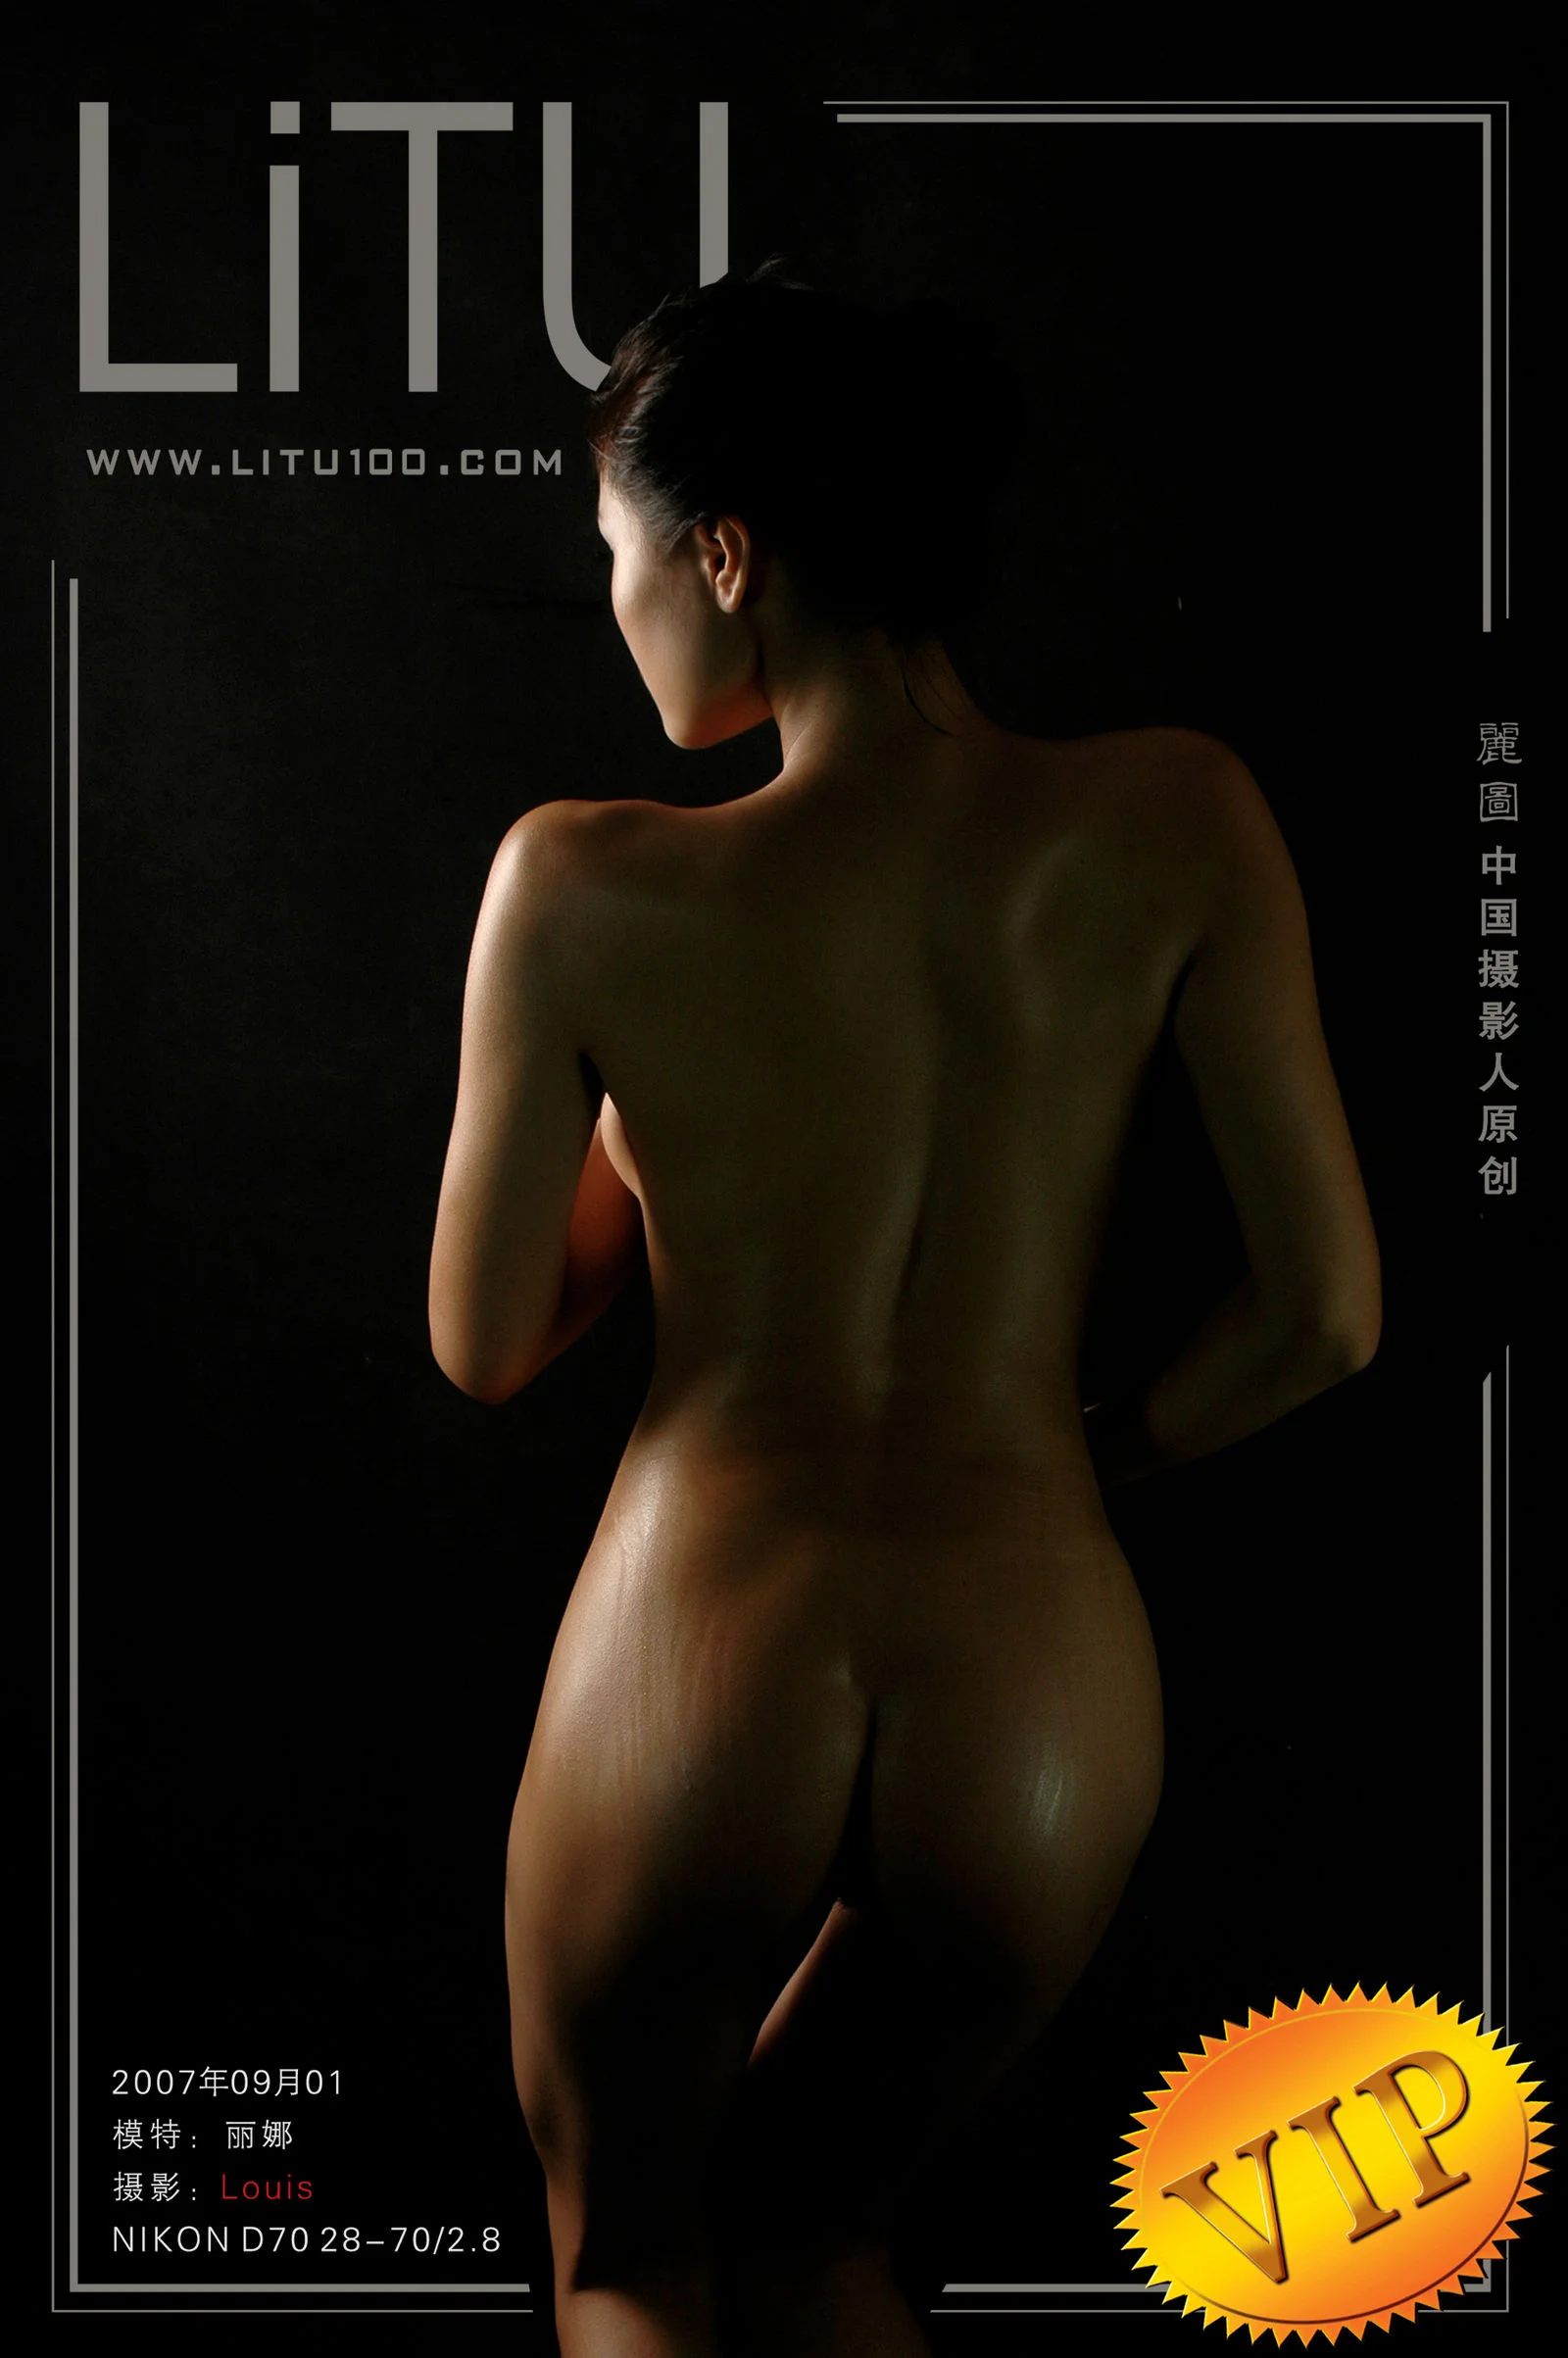
Browse 325 high-quality photos from Taiwanese model LINA large-scale body private photo set (2011-05-10) featuring model Lina in the Taiwan Nude series from Other Photos . Tagged with EXIF, Large scale, Nude. Published on April 21, 2026.


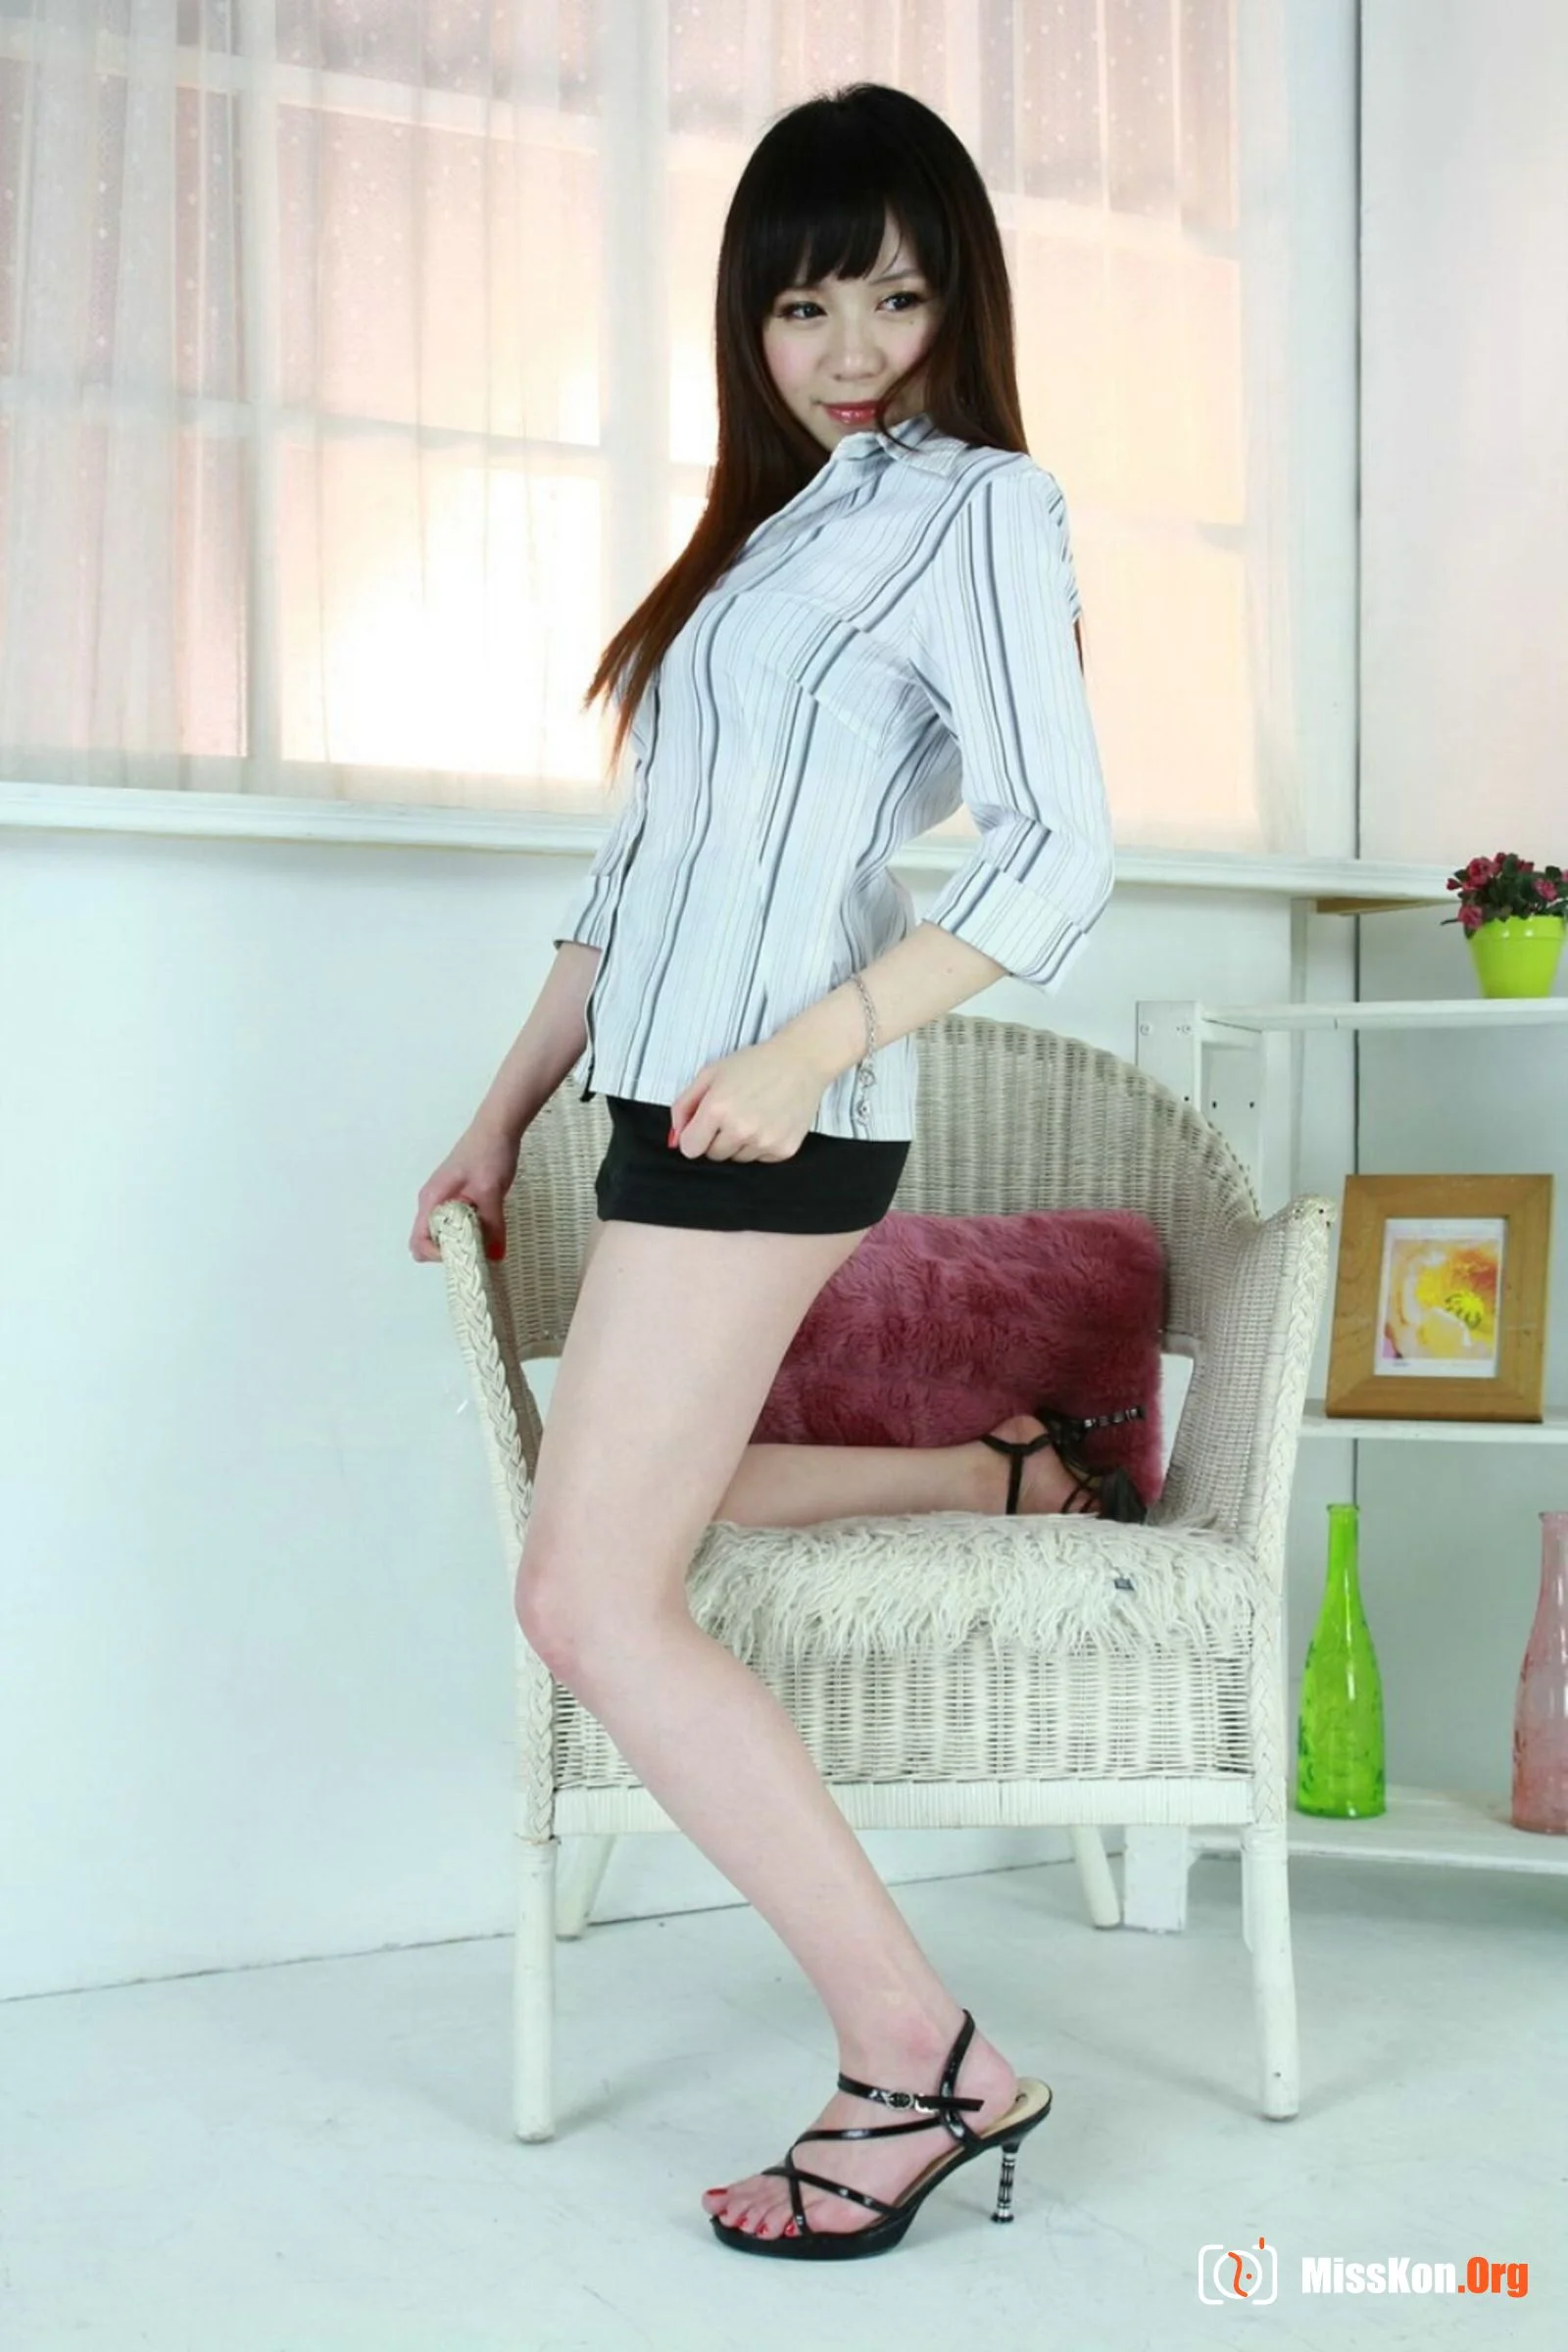
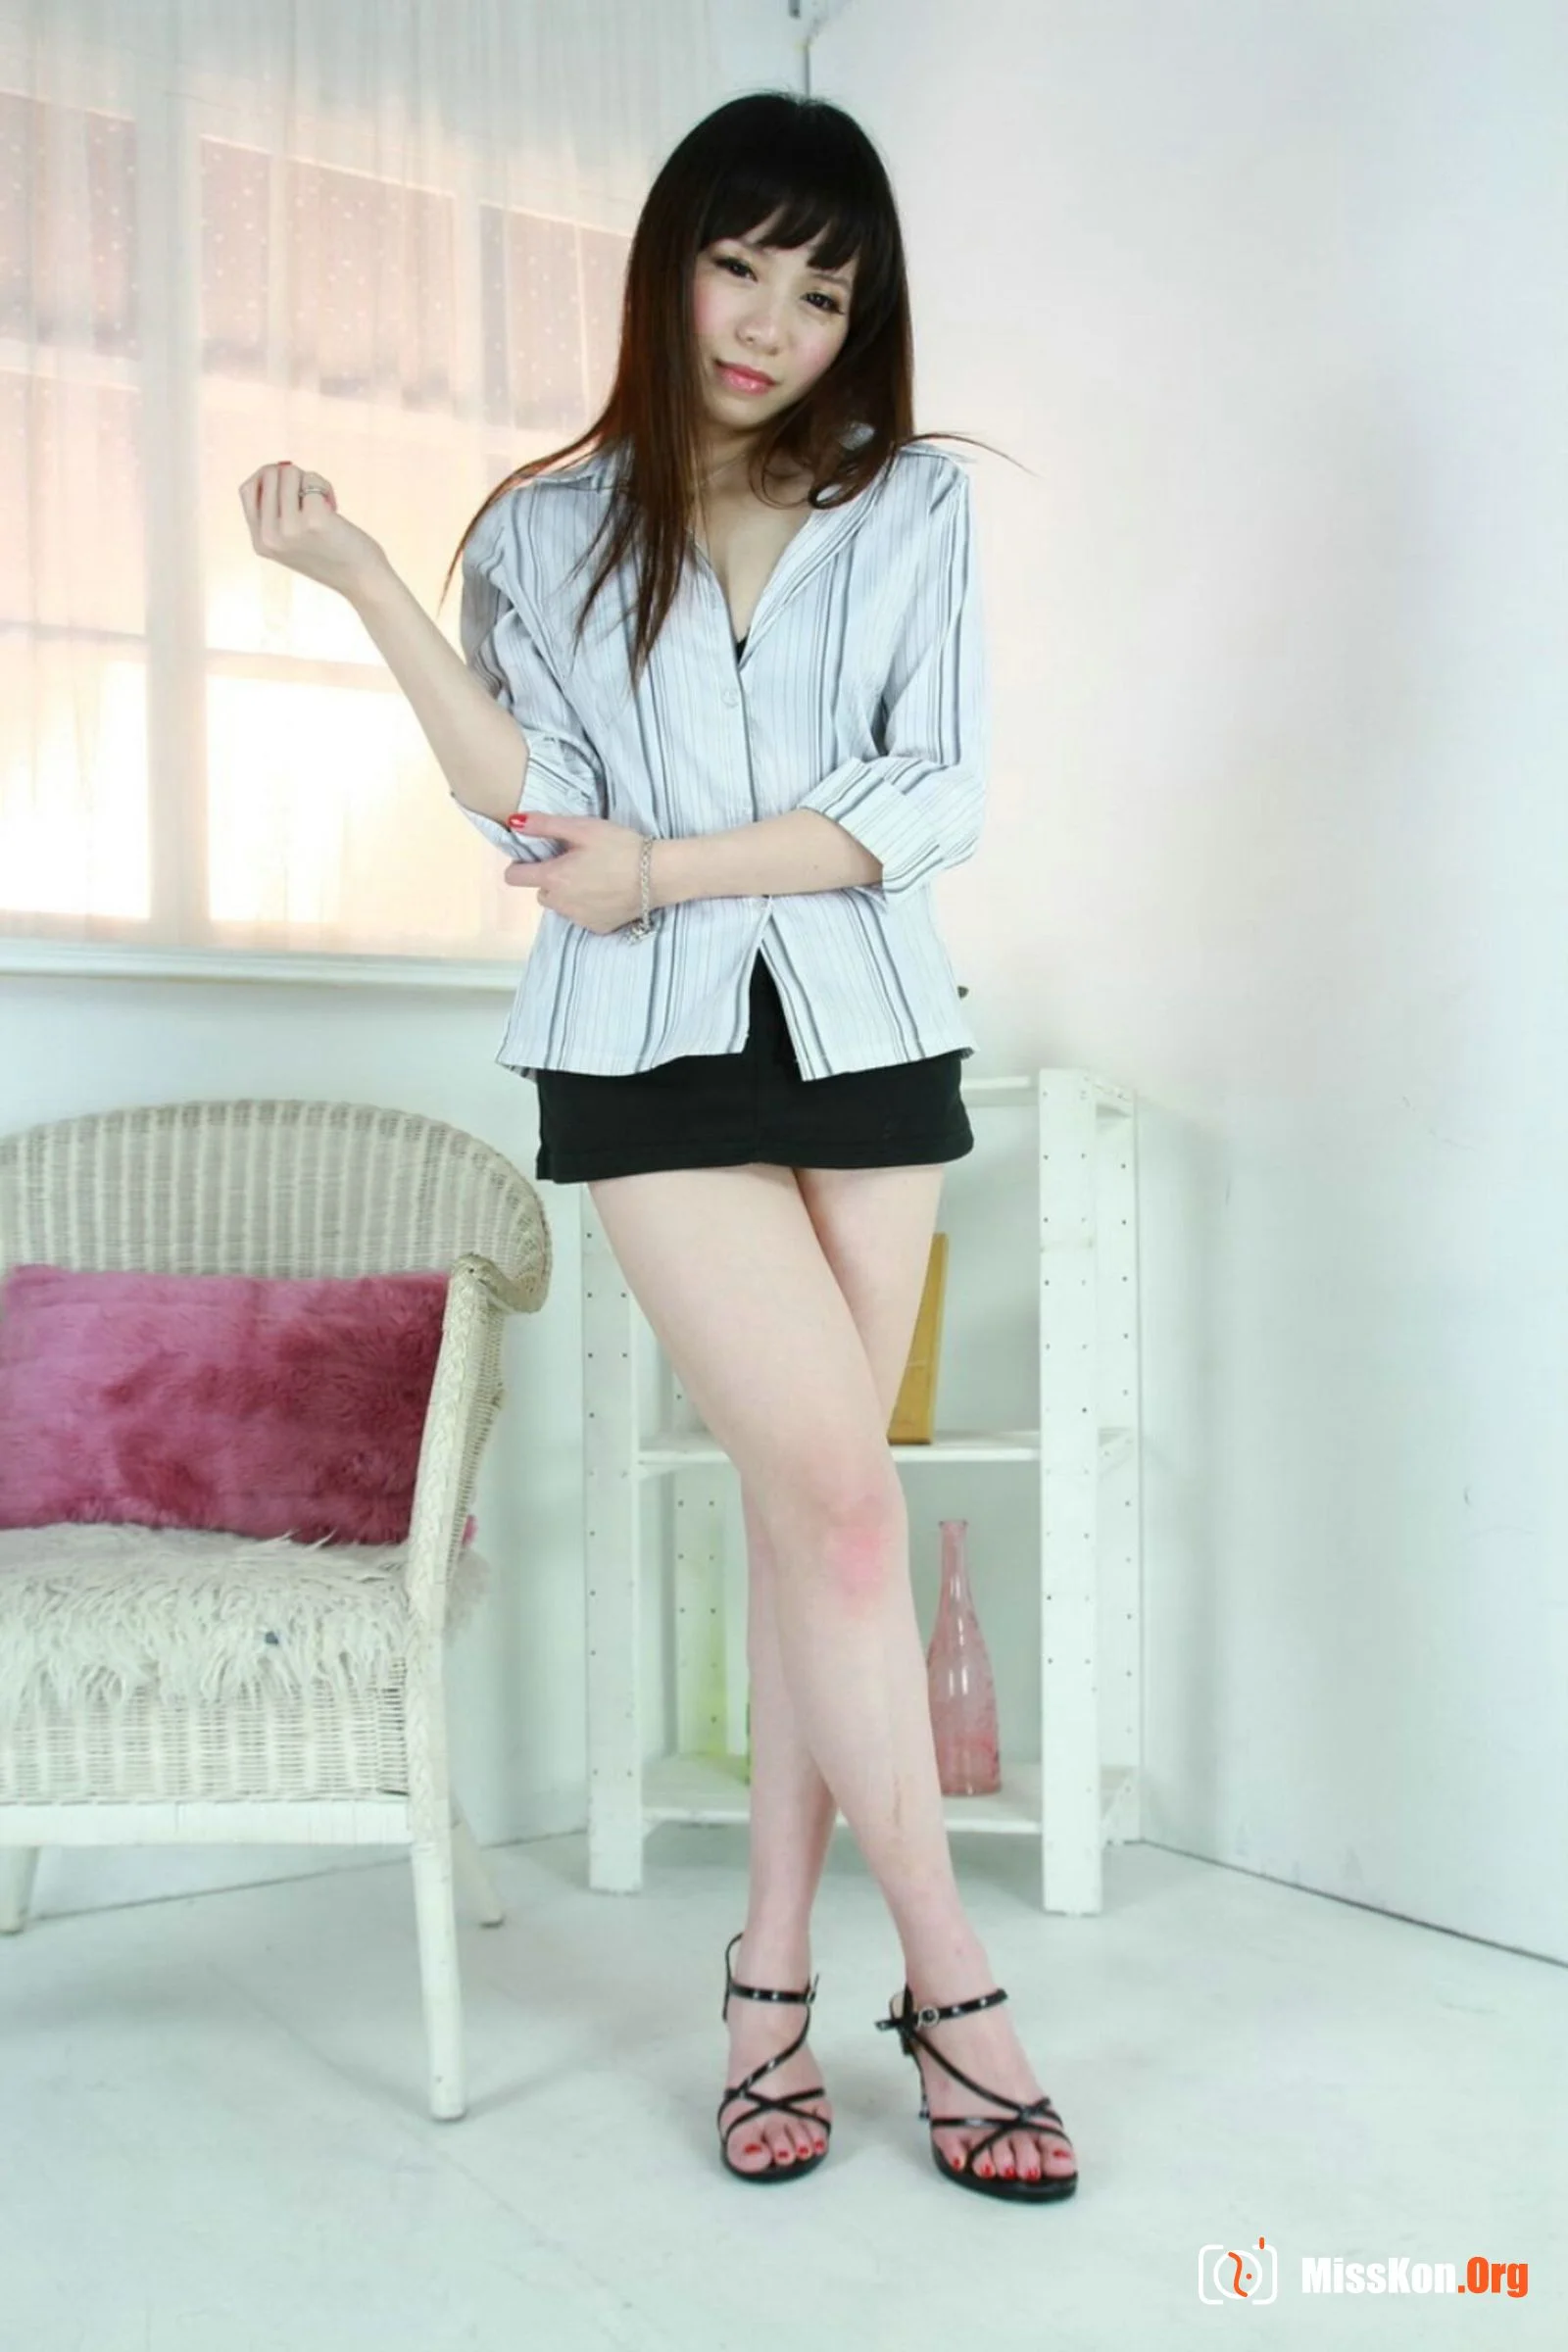
Taiwanese model LINA large-scale body private photo set (2011-05-10) - Photo 1
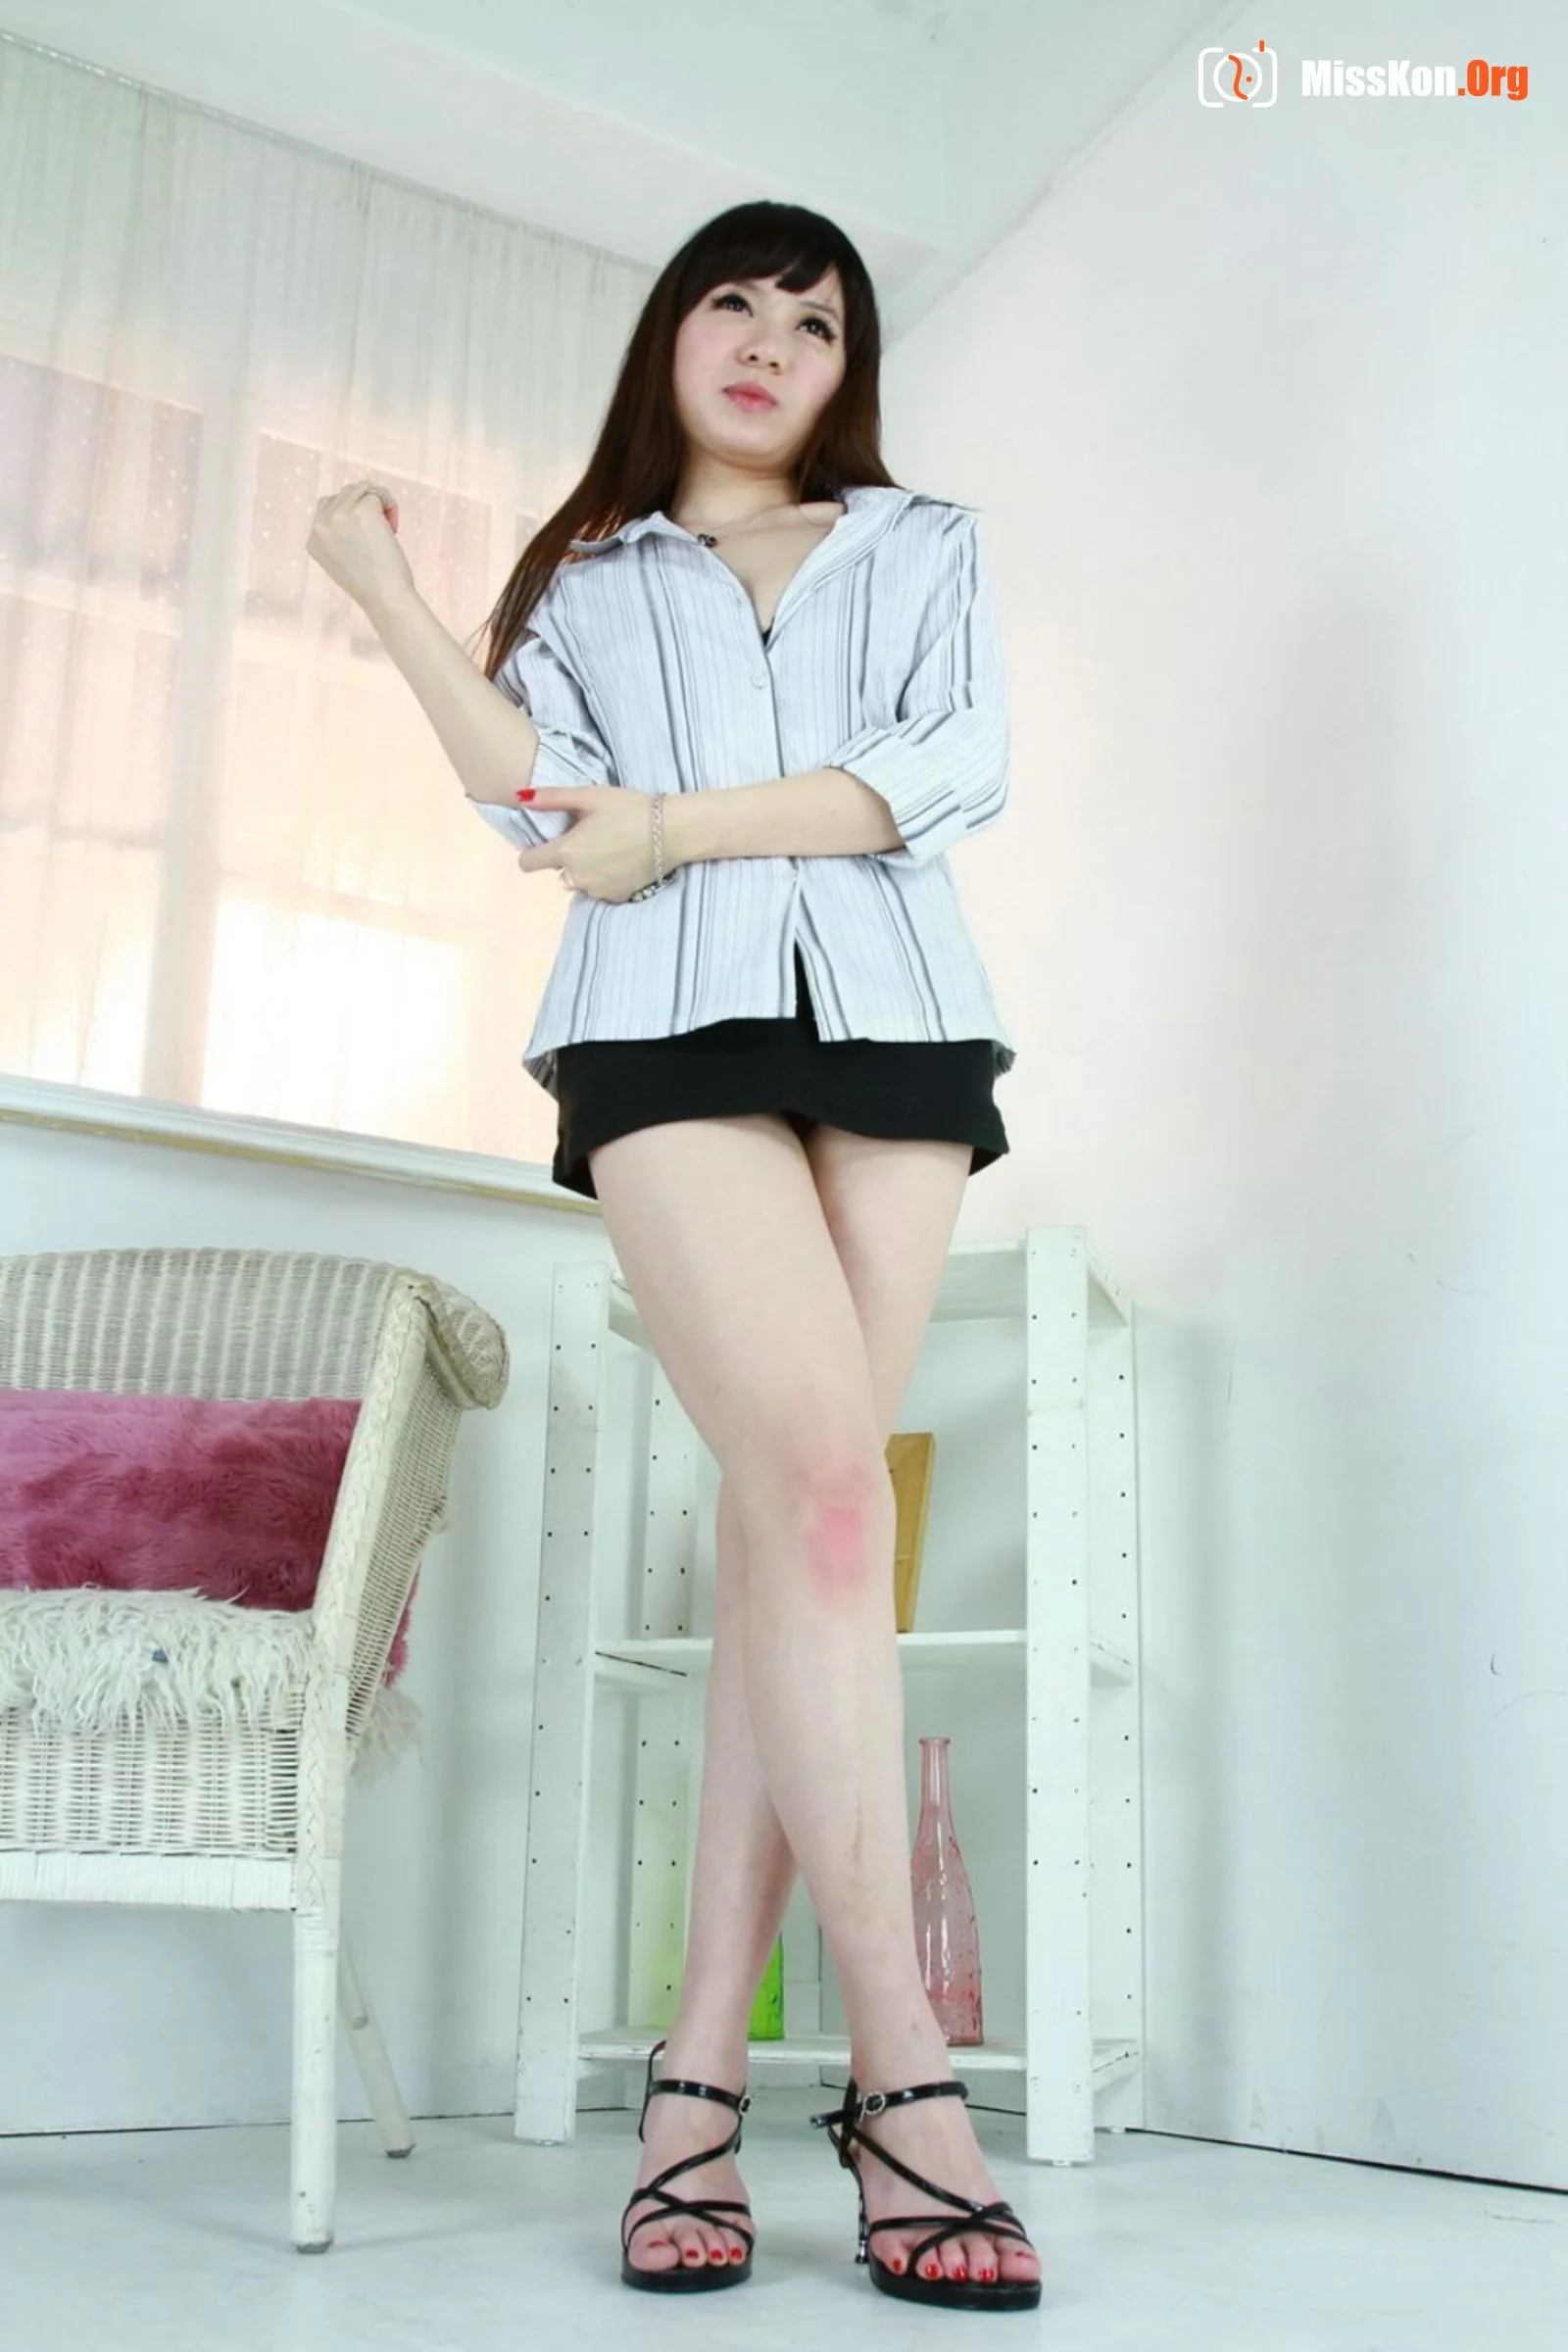
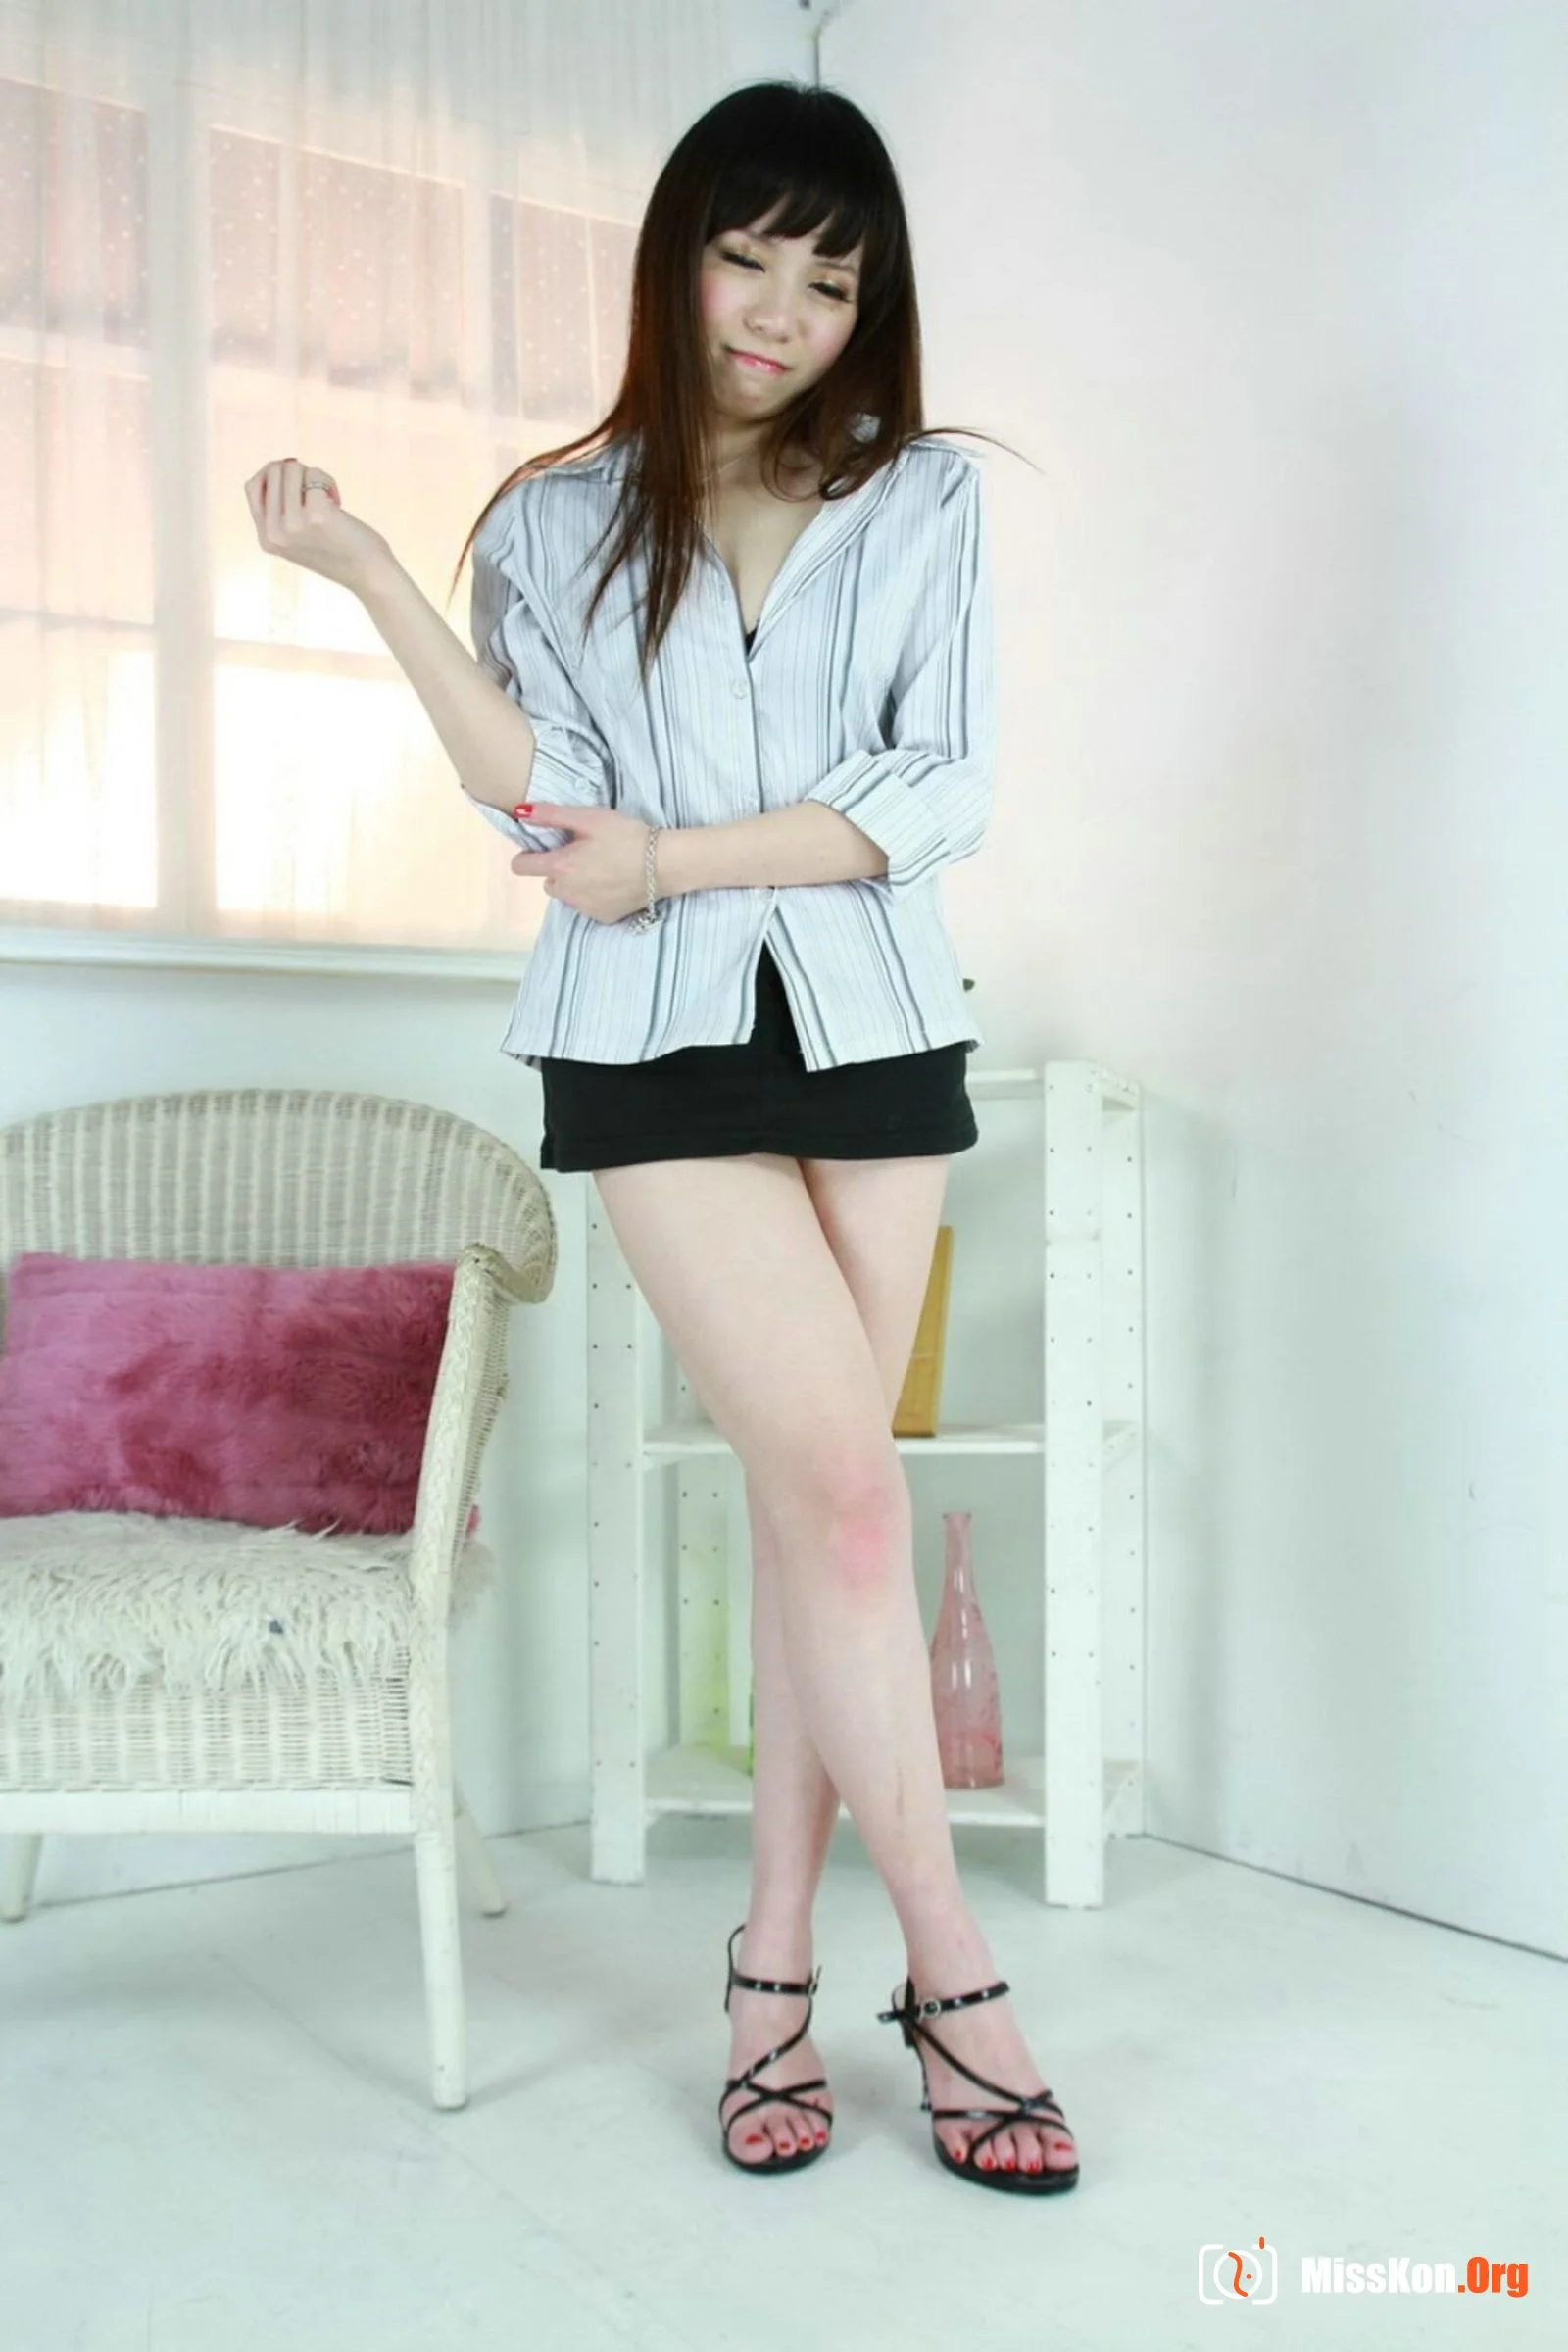
Taiwanese model LINA large-scale body private photo set (2011-05-10) - Photo 2
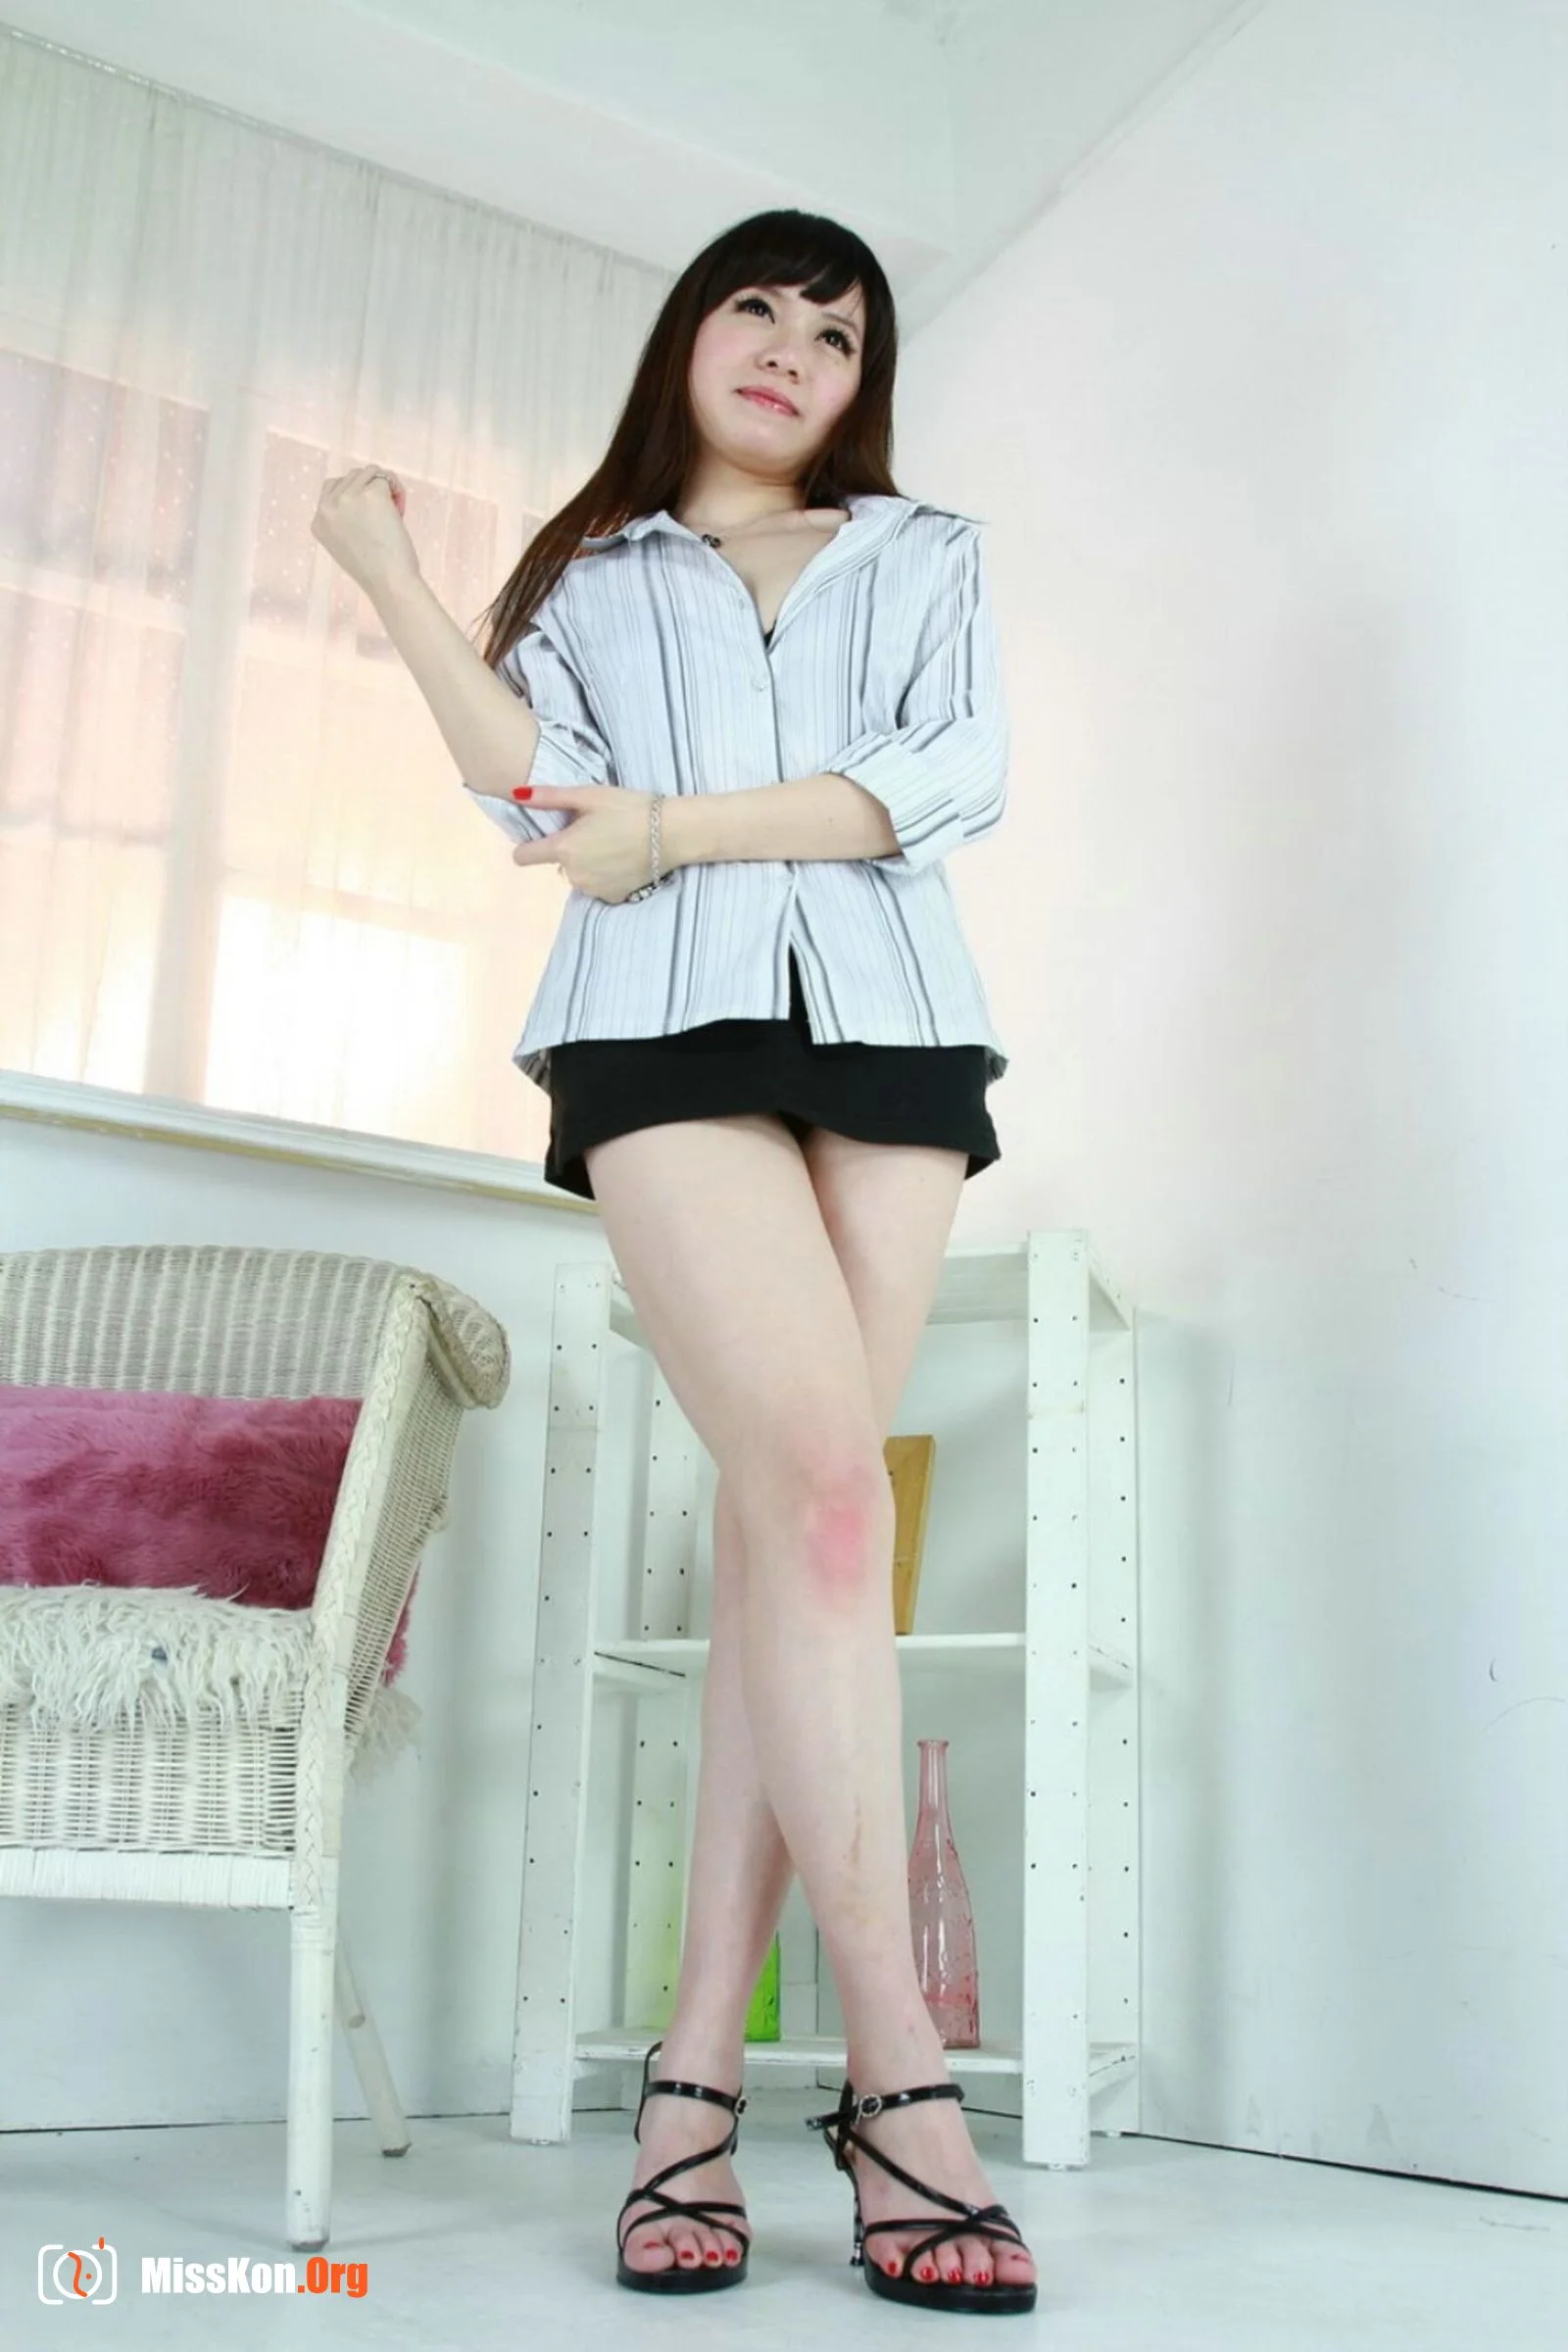
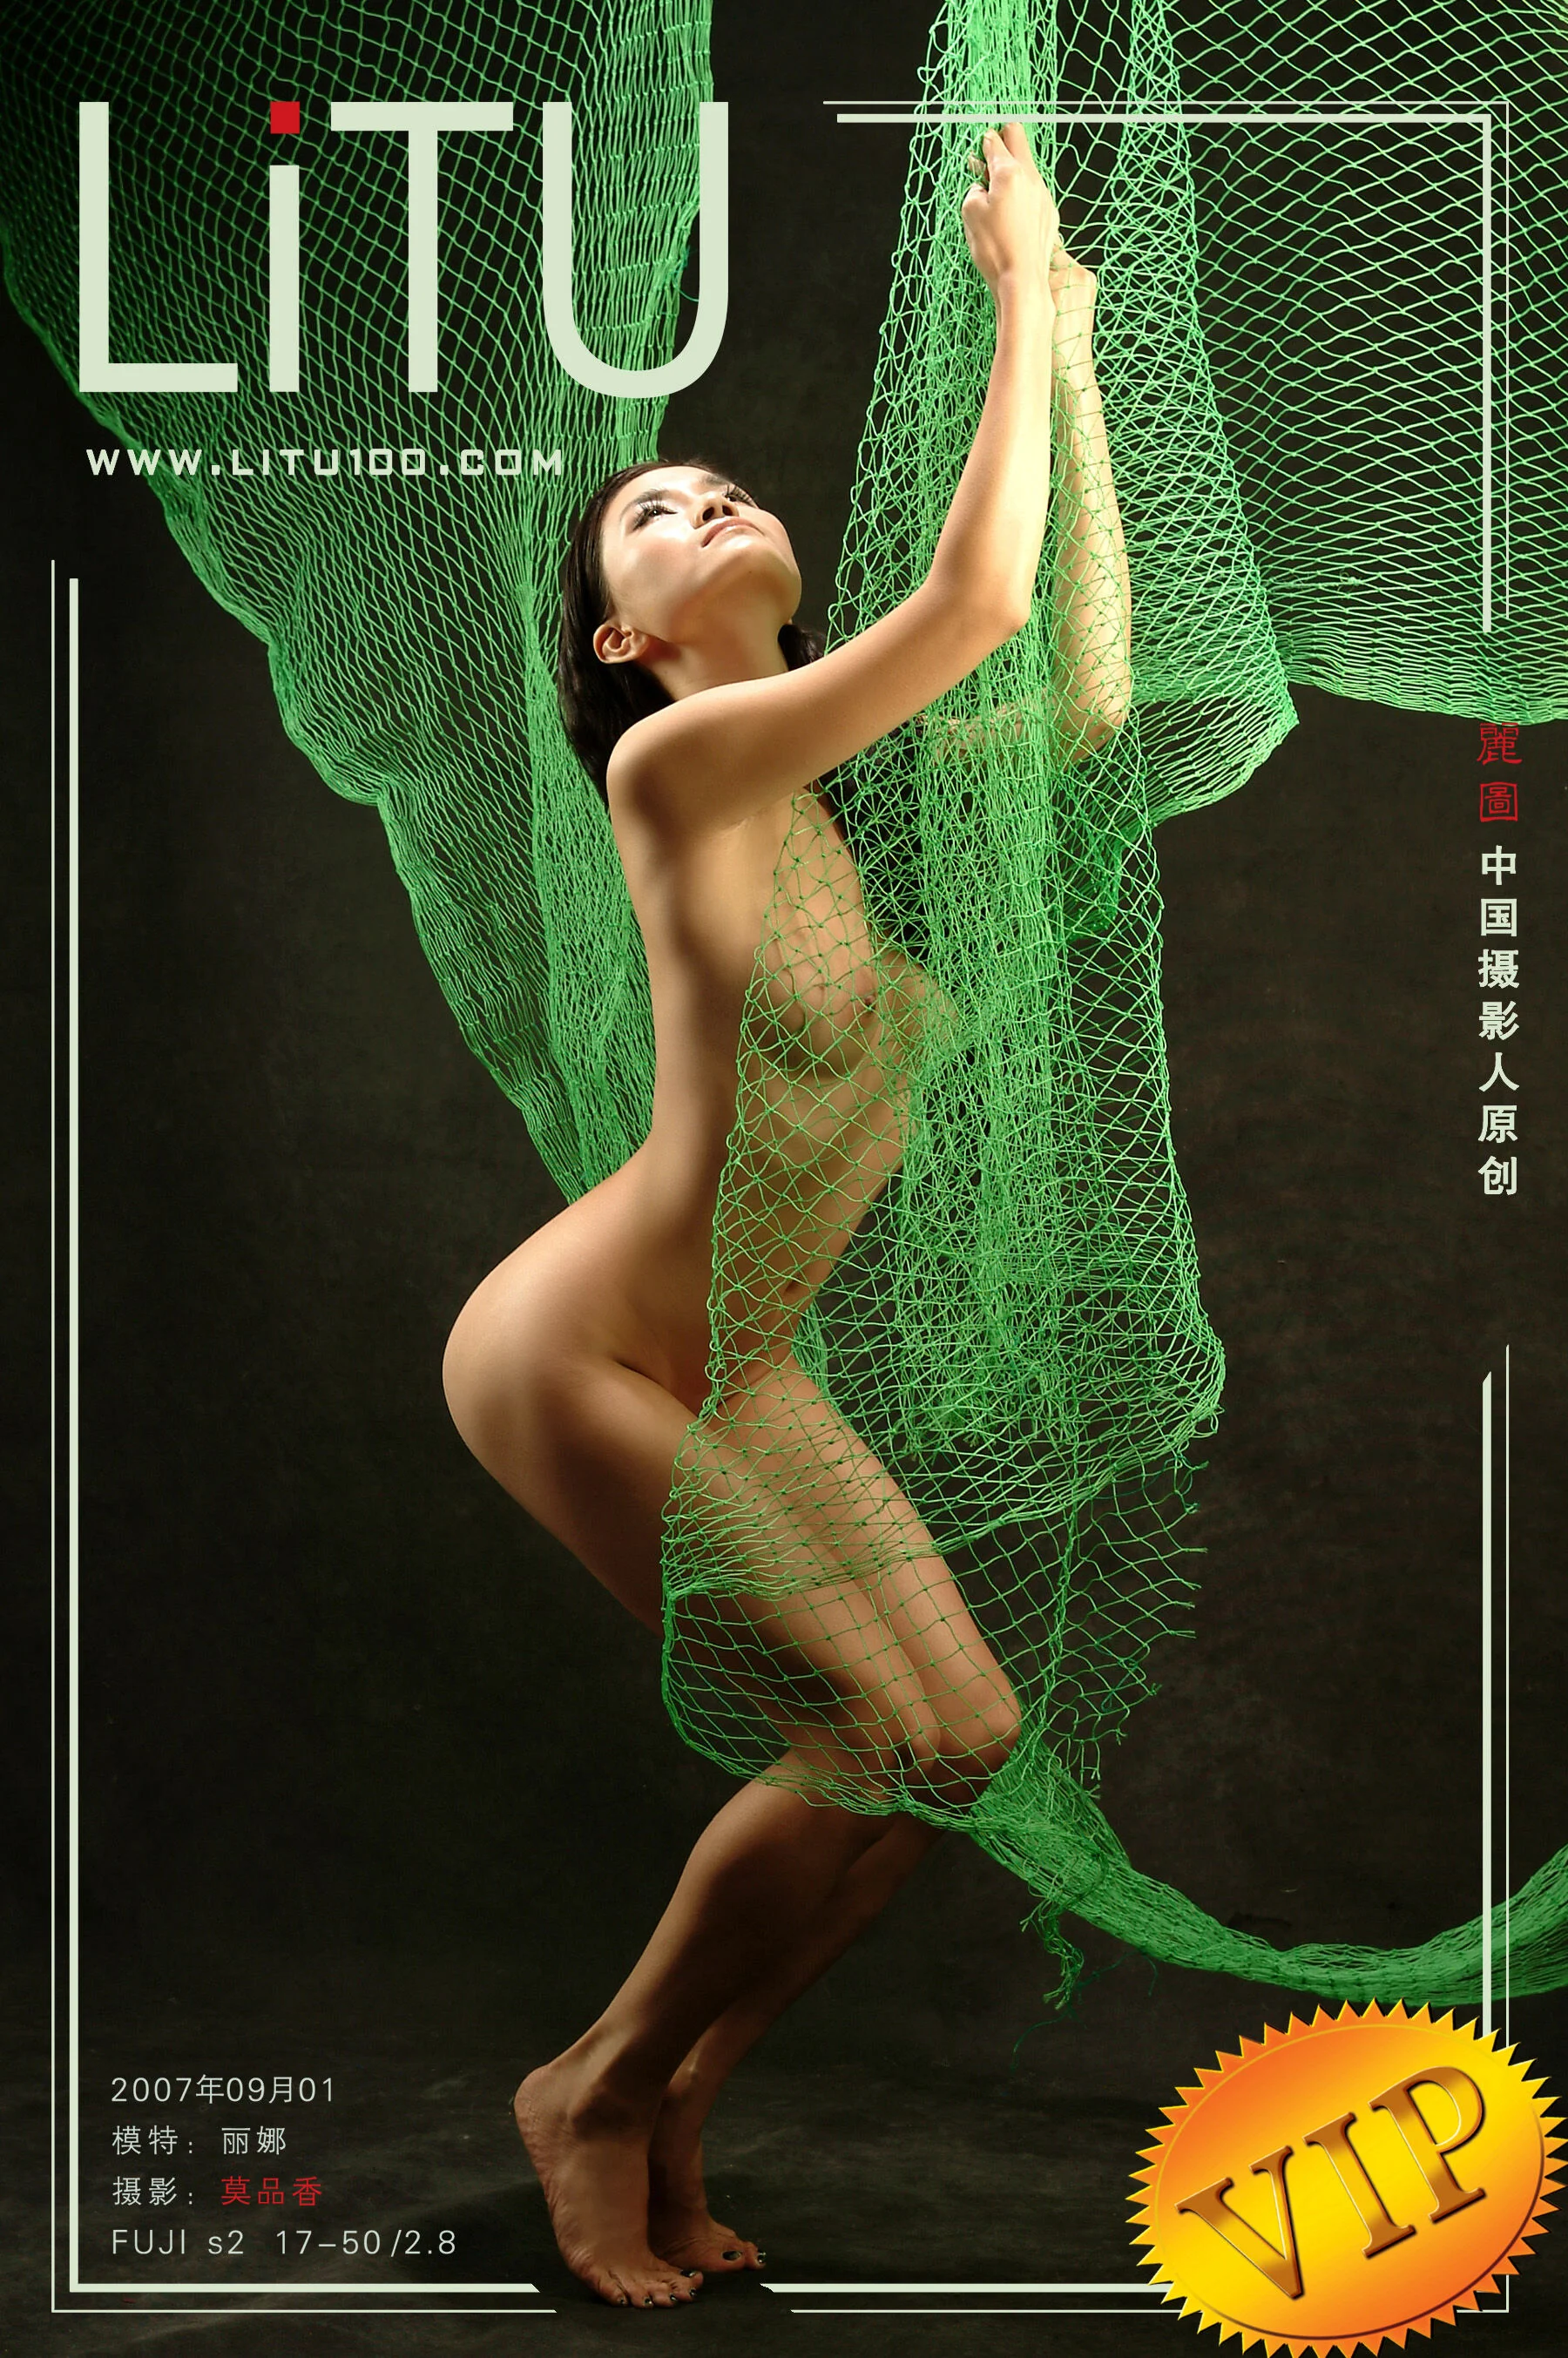
Taiwanese model LINA large-scale body private photo set (2011-05-10) - Photo 3
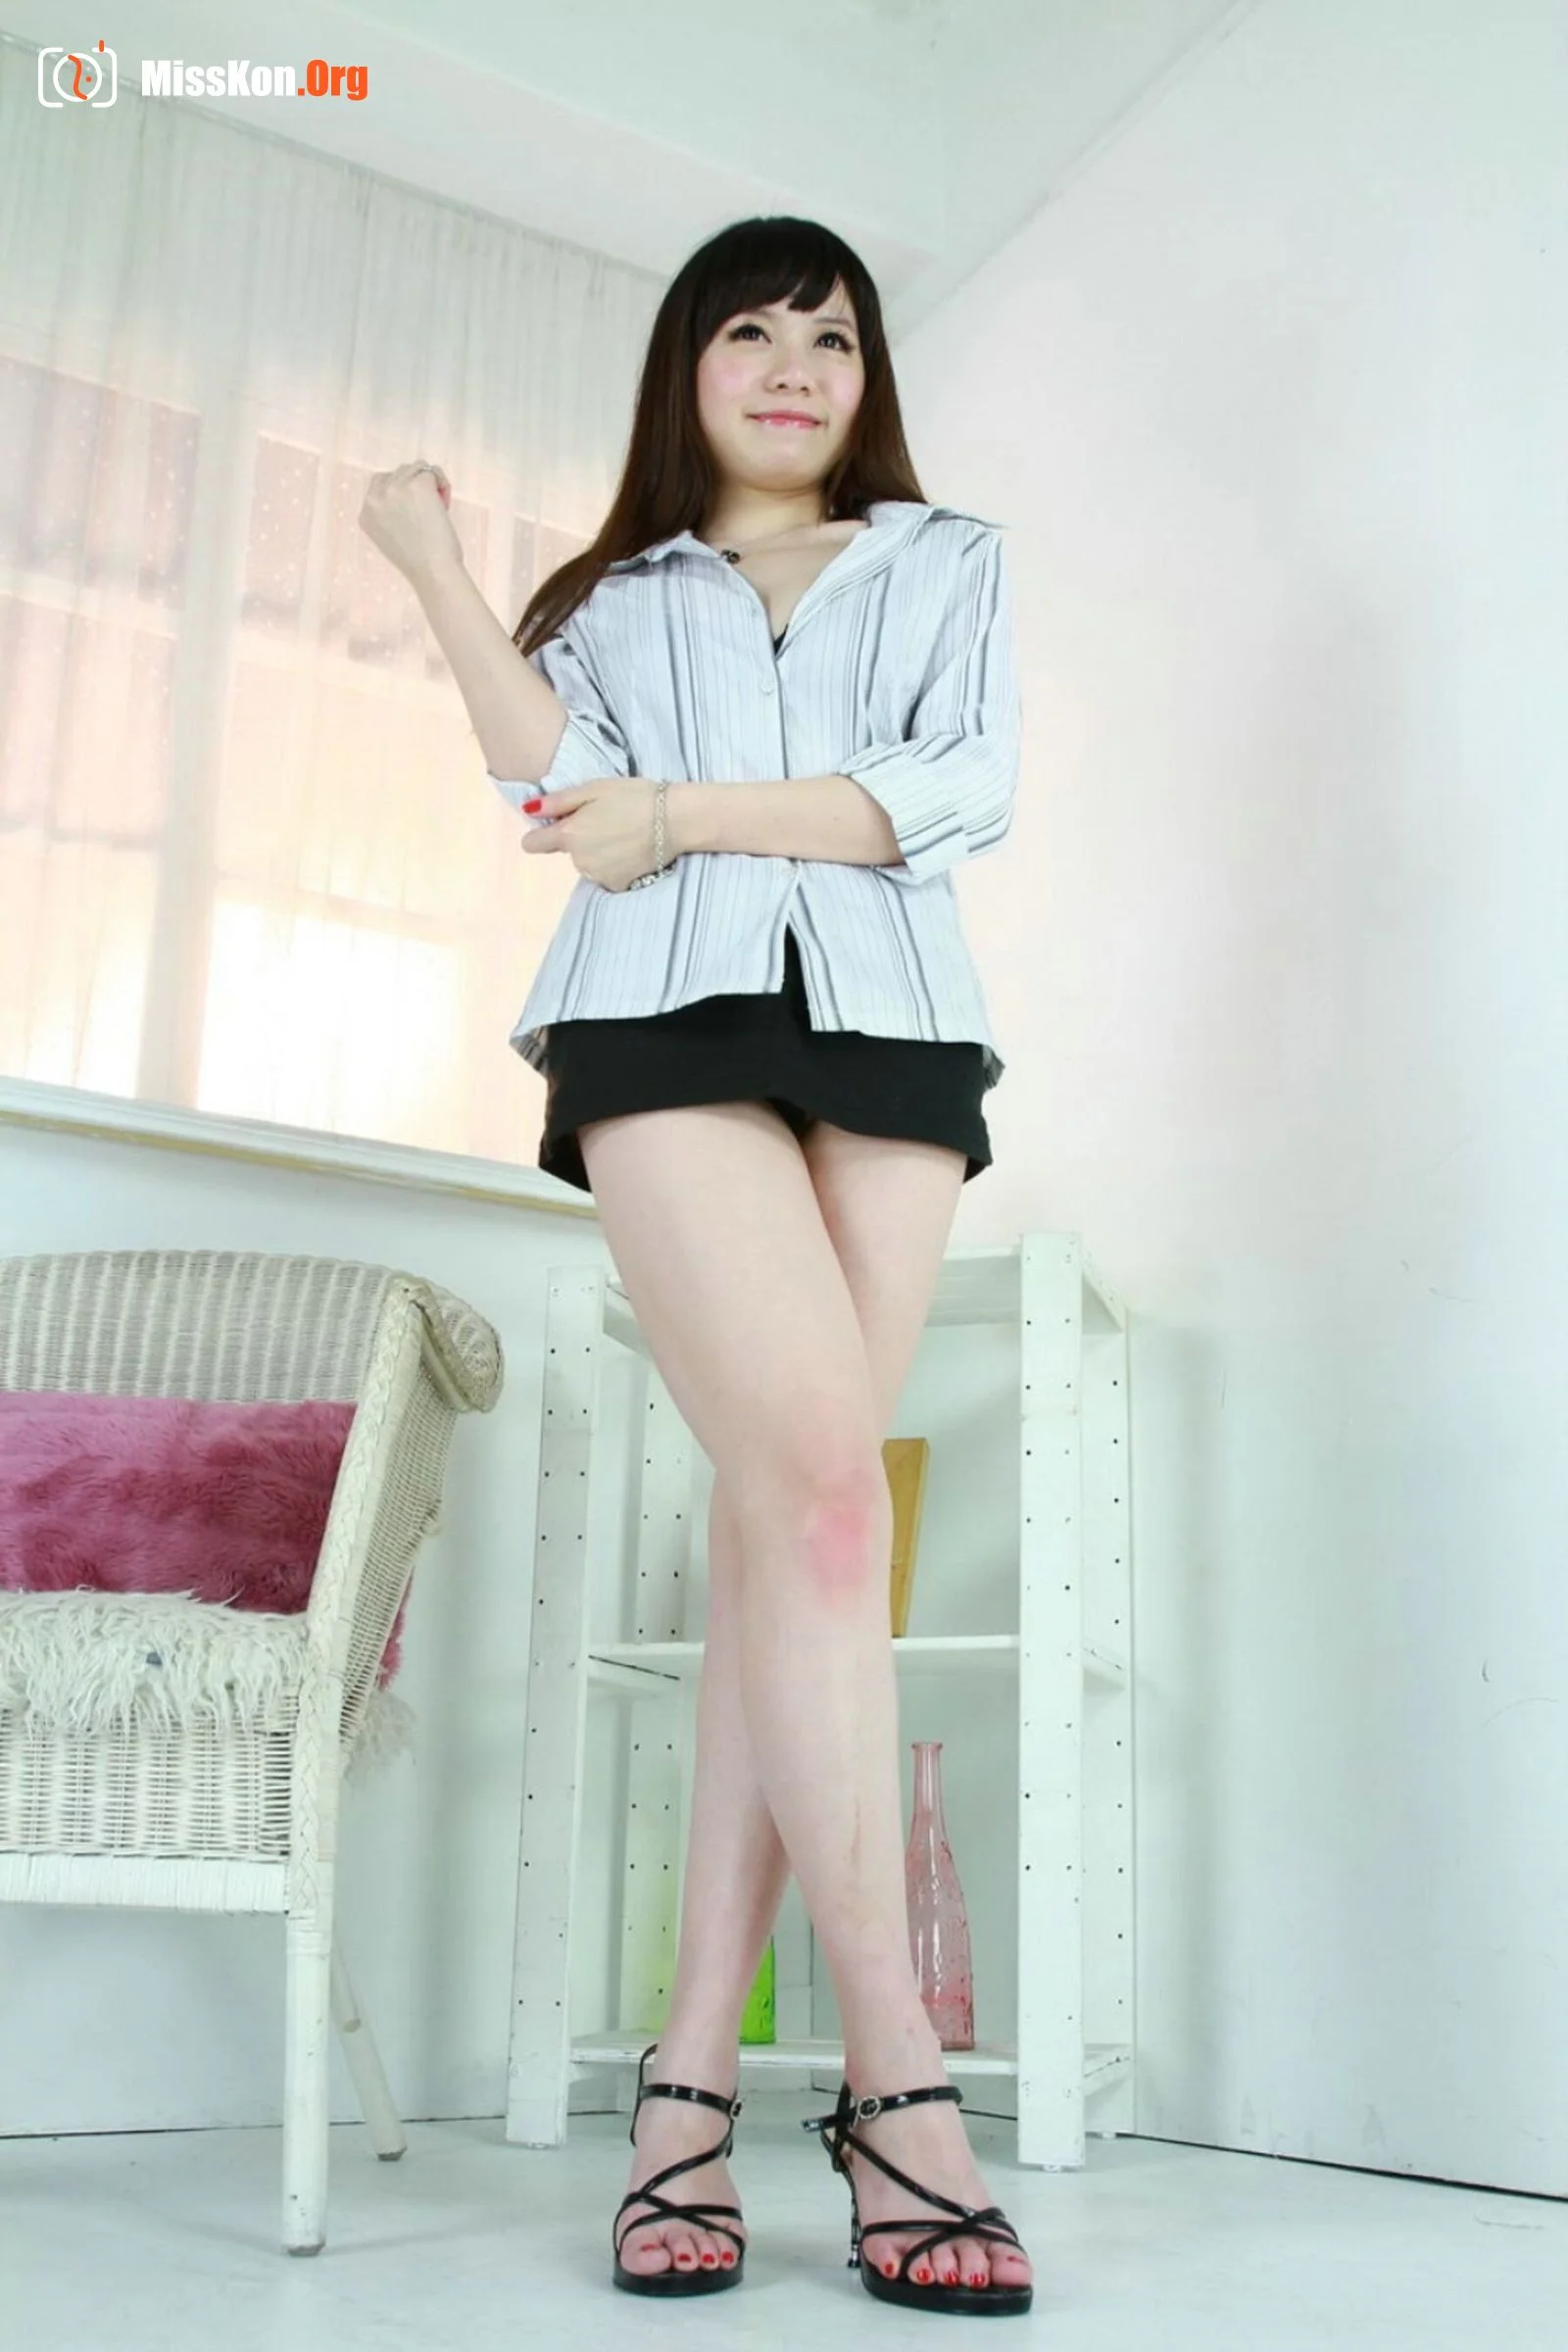
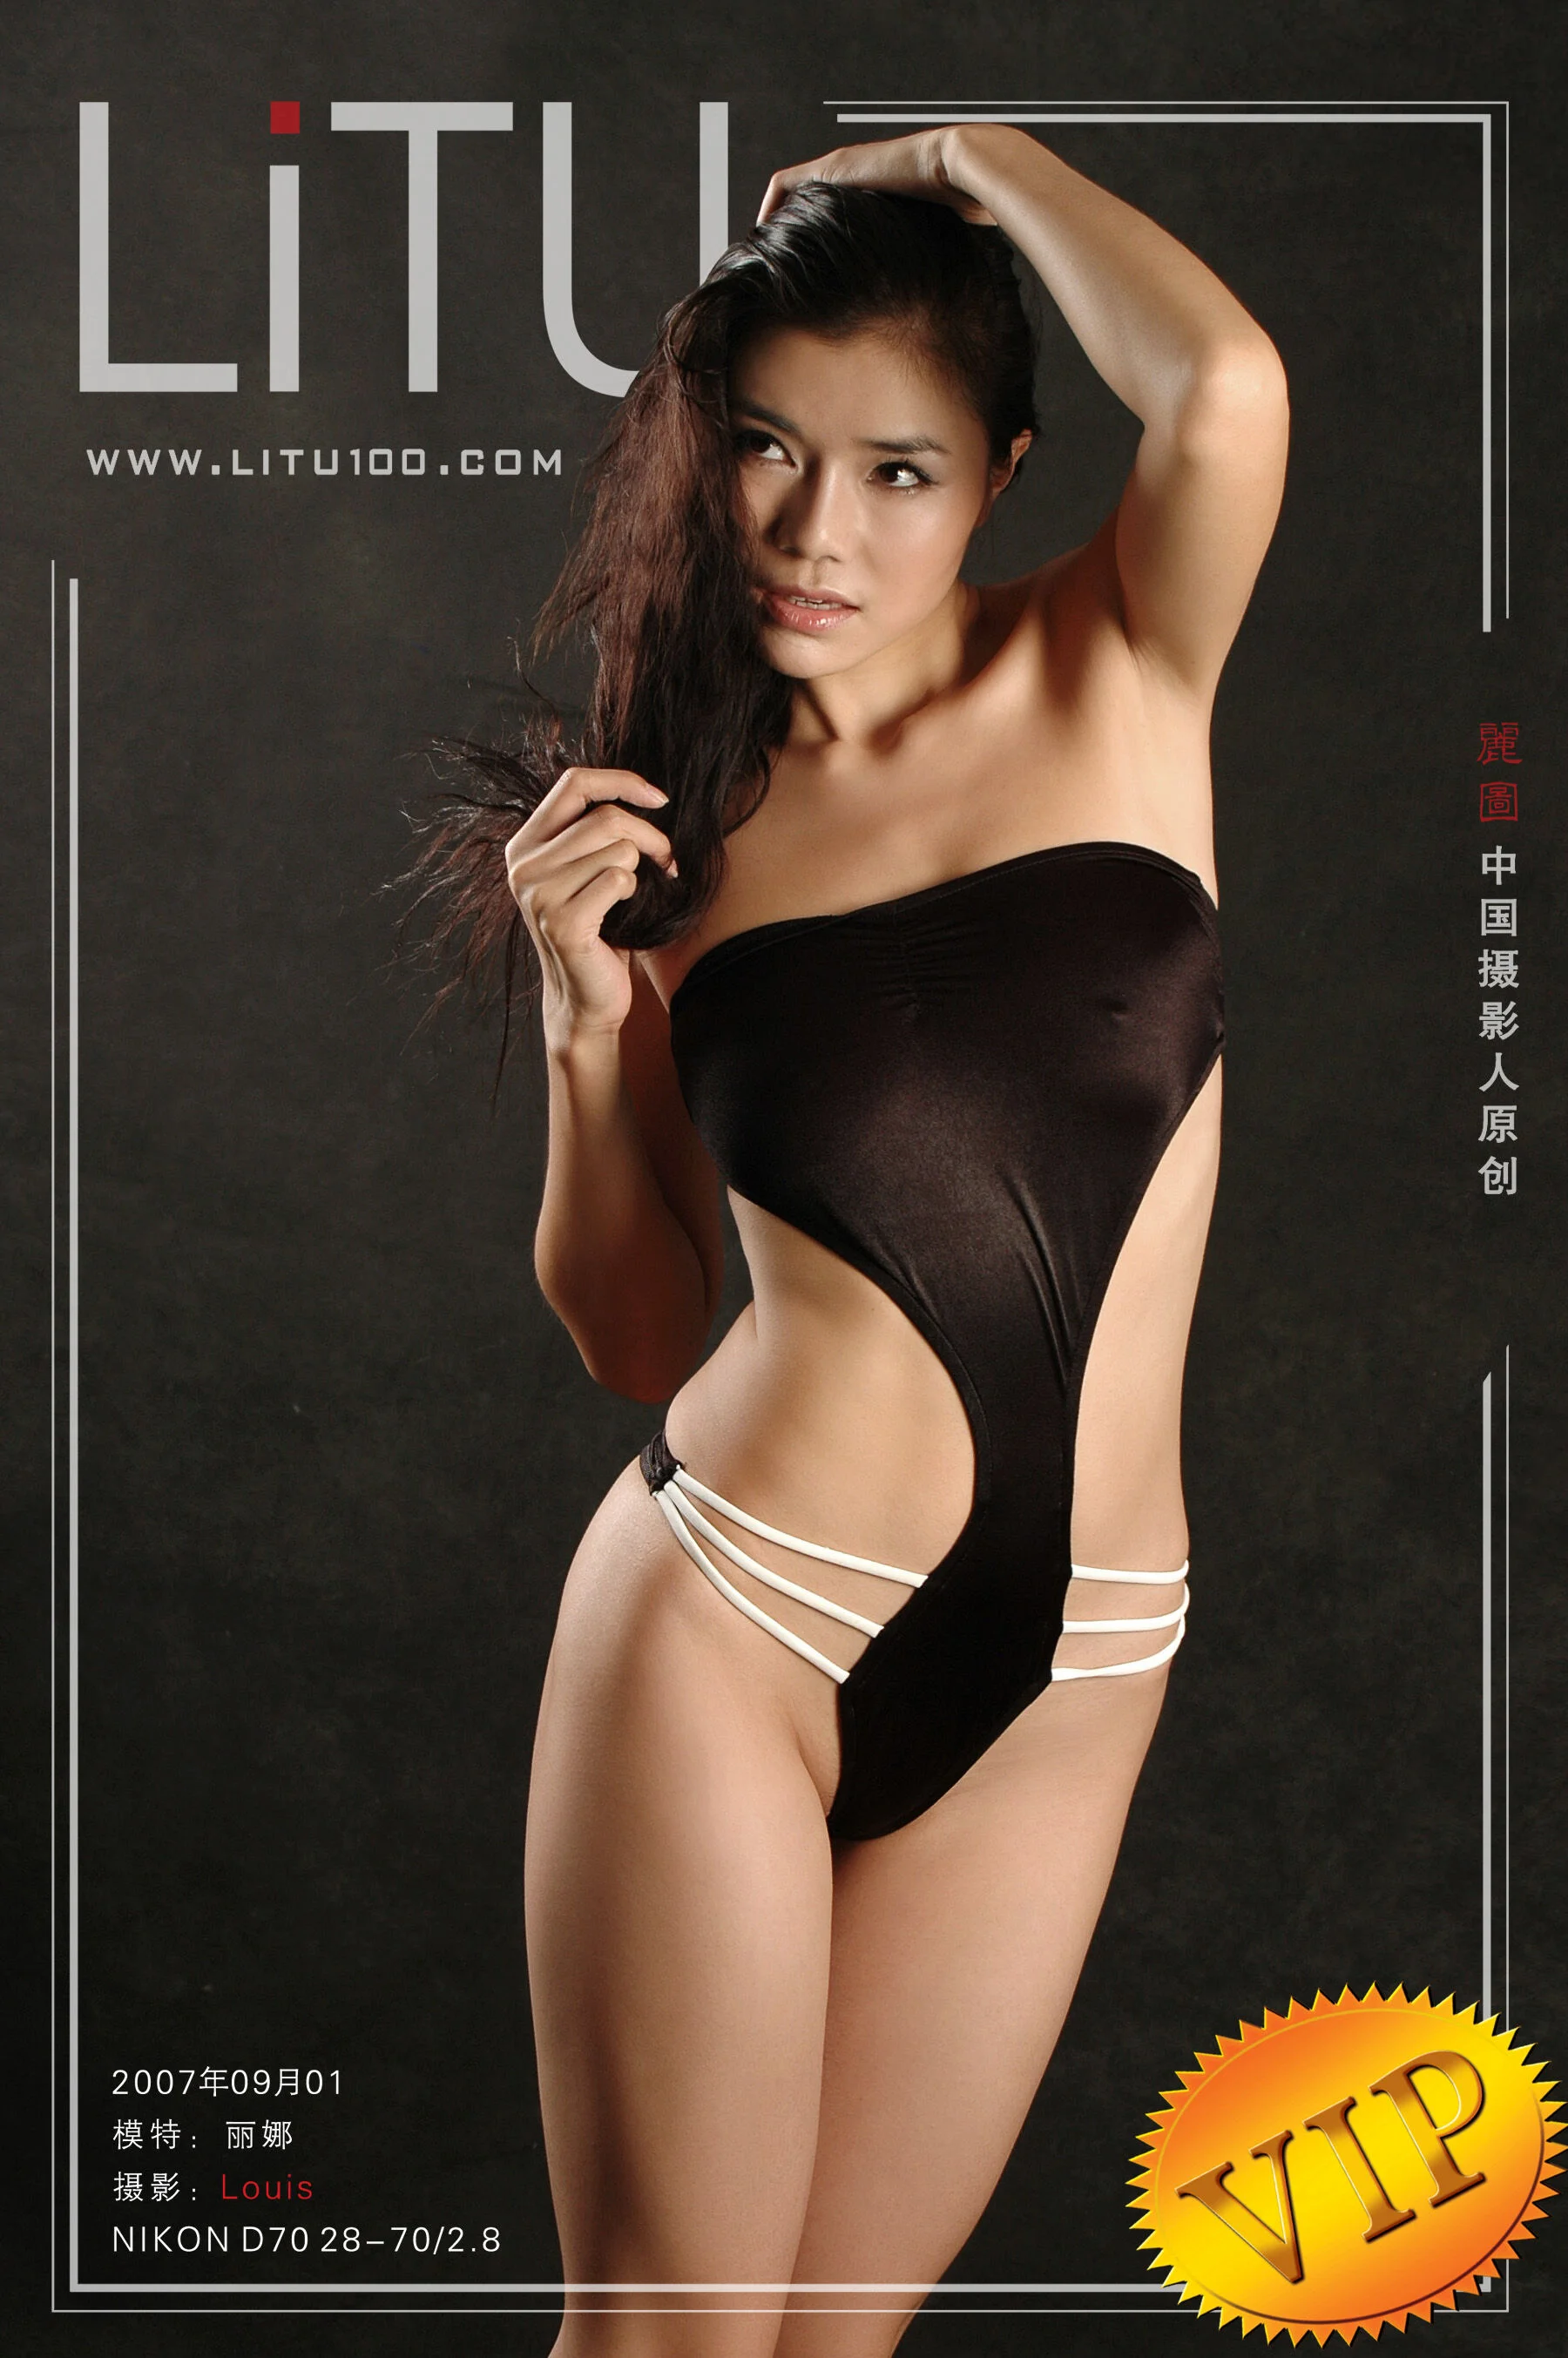
Taiwanese model LINA large-scale body private photo set (2011-05-10) - Photo 4
Taiwanese model LINA large-scale body private photo set (2011-05-10) - Photo 5
Taiwanese model LINA large-scale body private photo set (2011-05-10) - Photo 6
Taiwanese model LINA large-scale body private photo set (2011-05-10) - Photo 7
Taiwanese model LINA large-scale body private photo set (2011-05-10) - Photo 8
Taiwanese model LINA large-scale body private photo set (2011-05-10) - Photo 9
Taiwanese model LINA large-scale body private photo set (2011-05-10) - Photo 10
Taiwanese model LINA large-scale body private photo set (2011-05-10) - Photo 11
Taiwanese model LINA large-scale body private photo set (2011-05-10) - Photo 12
Taiwanese model LINA large-scale body private photo set (2011-05-10) - Photo 13
Taiwanese model LINA large-scale body private photo set (2011-05-10) - Photo 14
Taiwanese model LINA large-scale body private photo set (2011-05-10) - Photo 15
Taiwanese model LINA large-scale body private photo set (2011-05-10) - Photo 16
Taiwanese model LINA large-scale body private photo set (2011-05-10) - Photo 17
Taiwanese model LINA large-scale body private photo set (2011-05-10) - Photo 18
Taiwanese model LINA large-scale body private photo set (2011-05-10) - Photo 19
Taiwanese model LINA large-scale body private photo set (2011-05-10) - Photo 20

You May Also Like